
The Shark Ridill 2 is a full-face helmet with an internal sun visor and a quick-release outer visor (shield). Shark Ridill 2 visor removal takes no tools: open the visor as far as it will go, press the buttons marked «L» and «R» on the two side plates at the same time, and push the visor out towards the back of the helmet. This guide follows the steps in the owner’s manual Shark publishes for the Ridill 2, then covers refitting, the anti-fog lens, the sun visor and choosing a replacement.
Aftermarket visors for the Shark Ridill 2
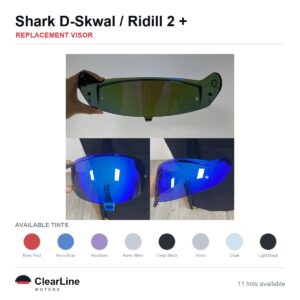
The short answer: lift the visor by its central grip and open it fully. Find the «L» button on the left side plate and the «R» button on the right, press both together while you hold the visor, and push it out towards the back. To refit, hold the visor raised in front of the side plates, rest it on the step on each side, then press both sides and swing it down until you hear a click.
Ridill or Ridill 2: check the name on your helmet
Shark has sold two helmets under this name, the original Ridill and the Ridill 2, and it publishes a separate owner’s manual for each. This guide is about the Ridill 2 only. The two helmets are not the same design, so do not assume a part or a method for one carries over to the other.
The model name is printed inside the helmet, usually on a label under the lining or on the chin strap. Shark’s manual for the Ridill 2 names its outer visor as the VZ400 on the helmet anatomy page, which gives you a second thing to check.
- Read the label. Match the full model name, Ridill 2, not just the word Ridill.
- Look at the old visor. Compare its outline, the shape at each side plate and the central grip with the listing photo.
- Read the listing’s model list. Order only a visor whose listing names your helmet. A listing that names several Shark models is not proof that those helmets share a visor.
The visors we list for this helmet sit in our Shark Ridill 2 visor range. If you are not sure which helmet you have, the visor finder narrows it down by brand and model.
How the Ridill 2 visor is held: the side plates and the «L» and «R» buttons
Shark’s anatomy page for the helmet labels the parts you will touch, starting with the “VZ400 visor”, the “Sun visor” and the “Sun visor control button”. It also labels the “Visor gripper and air stream”, which is the tab at the bottom centre of the visor that you lift it by.
At each side of the shell the visor pivots on a mechanical side plate. Shark describes the Ridill 2 as “equipped with a brand-new quick visor removal system”, and the release is a button on each plate: «L» on the left side and «R» on the right side. No screws hold the visor in, which is why the job needs no tools.
The manual sums up the release in one line: “Press down twice on either side of the visor at the same time to easily release the visor.” The numbered steps below spell out what that means in practice. The two buttons have to be pressed together, and the visor has to be fully open when you press them.
Shark is clear about why the buttons work this way. The manual warns that the system “only works if you carry out these precise, simultaneous operations to prevent any risk of the visor being ripped away while riding.” In other words, a single button pressed on its own is designed not to release the visor.
What you need before you start
The visor itself needs no tools. Two of the related jobs do need something small: a coin to turn the anti-fog lens levers, and a screwdriver or other pointed tool for the sun visor’s central pin. Neither is needed just to change the outer visor.
- A soft, clean surface. A folded towel on a table protects the visor and the shell. Shark’s own anti-fog lens steps start the same way, with the visor “on a work surface and on a soft covering”.
- Clean, dry hands. Grit on your fingers scratches a visor faster than anything else.
- The replacement visor, still in its film. Leave the protective film on until the visor is fitted, then peel it.
- Good light. You need to see the «L» and «R» markings and the step on each side plate.
Rest the helmet upright on its base, chin bar towards you. Work at a calm pace. The quick-release system is easy once you have done it once, but the first time is when a visor gets dropped.
Shark Ridill 2 visor removal, step by step
These are the five steps from Shark’s manual for the Ridill 2, quoted as the manual gives them, with a note on each. Do them in order, and keep one hand ready to catch the visor once the buttons are pressed.
- Open the visor from the centre. “Open the visor by applying pressure under the central visor grip.” Lift from the grip rather than from one corner, so the visor rises evenly on both side plates.
- Raise it. “Raise the visor.” Keep lifting smoothly past the first detents.
- Open it all the way. “The visor must be opened as far as it will go.” This is the one position where the quick-release works, so check it has reached its stop on both sides.
- Find the buttons. “On each of the mechanical side plates, on either side of the visor, locate the button marked «R» on the right side and «L» on the left side.” Each button sits on its own side plate.
- Press both and push the visor out. “Press the «L» & «R» buttons simultaneously, then use your other fingers on either side to push beneath the visor to remove it towards the back of the helmet. Hold on to the visor at the end of this process.”
Shark adds a warning between steps four and five: “Don’t forget to hold the visor as soon as you have pressed the buttons to release it.” Pressing the buttons with your thumbs leaves your other fingers free to push beneath the visor, as the manual describes.
If you want to see how other Shark helmets differ, our Shark Spartan GT visor removal guide covers a helmet that uses locking pins instead of buttons. The two methods are not interchangeable, so always follow the steps for your own model.
While the visor is off: the side plates, the seal and the parts
With the visor out, the side plates and the rubber seal around the eye port are easy to reach. Wipe both with a soft cloth and a little warm, soapy water, and pick any grit out of the plates with the cloth rather than a tool. Grit in a side plate can make a visor feel stiff or stop it clicking home.
Shark’s technical sheet for the Ridill 2 lists the visor parts by its own reference numbers. These are useful when you compare a part or talk to a dealer, but this guide does not claim that any part listed here fits another helmet.
| Part, as Shark’s sheet names it | Shark reference |
|---|---|
| Visor, anti-scratch, equipped with pins for Pinlock® | VZ40012P |
| Pinlock® clear 70 lens | VZ40005P |
| Sun visor, anti-scratch, anti-fog | VZ0802P |
| Sun visor mechanism | FX0802P |
| Visor mechanism | FX0803P |
| Visor rubber seal | JO0802P |
The visor mechanism and its plate screws appear as separate spare parts on the sheet. You do not need to undo any screw to change the visor, so leave them alone. If a side plate is cracked or a button no longer springs back, stop and ask a dealer rather than riding with it.
Fitting a replacement visor
Refitting is the removal in reverse, and Shark gives it four steps. Peel nothing yet: keep the protective film on the new visor until it is locked in place.
- Find the notches. “Locate the visor notch system on each of the side plates of the visor mechanism.”
- Offer the visor up, raised. “Hold the visor in its raised position in front of the side plates and bring it to rest against the visor step on either side.”
- Press and swing it down. “The visor locks into place by pressing on either side of the visor and moving it downwards in a circular motion.”
- Listen for the click. “An audible «click» confirms that the visor is locked in position.”
Do both sides together. A visor that clicks on one side only will sit crooked, leave a gap at the seal and may let go later. If you hear one click, press the other side again before you move on.
Once it is locked, peel the protective film from both faces. The replacement visor listed for the Shark Ridill 2 gives the same order on its listing: fit the visor until it clicks, then remove the film before the first ride.
Testing the visor before you ride
Shark’s warning on this point is blunt: “Do not use the helmet if you are not sure that you have properly reinstalled the visor.” It goes on to say a visor that is not fitted properly could detach while riding. So test it at home, not on the road.
- Open and close it several times. It should move evenly on both sides through every detent.
- Check the seal. Closed, the visor should sit evenly against the rubber seal all the way round, with no gap at one corner.
- Pull gently on each side. With the visor closed, a light pull should not move either side off its plate.
- Look through it. Check for film left on the edges and for distortion straight ahead.
The manual also says: “If you are riding at high speed, do not open the visor.” That applies to any helmet, and it is worth remembering on the first ride after a visor change while you get used to the new one.
Fitting a Pinlock® lens to the Ridill 2 visor
Shark’s manual says the Ridill 2 “is pre-designed to fit a PINLOCK®; a flexible plastic lens that absorbs moisture.” Its parts sheet lists the visor as equipped with pins for Pinlock® and lists a clear Pinlock® 70 lens for it. If the number is new to you, our guide to Pinlock 70 vs 120 explains what it refers to.
Shark’s steps for fitting that lens, quoted in order:
- “Use a coin to check that the external adjustment levers are positioned inwards (positioned to «MIN»).” Do this with the visor off the helmet and lying on a soft surface.
- “The silicone seal of the PINLOCK® lens must be in contact with the inner surface of the visor.”
- “Insert one side of the PINLOCK® lens into one of the two pins at the ends of the visor and hold it in position.”
- “Extend and flex the visor and fit the second side of the PINLOCK® lens into the second pin.” Then let the visor spring back to its curve.
- “Make sure that the entire silicone seal of the lens is adhered to the visor, otherwise adjust the tension of the lens using the external adjustment levers and a coin.”
- “Turn the 2 levers outwards to increase the tension of the lens (rotate towards «MAX»).”
- “Remove the protective film from the PINLOCK® lens before reinstalling the visor on the helmet.”
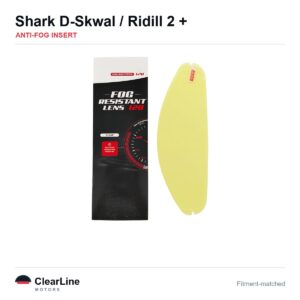
Pinlock® is a registered trademark of a separate company, and the steps above are Shark’s for a Pinlock® lens. The anti-fog insert listed for the Shark Ridill 2 is our own aftermarket part, not a Pinlock® lens. Its product page says most of our inserts fit between two small pins on the inside of the visor, so check that yours has them, then take the visor off, clean the inside with a dry cloth and follow the fitting guide in the pack.
Either way, the removal steps above are the first half of the job. Our page on anti-fog visor inserts and our guide on how to stop a helmet visor fogging cover the wider options. Shark’s own advice is simple: “Never ride with a fogged up visor.”
Removing and refitting the internal sun visor
The Ridill 2 has a drop-down sun visor behind the outer visor. Shark says it “is operated by the button integrated into the upper vent”. With the button forward the sun visor is down, and “To retract the sun visor, move the button backwards.”
You do not need to remove the sun visor to change the outer visor. If you want to clean it properly or replace it, Shark’s steps are:
- “Lower the sun visor completely using the upper control”.
- “Gently pull the sun visor downwards by hand to visually release its central attachment.”
- “Remove the central fixing pin with a screwdriver or any other pointed instrument.”
- “Un-clip the sun visor sideways from one side and then the other by pulling it towards you and keeping it straight.”
To refit it, Shark says to slide the control button to the down position, then “Re-clip the sun visor sideways on one side and then on the other.” Finally, with the pointed tool, “press the central fixing pin from the inside and then re-clip the sun visor by raising it slightly.”
Two of Shark’s warnings matter here. “Never use the sun visor by itself for protection without the outer visor,” and the sun visor “must never be used at night or in poor visibility conditions”. For more on when each makes sense, see our comparison of a photochromic visor vs an internal sun visor.
Choosing a replacement visor for the Shark Ridill 2
Shark’s manual is specific about which visor belongs on this helmet: “Only the visors, which have been approved N° E11 060888 and marketed under SHARK’s reference VZ400 can be used with this helmet.” It adds that “This visor is made of injected polycarbonate.”
The visors ClearLineMoto lists are aftermarket parts, not made by Shark and not sold under that reference. We list each one by the helmet models it is cut for, and we do not check the marking on individual items. Read the marking on any visor you receive before you ride on it.
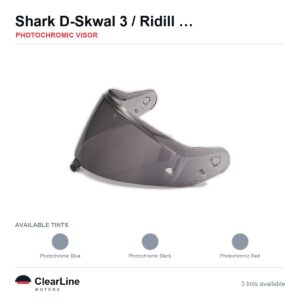
Within that, the choice comes down to how you ride. A clear visor is the everyday option, and our clear replacement visors page covers what to look for. A photochromic visor darkens in bright light and clears as the light drops, and the photochromic visor for the Shark Ridill 2 is listed for this helmet.
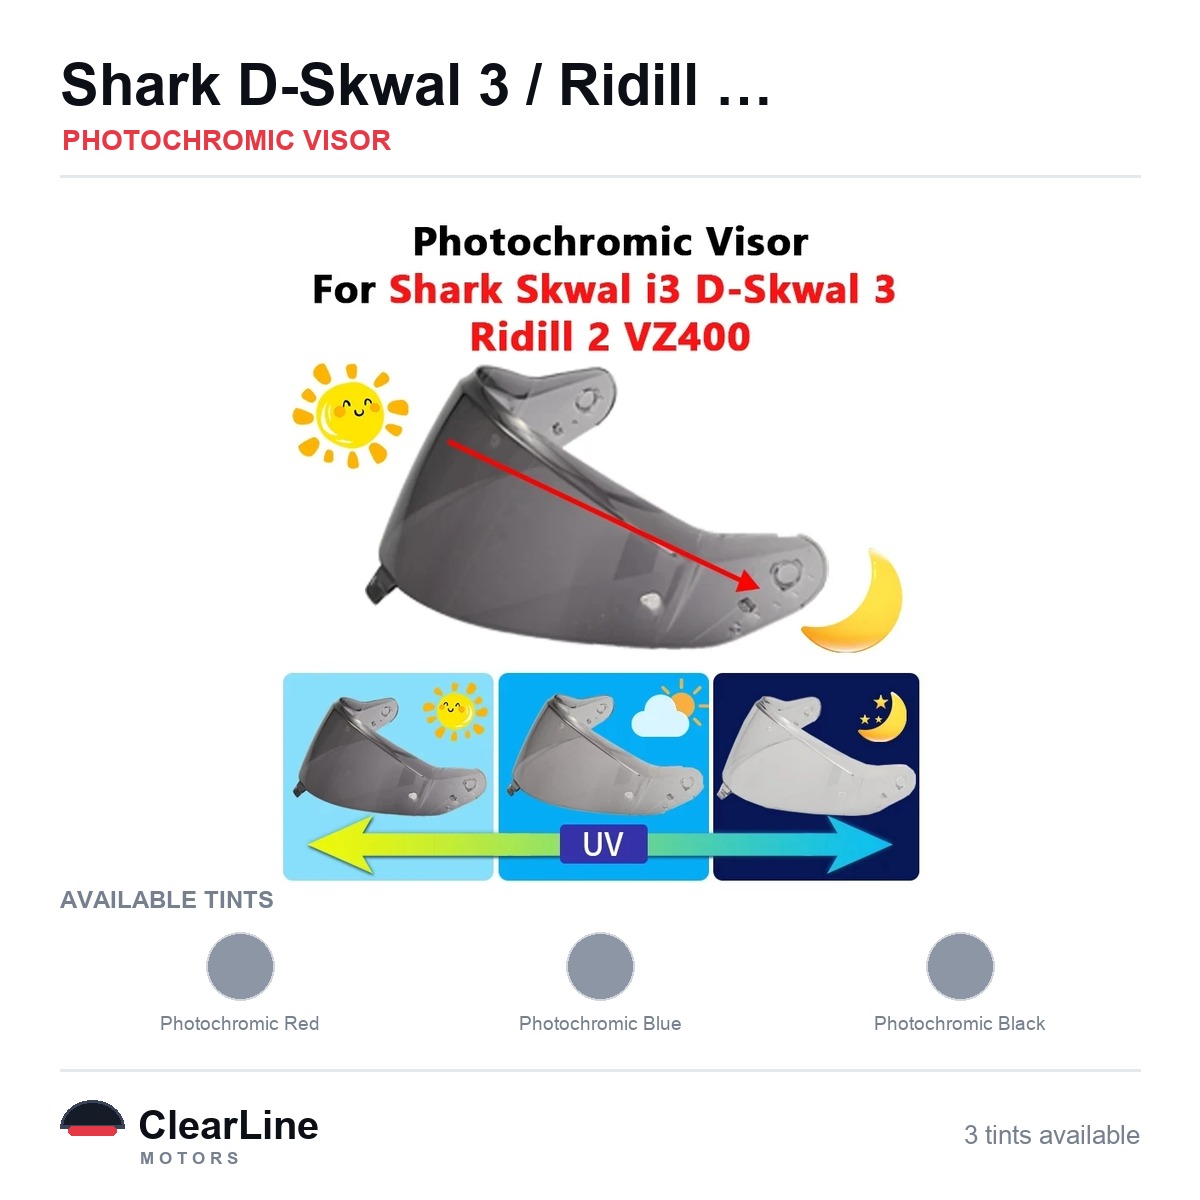
For a wider view, our photochromic visors hub explains the trade-offs, and our guide to how photochromic visors work covers the chemistry. Mirrored and iridium finishes sit on our iridium visors page, but read the next section before you pick one for the road.
Tinted visors for the Shark Ridill 2 and the law in Great Britain
Riders often search for a tinted visor for the Ridill 2, and the replacement visors we list come in dark, mirrored and light tint finishes as well as clear. In Great Britain the legal test is the marking on the individual visor, not its colour or the name of its tint.
The Motor Cycles (Eye Protectors) Regulations 1999 prescribe BS 4110 and require eye protection to carry an approved certification mark of an approved body. A visor is only road legal in GB if it carries that marking.
Iridium, mirrored and dark smoke visors transmit too little light to be legal for road use in Great Britain, day or night. Keep a visor like that for the track. Shark’s own manual adds that “Tinted or coloured visors must never be used at night or in poor visibility conditions as they impair your vision.”
Selling eye protection for road use that is not of a prescribed type is an offence in itself under section 18 of the Road Traffic Act 1988. That is why ClearLineMoto never describes any visor as approved or certified. For more detail, read our guide to tinted visor law in Great Britain, and riders in the US can start with our guide to visor tint rules in the US.
Troubleshooting a Ridill 2 visor swap
Why won’t the Ridill 2 visor come off?
The two likely causes are a visor that is not fully open, or only one button being pressed. Open the visor until it stops, press «L» and «R» together, and push beneath the visor towards the back of the helmet. If it still sticks, look for grit around each side plate before you try again.
Why won’t the new visor click into place?
Check first that it is resting on the step on both side plates before you swing it down. Lift it back to the raised position, seat it against the step on each side, then press both sides and move it down in one smooth arc. Do not force it; a visor cut for a different helmet will not click in properly however hard you press.
Why does the visor sit crooked or leave a gap at the seal?
The likely cause is that one side has clicked and the other has not. Open the visor, press the side that has not clicked until you hear it, and check the seal again. If the gap stays, compare the visor’s outline with your old one, because a visor for another model can look close and still not seal.
Looking after the new visor
Shark’s cleaning advice for this visor is short: “Clean the visor using mild liquid soap, lukewarm water and a soft damp rag only. Allow the visor to dry naturally before reassembling it.” It also says: “Do not use abrasive cleaning agents, liquids containing ammonia or alcohol.”
Rule 83 of the Highway Code asks riders to check before every ride: “Before each journey check that your helmet visor is clean and in good condition.” Shark puts it plainly too: “For your own safety, never ride with a visor that does not provide perfect visibility.” Our complete guide to cleaning a motorcycle helmet visor goes further on technique.
If you own more than one Shark helmet, our overview of visors that fit Shark helmets shows how the range is grouped, and our Shark Race-R Pro GP visor removal guide covers a Shark race helmet. You can also browse our visors for Shark helmets model by model.
This guide was written by the ClearLineMoto team. ClearLineMoto is not affiliated with Shark, and every part we list is described by the helmet models it fits.
Visors and inserts mentioned in this guide
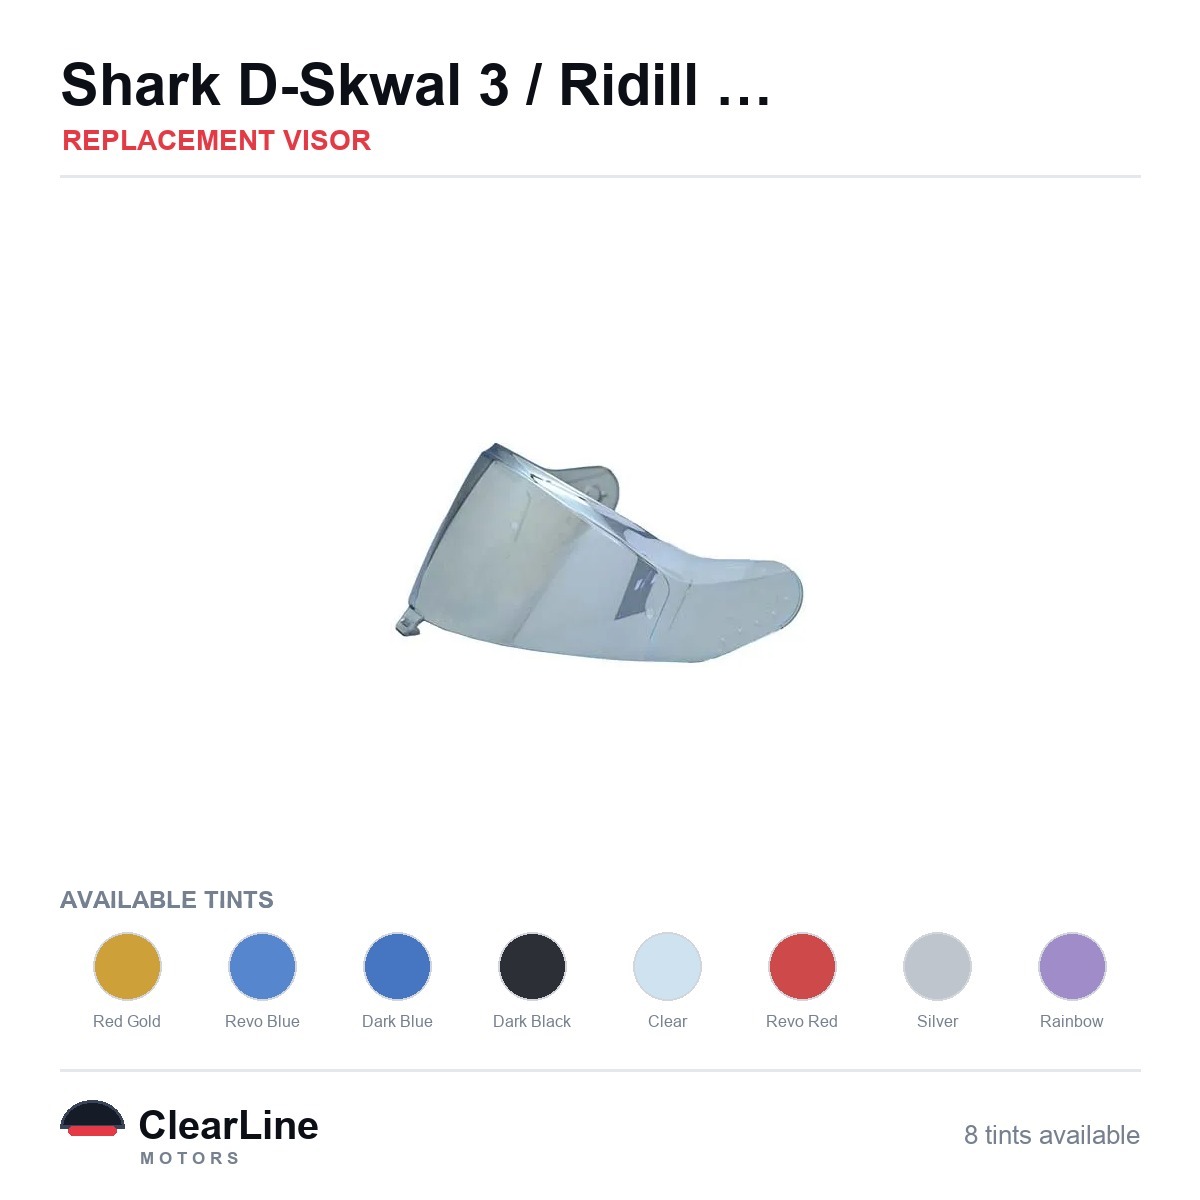
- Shark D-Skwal 3 / Ridill 2 / Skwal i3 / VZ 400 Replacement Visor — Iridium, Smoke, Clear Tints
- See the photochromic visor for the Ridill 2
- Anti-fog insert for the Shark Ridill 2
- All visors listed for the Shark Ridill 2
Frequently asked questions
Do you need tools to remove a Shark Ridill 2 visor?
No. The visor comes off by pressing the «L» and «R» buttons on the side plates by hand. The only tools in Shark’s manual for this area are a coin for the anti-fog lens levers and a pointed tool for the sun visor’s central pin.
Why does the Ridill 2 visor have to be fully open before it comes off?
Shark’s manual says “The visor must be opened as far as it will go” before you press the buttons. That full-open position is where the quick-release system is designed to let go. At any other angle the visor stays on its plates.
Can I press one button at a time?
No. Shark says the system “only works if you carry out these precise, simultaneous operations”, so both buttons have to be pressed together. That design is what stops the visor being pulled away while you ride.
Will a visor listed for another Shark helmet fit the Ridill 2?
Rely only on a listing that names the Ridill 2. A visor is cut for one shell opening and one pair of side plates, and a listing that names several models does not prove they share a visor. Compare your old visor with the listing photo before you order.