
Helmet visor cleaning looks like a two-minute job you cannot get wrong, yet knowing how to clean a motorcycle helmet visor properly is what separates a clear view from a slowly scratched one. A dirty visor does more than annoy you: it scatters oncoming headlights into a starburst and turns low sun into a wall of glare. Done properly the job takes about four minutes, and most of the quick methods riders reach for are exactly what damages the coating.
Need a visor that fits your helmet?
Aftermarket visors matched to the exact helmet model.
The short answer: soak the outside with a warm, soapy cloth, lift the softened dirt with almost no pressure, rinse, then blot it dry with a clean microfibre or leave it to air-dry. Clear, tinted, iridium and mirrored visors all take the same water-first routine, but the coated finishes need the lightest touch of all. Keep glass cleaner, solvents, paper towels and anything abrasive away from the visor, and never wipe it dry.
Why visors scratch so easily
A motorcycle visor is polycarbonate, not glass. Polycarbonate is light and shatter-resistant, which is why it is used, but on its own it is soft enough to scratch far more easily than glass. Manufacturers compensate with a thin hard-coat layer on the outside and, on many visors, an anti-fog treatment on the inside.
Both of those layers are very thin. Once you grind a dead fly across them with a dry cloth, the damage is permanent, because no polish restores a hard-coat. This is why technique matters more than product.
What you need
Everything on this list is already in most kitchens. If you would not use it on a camera lens, leave it out.
- Warm water, not hot. Hot water can lift the anti-fog coating and is not worth the risk.
- A few drops of plain washing-up liquid, or a dedicated visor cleaner. Avoid anything marketed as degreasing, antibacterial or with added solvents.
- Two clean microfibre cloths: one for the outside, one for the inside and the edges. Not kitchen roll, not a T-shirt. Wash the cloths on their own without fabric conditioner, which leaves a greasy film.
- A clean bowl or sink and a folded towel to rest the visor on. A bare worktop can hold grit that scratches the visor as you set it down.
- A few cotton buds for the pin holes and the rim, where grit collects.
- A little patience for the soak. The soak does the work, not the wiping.
How to clean a motorcycle helmet visor, step by step
1. Remove the visor
Take it off the helmet. Cleaning it in place means water running into the mechanism and pressure on the pivots, and you cannot support the back of the visor while you work. Most modern systems release with a lever or a quarter-turn.
2. Soak, don’t scrub
Start by letting a gentle stream of warm water float off the loose grit. Then lay a cloth soaked in warm soapy water flat across the outside and leave it for two or three minutes. Insects and road film need time to soften, and many of the scratches riders complain about come from skipping this step and attacking a dry bug with a dry cloth.
3. Wipe in straight lines
Once the debris has softened, wipe gently in straight passes rather than circles. Straight passes lift material off the surface; circles drag it around and grind it in. Use almost no pressure, and if you find yourself pressing, it needs another soak. Turn to a clean face of the cloth often, because a cloth loaded with grit behaves like an abrasive pad.
4. Rinse and air-dry
Rinse under a slow-running tap and let it air-dry, or dab it with a dry microfibre. Do not polish it dry. Any grit you missed becomes a swirl mark the moment you apply pressure to a dry surface.
5. The inside is different
The inner face usually carries an anti-fog coating and is far more delicate than the outside. Water and the lightest possible touch only. No solvents, no cleaner, no rubbing.
If your helmet uses a separate anti-fog insert, take it out first and clean it separately with cool water only. Our dedicated guide to keeping a Pinlock-compatible insert clean between rides covers this process in full.
Motorcycle helmet visor cleaning for clear, tinted, iridium and mirrored visors
The routine above suits every finish. What changes is how much each surface forgives, and the coated finishes forgive least.
| Visor type | What you are protecting | How to adjust the routine |
|---|---|---|
| Clear | The hard-coat outside and the anti-fog treatment inside | The standard routine. Fine marks show up against bright lights, so check it against a lamp once it is dry. |
| Smoke or tinted | The hard-coat over the tint | The standard routine. On many visors the tint runs through the plastic and will not wipe off, but the coating over it marks just as easily as a clear visor’s does. |
| Iridium or mirrored | A thin mirror coating, usually on the outer face | Soak longer, rinse more and wipe less. No rubbing, no polish, no exceptions. |
| Photochromic | A light-reactive treatment | Water and a soft microfibre only. Solvents and abrasives can damage the treatment that makes it react. |
On an iridium or mirrored visor the finish is the part you are protecting, and it will not forgive a single dry wipe. Our guide to cleaning an iridium visor step by step goes through the method in more detail, including insects and winter salt.
A dark visor can also hide a film of road grime until the light changes. Inspect a tinted or mirrored visor in good light before you call it finished.
Cleaning a visor with a Pinlock-compatible insert fitted
An anti-fog insert adds a second, softer surface a millimetre or two in front of your eye. Its coated face absorbs moisture from your breath, and it is damaged by exactly the things the outer face shrugs off: rubbing, soap and cloths.
For a quick tidy with the insert left in, clean the outside of the visor only. Press a damp microfibre flat against it, lift, and repeat, and keep running water off the visor so none reaches the gap behind the insert. Water trapped there is hard to dry out and shows up as a smear in your line of sight.
For a proper clean, take the insert out. Remove the visor from the helmet, release the insert as its instructions describe, and handle it by the edges only. Rinse it under cool running water, soak anything stubborn without touching it, and stand it on its edge in still air to dry. No soap, no cloth on the coated face and no heat.
With the insert out you can reach both faces of the visor, so this is the moment to clean the pin holes and the channel the insert’s seal sits in. A damp cotton bud is enough, because grit left there transfers to the insert the next time you fit it. Refit only when both parts are completely dry.
If the insert still fogs after a careful clean, the coating is probably worn rather than dirty. The answer then is a replacement insert, not harder cleaning.
What not to use
Most ruined visors were ruined by a product rather than by a rider. Keep all of the following away from both faces of the visor and from any insert.
- Glass cleaner and household sprays. Most contain ammonia or alcohol, which can cloud polycarbonate and strip anti-fog coatings. This is one of the most common ways riders ruin a visor.
- Petrol-station screen wash and solvents. Same problem, usually worse.
- Kitchen roll and paper towels. Paper is wood fibre, and it drags grit across the surface. It leaves fine scratches you only notice at night.
- Dry wiping. The cause of a great deal of visor damage, and completely avoidable.
- Scouring pads, toothpaste, cutting compound and polish. They remove the hard-coat along with the dirt, and no amount of buffing brings it back.
- Alcohol wipes, hand sanitiser and antibacterial sprays. Alcohol can cloud the plastic and strip the anti-fog treatment on the inside.
- Hot water, dishwashers and pressure washers. Heat can damage the coatings, and a jet drives grit across the surface and water into the mechanism.
- Car polish, wax and rain-repellent sprays. They can leave a smeary film that flares in oncoming headlights.
Our guide to the chemicals that damage a motorcycle visor goes through the worst offenders one by one, including some you may not expect to be on the list.
Stubborn contamination: bugs, tar and tree sap
Ordinary road film lifts with a soak. Three things do not, and each needs its own approach.
Baked-on insects are protein. They soften with time and moisture, never with force. Lay a warm, soaking-wet cloth over the visor and leave it a good five minutes, which is longer than feels necessary.
Then check whether the residue moves under almost no pressure. If it does not, soak it again. A second soak always costs less than a scratch.
Tar spots from fresh road surfacing are the one case where a solvent is tempting, and the one case where it will cost you a visor. Tar removers are formulated for paint and glass, not polycarbonate. Repeated warm soapy soaks and patience will shift most of it, and if a mark survives that, it is better to live with a small spot at the edge of your vision than to haze the whole visor trying to remove it.
Tree sap hardens quickly. Warm water and time work; scraping does not, even with a fingernail.
Winter, rain and the fogging question
Cold weather changes what “clean” means. Salt spray dries into a haze that scatters light badly at night, and it is mildly abrasive while it sits there, so a winter visor genuinely benefits from more frequent cleaning, not less.
Rain brings a different problem. Water beading on a clean visor runs off; water on a filmed visor smears. If your visor smears in rain, that is contamination, not a defect.
Fogging is separate again, and it catches people out because the symptom looks similar. Condensation forms on the inside, and it is a temperature problem, not a dirt problem. Scrubbing the inner face makes it worse by damaging the coating that was resisting it.
The reliable fix is an insert that creates a sealed air gap, or a visor with a factory anti-fog treatment. Our guide to anti-fog inserts covers how they work, and our comparison of Pinlock 70 and 120 inserts explains what the two ratings mean. If you are weighing up light-reactive options, the photochromic visor guide covers them.
Drying and storing a clean visor
Most of the damage done during a clean happens at the very end, when you want the job finished. Shake off the loose water, then stand the visor on its edge on a clean towel for a couple of minutes. Blot what remains by pressing a dry microfibre flat against the surface and lifting it straight off, because blotting removes water while wiping moves grit.
If your tap water is hard, droplets left to evaporate leave mineral spots, so blot them before they dry. Spots that have already dried need re-wetting and lifting, never scrubbing. Our guide to drying a motorcycle visor without water spots covers the inside, the edges and the insert in more detail.
Between rides, keep the visor closed so dust cannot settle on the inner face, and never rest the helmet face-down on a hard surface. For a long lay-up, take the visor off the helmet, make sure it is completely dry and store it flat in a soft cloth bag or its original sleeve with nothing stacked on top. An anti-fog insert is better stored separately and flat than left tensioned against the visor.
How often is often enough
The Highway Code’s rules for motorcyclists put it plainly: before each journey, check that your visor is clean and in good condition. There is no schedule that fits every rider, but these habits cover most cases:
- After any wet ride. Road film dries into a haze that is far harder to remove three days later than three minutes later.
- Before any night ride you are not confident about. Marks you cannot see in daylight will flare every oncoming headlight after dark.
- Whenever you notice yourself squinting. Riders adapt to a gradually dirtying visor without registering it. If you find yourself tilting your head to see past something, it is overdue.
- Before a long lay-up. Anything left on the surface has months to bond to it.
The inside of the visor and any insert need cleaning far less often than the outside. Do them only when you can see a film or marks, and with water alone.
Keeping it clean for longer
- Carry a damp microfibre in a sealed bag. Softening a fly at the services beats scrubbing it off at home three days later.
- Keep the cloths themselves clean. A cloth that has been on a garage floor is carrying grit straight onto the visor.
- Deal with insect strikes at the next stop with a damp cloth laid on, not wiped across, rather than leaving them to bake on.
For the wider picture across cleaning, scratches, storage and replacement, see our complete motorcycle visor care guide.
When a visor is past cleaning
Cleaning restores a dirty visor. It does nothing at all for a scratched one, and the two are easy to confuse because both scatter light.
The test takes ten seconds. In a dark room, look through the clean, dry visor at a single bright point of light, such as a bulb or a torch. A visor in good condition shows you a point, while a scratched one turns that point into a star, a streak or a haze.
That is exactly what happens to every oncoming headlight when you ride at night, and no product will reverse it. You can also hold the visor up to a light at an angle: if you can see fine lines across your line of sight, they will flare headlights after dark.
Other signs that cleaning will not help are a hazy patch that stays after a thorough clean, a network of fine cracks in the surface, a coating that is flaking or lifting, and an anti-fog insert that no longer clears. Our guide to when to replace a motorcycle visor goes through each sign.
When it is time, browse our clear visors, or use the visor finder to search by helmet brand and model.
A note on tinted visors
Cleaning does not change what a visor is approved for: the approval marking on the visor, not the tint name, decides road use. This is general guidance, not legal advice.
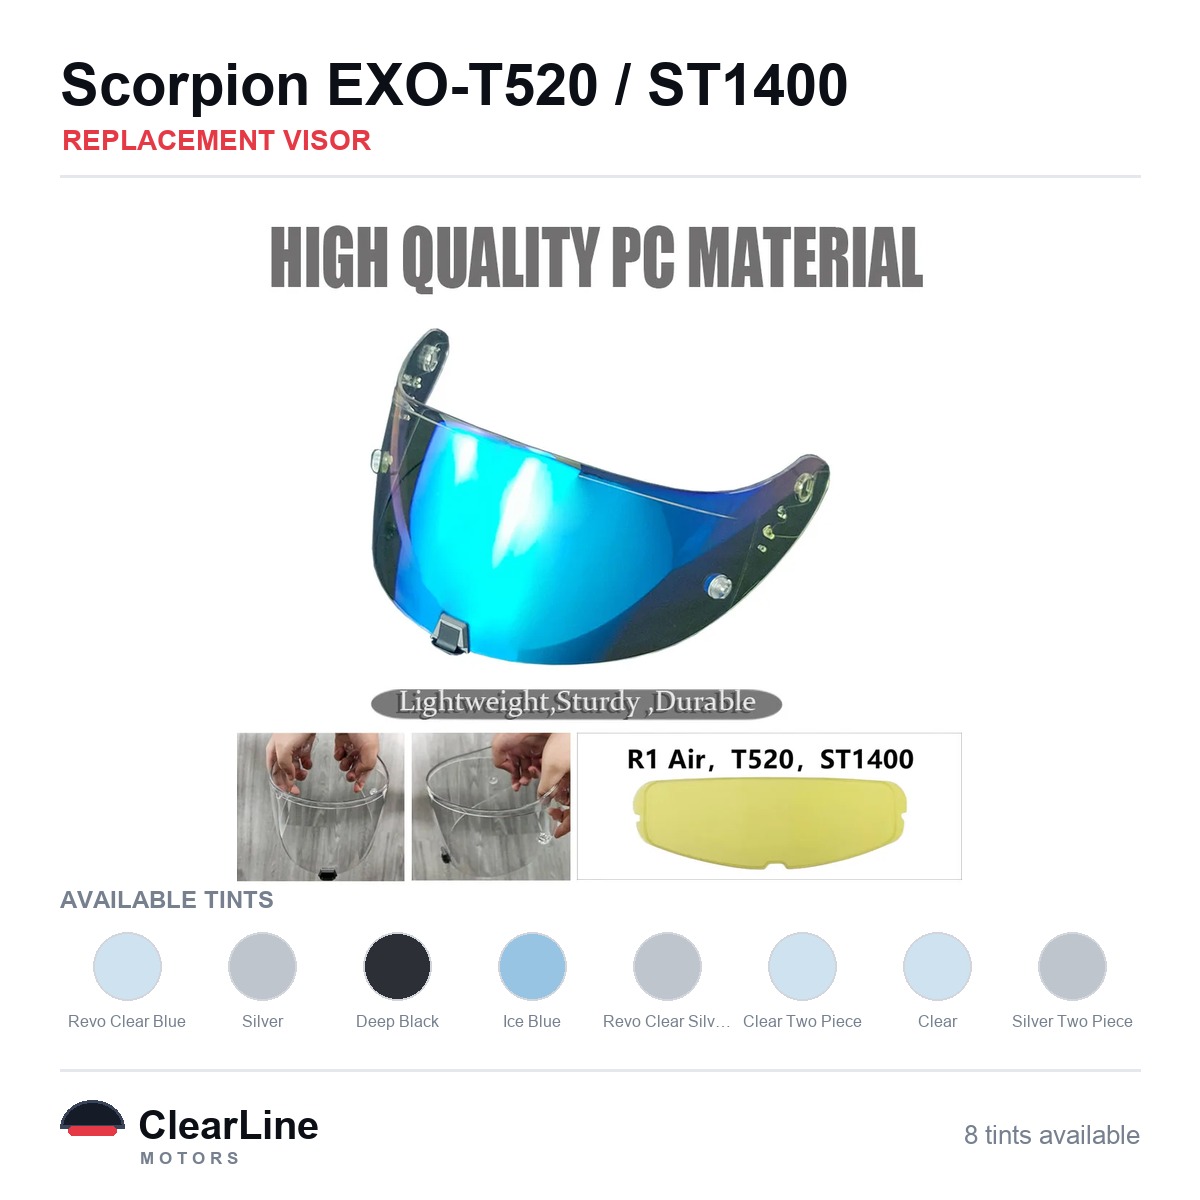
Visors and inserts mentioned in this guide
- Scorpion EXO-T520 / ST1400 Replacement Visor
- LS2 Citation II / Vector II Replacement Visor
- HJC F71 / i71 Replacement Visor
Common questions
Can I use visor cleaner on the inside?
Better not to. The inner face usually carries an anti-fog treatment that most cleaners will strip. Water and the lightest possible touch.
Will toothpaste polish out scratches?
No. It is a mild abrasive, so it removes hard-coat rather than scratches, and it leaves a wider hazed area than the mark you started with. Nothing restores a hard-coat once it is cut.
Is dish soap safe?
A few drops of plain washing-up liquid in warm water is fine. Avoid anything marketed as degreasing, antibacterial or with added solvents.
Can I put a visor in the dishwasher?
No. The heat alone will damage the coatings, and detergent will finish the job.
What about a pressure washer at the services?
No. It will drive grit under the seal of any insert and can force water into the visor mechanism.
How do I clean a tinted, iridium or mirrored visor?
Use the same water-first routine as for a clear visor, with even less pressure. Soak and rinse, wipe in straight passes with a wet microfibre and no polish, then blot dry. A mirror finish is a coating, so there is no safe way to rub a mark out of it.