
Shoei Hornet ADV visor removal trips up more riders than it should, and the reason is almost always the peak. On this adventure helmet the face shield (the visor, which Shoei calls the CNS-2) sits underneath the V-460 peak, and Shoei’s own manual says the peak comes off first. Once you know that order, the whole job takes a few minutes with a single screwdriver kept in reserve.
Aftermarket visors for the Shoei Hornet ADV


The short answer:
- Close the shield, then turn both peak screws a quarter-turn anticlockwise and lift the V-460 peak off.
- Open the CNS-2 shield fully, pull the trigger down, lift the shield and free hooks A, B and C on each side.
- To refit, seat hook C in the hook rail with the shield fully open, press until it clicks, then do the other side.
- Open and close the shield several times and check the tab catches the hook before you ride.
Shoei Hornet ADV visor removal: what you are actually taking off
The Hornet ADV has two parts that riders call a “visor”, and Shoei’s own manual uses the word for both. The clear face shield is the “CNS-2 Shield / Visor”. The sunshade above it is the “V-460 Visor / Peak”. In this guide, “visor” (or “shield”, the usual US term) means the clear CNS-2 you look through, and “peak” means the V-460.
The same helmet is sold in the US as the Shoei Hornet X2. Shoei’s European and US spare-parts listings both give the CNS-2 as the shield for these two names, so everything below applies to either badge. If you are not sure which helmet you have, the model name is usually printed on a label under the comfort lining or on the chin strap.
The CNS-2 mounts to a shield base (base plate) on each side of the shell. The base holds a hook rail, a trigger and a gear that sets the open positions. Nothing here needs force: when a step feels stuck, the usual cause is a hook that has not cleared its rail, not a part that needs pulling harder.
Before you start: a clean bench and the right order
Work on a table with a towel under the helmet, so the shell and the shield cannot pick up scratches. Shoei’s manual is blunt about why this matters: dirt and scratches on the shield “may obstruct your view while riding and can be very dangerous”. The Highway Code rules for motorcyclists say the same thing in plainer words: “Before each journey check that your helmet visor is clean and in good condition.”
Shoei prints one instruction above the shield steps: “Remove the visor / peak before removing / fitting CNS-2 shield.” It also says to close the shield before you take the peak off or put it back. So the order is fixed: shield closed, peak off, shield open, shield off.
Have a size 2 Phillips (PH2) screwdriver nearby. You will not need it for the peak or the shield, but Shoei specifies that size for any screw on the shield base. Our visor care guide covers the cleaning kit worth keeping alongside it.
Step one: removing the V-460 peak
With the shield fully closed, find the two peak screws, one on each side where the peak meets the shell. Turn each one a quarter-turn (90 degrees) anticlockwise. Shoei’s wording is “Rotate both screws 90 degrees to the left”.
Lift the peak away from the shell at the sides and take the two screws out. Keep them in a dish, because they are small and easy to lose in a towel.
The centre of the peak is held by a separate peak base on top of the shell. Press the release point on that base (marked B in Shoei’s drawing) and slide the peak forward to pull it out. The peak is now free and the CNS-2 shield is fully exposed.
Step two: removing the CNS-2 shield
Raise the shield to its fully open position. This lines the hooks up with the openings in the hook rail; at any other angle they stay locked.
On one side, pull the trigger down and hold it. While holding it, lift the shield towards you to release hooks A and B, then draw hook C out of the rail. Shoei’s manual puts it as “While pulling the trigger down, lift the shield / visor and release hooks (A), (B) and (C).”
Repeat on the other side and the shield comes away. If one side lets go and the other does not, check the shield is still at full open on the stuck side before you try again. For general background on how other helmets do this job, see our guide on how to remove a motorcycle helmet visor.
Cleaning the shield and seals while it is off
With the shield off, it is the best moment to clean both faces of it and the rubber window beading around the eye port. Shoei says to use “a solution of mild, neutral soap and water”, rinse in clean water and dry with a soft cloth.
The manual also lists what not to use: water hotter than 40°C, salt water, acidic or alkaline detergents, benzine, thinner, petrol, other organic solvents and glass cleaner. These can change the material of the shield and, in Shoei’s words, “safety may be hindered”.
Before you refit, Shoei recommends a small amount of silicone oil on the window beading so the shield seals well. Wipe away the excess, because oil on the shield itself will blur your view. Our visor cleaning guide goes through the cloth and drying side in more detail.
Step three: refitting the CNS-2 shield
Hold the shield in the fully open position against the helmet. Insert hook C into the hook rail first.
Press the shield at the point Shoei marks with an arrow until it clicks. The trigger rises as the shield clicks home, and hooks A and B drop into the rail. Then repeat on the other side.
Now test it. Open and close the shield several times, and confirm that, with the shield fully closed, the tab catches the hook at the bottom. Shoei warns that if the hooks and gear are not seated, “the shield / visor may come loose while riding”. Shoei also recommends riding with the shield fully closed on that hook.
Step four: refitting the V-460 peak
Close the shield before you start. Slide the plate at the centre of the peak into the gap in the peak base (C in Shoei’s drawing) until it clicks.
Line up the holes on each side of the peak with the holes in the side peak bases. Insert the screws and turn each a quarter-turn clockwise to lock them.
Shoei’s general warning section adds one last check before every ride: make sure both peak screws are tight and the peak cover is firmly fitted. A loose peak catches a lot of wind on an adventure helmet.
Which shield the Hornet ADV uses
The Hornet ADV and the Hornet X2 share the CNS-2 shield and the V-460 peak. Our Hornet ADV visors and Hornet X2 visors categories list the same parts under each market name, so pick whichever name is printed on your helmet.
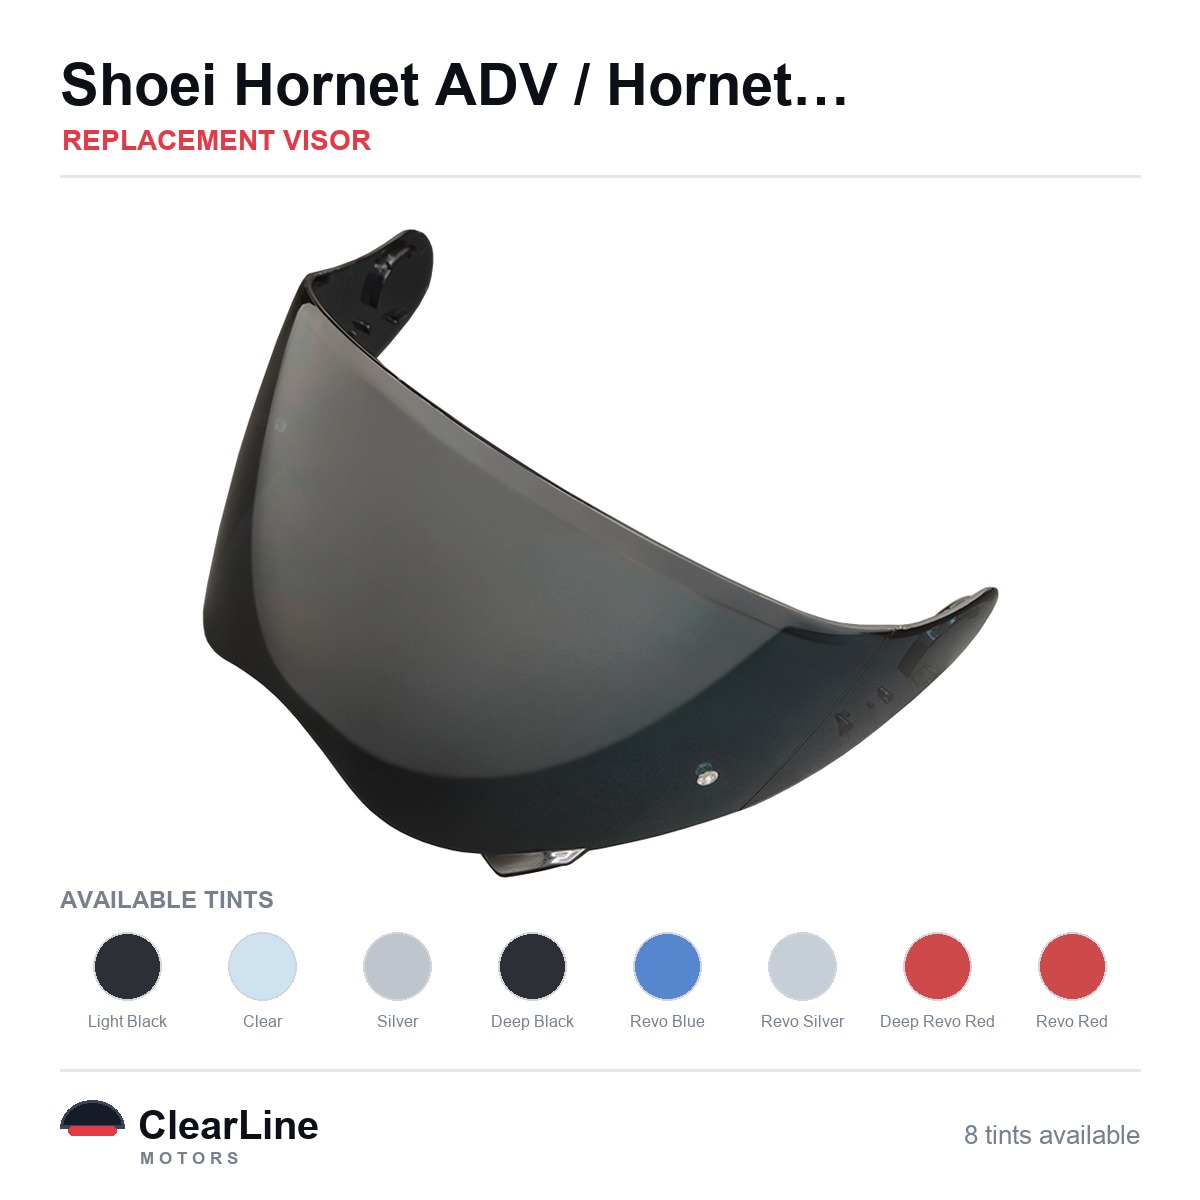
If you are changing the shield because it is scratched rather than to clean it, the Shoei Hornet ADV / Hornet X2 Replacement Visor comes in clear and tinted options. A photochromic visor for the Hornet ADV and Hornet X2 darkens in sunlight and clears again in shade. Our photochromic visors guide explains how that works.
Other Shoei models use other shields, so do not assume a neighbouring model’s part will clip in. Our visors that fit Shoei helmets are grouped by helmet, and the visor finder narrows it down by model.
Anti-fog inserts on the CNS-2
Shoei’s manual recommends Shoei’s own anti-fog lens for the CNS-2 and says to follow the instructions packed with that lens. If you use the helmet maker’s lens, its instructions win over anything here.
Our anti-fog insert for the Hornet ADV and Hornet X2 is our own aftermarket part, not a Pinlock lens. Its product page says most of our inserts fit between two small pins on the inside of the visor, so check that yours has them, then take the shield off, clean the inside with a dry cloth and follow the fitting guide in the pack. That makes the shield-off step above the natural time to fit it.
Anti-fog layers work because the surface spreads condensation into a thin, even film rather than tiny droplets. A 2022 materials study describes how, on a hydrophilic coating, “condensed water spreads into a pseudo‐film shape immediately to avoid fogging” (Advanced Science, via PubMed Central). For the wider picture, see our anti-fog inserts hub and how to stop a helmet visor fogging.
Tints, markings and the law
Changing a shield is also the moment some riders switch tint, so the rules in Great Britain are worth knowing. Under The Motor Cycles (Eye Protectors) Regulations 1999, a visor for road use in Great Britain must meet a prescribed standard, such as BS 4110 or an approved equivalent, and be marked with an approved certification mark. The legal test is that marking on the individual visor, not its colour or the name of the tint.
Iridium, mirrored and dark-smoke visors are never road legal in Great Britain, day or night, because they transmit too little light to be legal for road use. They are for track days and off-road use. Selling eye protection as authorised for road use when it is not is a separate seller offence under section 18 of the Road Traffic Act 1988.
ClearLine does not check the markings on individual items, so check the marking on any visor yourself before riding on the road. Our clear visors guide and iridium visors guide cover the difference between road and track tints in more depth. Rules outside Great Britain differ, so check your local rules.
Troubleshooting a Hornet ADV shield after refitting
Most problems after a shield change come from a hook that did not fully seat or a base that has shifted. Work through these before ordering parts.
The shield will not come off on one side
The shield is probably not at full open on that side. Raise it to the top stop, hold the trigger down fully and lift again before drawing hook C out.
The shield whistles or lets in wind
Close the shield and check it touches the window beading all the way round. Shoei says to adjust the position of the base plate if there is a gap, because a gap causes wind roll-in and noise. Tighten base screws gently with a PH2 screwdriver; Shoei gives about 80 cN·m as the recommended torque and warns that overtightening can break a screw.
The shield will not stay shut
Check that the tab at the bottom of the shield catches the hook when fully closed. If it misses, take the shield off and refit it, making sure the trigger rose on both sides.
It fogs more than it used to
Shoei’s advice is to open the lower air intake or crack the shield to move air through the helmet. An anti-fog layer helps too; see the section above.
Visors and inserts mentioned in this guide
- Shoei Hornet ADV / Hornet X2 Replacement Visor
- Hornet ADV photochromic visor
- See the Hornet anti-fog insert
- All visors for the Shoei Hornet ADV
- All visors for the Shoei Hornet X2
Procedure steps in this guide follow the Shoei Hornet ADV instruction manual. Written by the ClearLine team. Aftermarket parts, not OEM: Shoei model names show fitment only, and ClearLine is not affiliated with Shoei.
Frequently asked questions
Do I have to take the peak off to change the Hornet ADV visor?
Yes, according to Shoei. The Hornet ADV manual says to remove the V-460 peak before removing or fitting the CNS-2 shield, and to close the shield before taking the peak off.
Is the Hornet X2 visor the same as the Hornet ADV visor?
Yes. Hornet ADV is the European and worldwide name and Hornet X2 is the US name for the same helmet, and Shoei lists the CNS-2 shield for both. The removal steps are the same.
Do I need tools to remove the Hornet ADV visor?
Not for the shield itself, which releases with the trigger and hooks. The peak screws turn a quarter-turn, and a PH2 screwdriver is the size Shoei specifies for screws on the shield base.
Why does my Hornet ADV visor click but still feel loose?
One of the hooks has probably not dropped into the hook rail. Open and close the shield several times, check the tab catches the hook when closed, and refit that side if it does not.