The MT Thunder 3 is a full-face helmet whose visor (shield) is held at each side of the shell by a release mechanism that MT describes as quick and easy. MT Thunder 3 visor removal needs no tools and takes a couple of minutes once you know the order: open the visor fully, free one side mechanism, then the other, and lift the visor away. This guide sets out that sequence, what MT itself says about the Thunder 3 visor, and the checks to make before you ride on a new one.
Aftermarket visors for MT helmets


The short answer: raise the visor until it stops in its fully open position. Release the side mechanism on one side and ease that edge of the visor away from the shell, then do the same on the other side and lift the visor clear. To fit a new visor, open it fully, seat each side on its mechanism and press until it clicks, then check that it opens, closes and seals properly.
Before you start: check which Thunder 3 you have
MT uses the Thunder 3 name on more than one helmet. Its own site lists the Thunder 3 SV, a full-face helmet with an internal sun visor, and the Thunder 3 SV Jet, an open-face version. Our catalogue also has listings for the Thunder 3 Pro, so the exact name on your label matters before you order anything.
A visor is cut for one shell opening and one pair of side mechanisms. Some listings carry the Thunder 3 name alongside other MT models, and a shared listing name is not proof that two helmets take the same visor. Treat each variant as its own helmet unless the listing names yours.
- Read the label. The model name is printed inside the helmet, usually under the lining or on the chin strap label.
- Compare the old visor. Hold the listing photo next to the visor you are replacing and compare the side mounts, the outline and the lifting tab.
- Rule out a Thunder 4. MT says its tool-free quick visor swap system, MT-QVSS, was introduced for the first time with the Thunder 4 SV. If your helmet has that system, it is not a Thunder 3, and the visors in our MT Thunder 4 SV range are the ones to look at.
Our catalogue keeps the variants apart: the MT Thunder 3 visor range, the MT Thunder 3 SV range and the MT Thunder 3 Pro range. If you are still unsure, the visor finder narrows it down by brand and model.
What MT says about the Thunder 3 visor
MT does not publish a written, step-by-step visor procedure for the Thunder 3 that we could find. Its full-face owner’s manual lists a “Fast Removing Visor” among the helmet’s features and points owners to MT’s video tutorials on YouTube, which include an introduction tutorial for the Thunder 3 SV. If the video for your helmet differs from the steps below, follow the video, because it is made for your model.
On its Thunder 3 SV product page, MT describes an “Easy screen disassembly system” and a “Screen with quick and easy release mechanism”. The same page calls the visor an “Anti-scratch optical polycarbonate screen” with an anti-fog treatment, and describes it as an airtight screen that prevents the entry of air. That last point matters after a swap, because a visor that is not seated properly is the usual reason for a new whistle or draught.
The SV in the name stands for the internal sun visor, which drops down inside the shell. It works separately from the main visor, so raise it fully into the shell before you start and leave it there until the new visor is on.
What you need for the job
The swap is done by hand, so most of the preparation is about protecting the paint, the mechanisms and the new visor’s surface.
- A folded towel or the helmet bag to rest the helmet on, so the shell cannot roll
- Two clean microfibre cloths, one dry and one slightly damp
- Warm water and a drop of mild soap for cleaning the mechanisms and the seal
- The replacement visor, with its protective film left on until it is fitted
- A well-lit table, so you can see each side mechanism clearly
Take off rings and watches and wash your hands before you begin. Grease from fingers on the inside face of a new visor is hard to shift once it has been through a few warm, damp rides.
MT Thunder 3 visor removal, step by step
These steps are the general tool-free method set out on our own Thunder 3 listings: open the visor fully, release the side mechanism on each side, lift the old visor away and clip the new one in until it clicks. MT’s tutorial video for your helmet is the final word on where the release points sit.
- Set the helmet down. Rest it on the towel with the chin bar facing you, so both side mechanisms are easy to see and reach.
- Raise the sun visor. On a Thunder 3 SV, make sure the internal sun visor is fully retracted into the shell.
- Open the main visor fully. Lift it by the tab until it stops at the top of its travel. The method on our listings starts from this fully open position, so do not try to release the visor part-way down.
- Release the first side. Work the release on one side mechanism and, while it is released, ease that edge of the visor outwards and away from the shell. It should come free without force.
- Release the second side. Move round and repeat on the other mechanism. Lift the visor clear and lay it inside face up on a clean cloth.
If one side will not move, stop and check that the visor really is at the top of its travel before trying again. Prising a visor off with a screwdriver or a coin is how mechanisms crack, and a cracked mechanism is a bigger repair than a visor.
Clean the mechanisms and seal before refitting
With the visor off, you have the best access you will get to the side mechanisms and the rubber seal around the opening. Grit in a mechanism makes the visor stiff, and dirt on the seal stops a new visor sitting flat when it closes.
- Wipe each side mechanism with a cloth dampened in warm water and a drop of mild soap.
- Clean the rubber seal all the way round the opening. Our guide to cleaning a motorcycle visor seal covers this part of the job in detail.
- Dry everything with the dry cloth and give it a few minutes before refitting.
Stick to water and mild soap. MT’s manual says never to use oils, petroleum, products or chemical solvents on the helmet, as they can damage its structure and components. It also says not to dry the visor on heat sources.
Fitting the new visor
- Handle it by the edges. Keep your fingers off the area you look through, and leave the protective film on until the visor is in place.
- Hold it in the open position. Offer the visor up to the shell at the angle it sat at when fully open.
- Seat the first side. Line the side of the visor up with its mechanism and press until it clicks home.
- Seat the second side. Repeat on the other mechanism, keeping the visor square to the shell.
- Peel the film. Remove the protective film from both faces before your first ride.
A visor that is only clipped in on one side will look fine fully open and then close crookedly. If it does not feel even from side to side, take it off and seat it again rather than forcing it shut.
Checking the seal and the lock after a swap
Test the visor before you ride, at home rather than at the roadside. Open and close it through its whole range a few times, and lower and raise the sun visor to make sure the two do not rub.
- It is firmly fixed. With the visor closed, a light pull on each side should not move it on its mechanisms.
- It moves freely. It should rise and fall smoothly, with no sticking point on either side.
- It shuts properly. Closed, it should sit against the rubber seal all the way round with no visible gap.
If the visor will not stay shut or will not move freely after fitting, do not ride with it. Remove it, check both sides again, and if the fault stays, have the helmet looked at before you use it.
Choosing a replacement visor for the MT Thunder 3
Every visor we list for the Thunder 3 family is listed by model name. The table sets out what each part is for, with a guide to read if you are weighing it up.
| Part | What it is for | Read more |
|---|---|---|
| Replacement visor for the MT Thunder 3 | Swapping a scratched, hazed or scuffed visor on a helmet labelled Thunder 3 | clear replacement visors explained |
| MT Thunder 3 SV replacement visor | The same job on a helmet labelled Thunder 3 SV | keeping a new visor clear |

MT’s manual says that if the visor is scratched, or vision through it is blurred, the visor must be replaced. Rule 84 of the Highway Code for motorcyclists makes the same point: “Scratched or poorly fitting eye protectors can limit your view when riding, particularly in bright sunshine and the hours of darkness.” If your visor is only lightly marked, our guide to removing scratches from a motorcycle visor explains what can be polished out and when it is time to replace it.
Tinted versions of any visor need care in Great Britain, which the law section below explains. For light that changes during a ride, our guide to how photochromic visors work explains the technology.
Fogging and the Thunder 3 visor
MT lists an anti-fog treatment on the Thunder 3 SV visor, and its product page also names a “FogOff anti-fog sheet” among the helmet’s features. A treated surface only keeps working if it is cleaned gently, which is one more reason to stick to warm water, mild soap and a soft cloth.
If you want to add an anti-fog insert, fit one only if its listing names your helmet and your visor is made to take it. A visor that accepts a pin-mounted insert normally has two small pins on its inside face, so check the old and new visors for them. Our page on Pinlock-compatible anti-fog inserts explains how pin-mounted inserts work.
A visor swap is a good moment to fit an insert, because the visor is already off the helmet. For the wider picture, our guide on how to stop helmet visor fogging covers vents, breathing and cold-weather habits.
The law in Great Britain: the marking on the visor is the test
In Great Britain, whether a visor may be used on the road depends on the marking on that individual visor, not its colour or the name of its tint. The Motor Cycles (Eye Protectors) Regulations 1999 prescribe BS 4110 and require eye protection to be marked with an approved certification mark of an approved body. A visor is only road legal in GB if it carries that marking.
Iridium, mirrored and dark smoke visors transmit too little light to be legal for road use in Great Britain, day or night. Keep any visor like that for the track or off-road use, and check the marking on a clear or light visor before you ride on it.
Selling eye protection for road use that is not of a prescribed type is itself an offence under section 18 of the Road Traffic Act 1988. That is why ClearLineMoto never describes any visor as approved or certified: we do not check the marking on individual items. Read our guide to tinted visor law in Great Britain for the detail, and riders in the US can start with our guide to visor tint rules in the US.
Troubleshooting after a visor swap
Why won’t the Thunder 3 visor come off?
Usually the visor is not quite fully open, or the side release was let go before that edge of the visor had moved. Open the visor to the top of its travel, work the release and ease the edge outwards in one movement. If it still resists, look for grit around the mechanism rather than forcing it.
Why does the new visor whistle or let in a draught?
The most common cause is a visor seated on one side only, or a little dirt on the rubber seal. Take the visor off, clean the seal, then seat both sides again until each one clicks. MT describes the Thunder 3 SV screen as airtight, so a gap you can see or feel after fitting means something is not seated.
Why does the visor feel stiff when it moves?
Dirt in the side mechanisms is the usual cause. Take the visor off, clean the mechanisms with warm water and mild soap, dry them and refit. If it is still stiff after cleaning, do not ride with it until the helmet has been checked.
Looking after the visor
Clean the visor with a soft cloth, warm water and mild soap, which is the method MT’s manual gives, and let it dry naturally rather than on a heater. Keep fuels, solvents and window cleaners away from it, and store the helmet in its bag when you are not using it.
Before each ride, give the visor the check that rule 83 of the Highway Code asks for: “Before each journey check that your helmet visor is clean and in good condition.” Our full guide to cleaning a motorcycle helmet visor covers technique in more depth.
For the other models in the range, browse our visors for MT helmets, or see how they are grouped in our overview of visors that fit MT helmets. This guide was written by the ClearLineMoto team. ClearLineMoto is not affiliated with MT Helmets, and every part we list is described by the helmet models it fits.
Visors and inserts mentioned in this guide
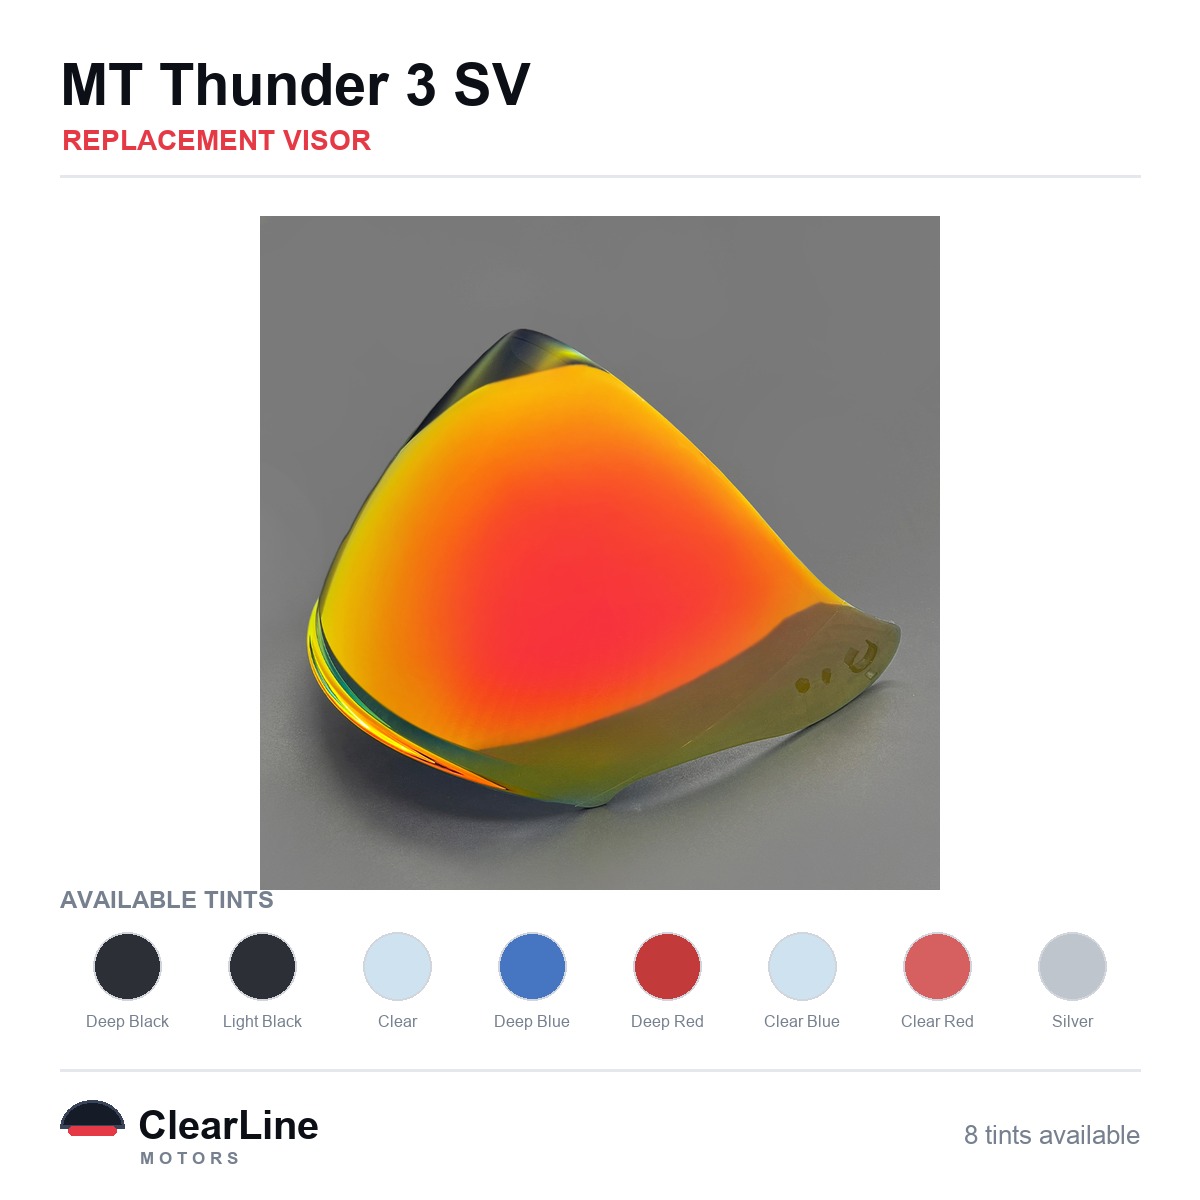
- MT Thunder 3 SV Replacement Visor — Smoke, Clear, Silver Tints
- See the replacement visor for the MT Thunder 3
- All visors listed for the MT Thunder 3
- Visors listed for the Thunder 3 SV
- Visors listed for the Thunder 3 Pro
Frequently asked questions
Do you need tools to change an MT Thunder 3 visor?
No. MT describes the Thunder 3 SV screen as having a quick and easy release mechanism, and the visor comes off and goes back on by hand. Keep screwdrivers and coins away from the mechanisms, because prising is how they crack.
Will a visor listed for another MT model fit the Thunder 3?
Only rely on a listing that names your exact variant. A visor is shaped for one shell opening and one pair of side mechanisms, and a listing that names several models is not proof that they share a visor. Check the label inside your helmet and compare the old visor before ordering.
Do I need to remove the sun visor to change the main visor?
No. On the Thunder 3 SV the internal sun visor sits inside the shell and works separately from the main visor. Raise it fully before you start so it stays out of the way, then check after fitting that the two move without touching.
Is the Thunder 3 the helmet with MT’s 5-second visor system?
No. MT says its MT-QVSS quick visor swap system was introduced for the first time with the Thunder 4 SV. A Thunder 3 uses its own side release mechanism, so the steps in this guide apply to it rather than the Thunder 4 system.