Taking the face shield off an LS2 Citation 2 is a short job when the mechanism behaves and a frustrating one when it does not. This guide covers LS2 Citation 2 visor removal from both ends: the normal sequence, and what to check when the visor refuses to let go. Everything below is meant to be done with your hands, over a soft surface, without force.
The short answer: open the visor to its highest stop, hold the shell steady, release the catch on the base plate at the side of the helmet, then lift the visor away from the pivot. Refitting is the same sequence in reverse, with the visor seated square before you close it. If the visor will not release under light pressure, stop and look at the base plate instead of pulling harder.
Before you start, set the job up properly
A visor that snaps off its pivot and lands on a concrete floor is scrap. Clear a table, lay down a folded towel, and keep the helmet on the towel for the whole job rather than holding it over your lap. Work in daylight or under a lamp, because most of this job is looking at a small plastic catch and understanding what it does.
You need nothing else. No screwdriver, no heat, no release spray. If you find yourself reaching for a tool on a tool-free mechanism, that is the signal that something is still latched, not that you need more leverage. Household oil on a ratchet is a particularly bad idea, because it attracts grit and then grinds the detents flat.
One habit worth keeping: before you remove anything, close the visor and look at where it meets the eyeport seal. Note how evenly it sits. That is your reference for whether the new one is seated correctly later.
Which base plate does your helmet have?
LS2 has used more than one side-plate design across its full-face range, and the shape of the release differs between generations and between the shells a model was built on. Rather than guessing, look at the side of your own helmet with the visor fully open. The release is always visible from outside once the visor is raised.
| What you can see on the side plate | What it is | How it releases |
|---|---|---|
| A small lever or tab sitting just below or behind the visor pivot | Tool-free quick release | Push or lift the lever while the visor is at its top stop, then draw the visor outward |
| A sliding catch that moves fore and aft in a slot | Sliding latch plate | Slide the catch away from the pivot to free it, then lift the visor off |
| A visible screw head holding a cover plate | Screw-fixed side pod | Back the screw out a short way, lift the cover plate, then free the visor tang |
| A smooth plate with no lever, catch or screw | Not the release point | Rotate the helmet and check the other side, or look under the raised visor for a recessed tab |
Identify the mechanism before you apply any pressure. The three designs fail in different ways, and the fix for a stiff lever is nothing like the fix for a seized screw. If your helmet came with a printed sheet or a model-specific video from the manufacturer, that remains the definitive reference for your exact shell.
LS2 Citation 2 visor removal, step by step
The sequence below is the tool-free one, which covers the common case. For a screw-fixed side pod, insert the screw and cover-plate steps where noted.
- Open the visor to its highest stop. Most LS2 ratchets have a distinct top position where the visor sits proud of the shell. The release geometry only lines up there, which is why a visor at the second-from-top detent feels welded on.
- Support the shell with your other hand. Hold it by the chin bar, not by the visor. You want all the force going into the catch and none into the pivot boss.
- Operate the release on one side only. Push, lift or slide it as the table above describes. You should feel a short travel and sometimes hear a click. On a screw-fixed pod, back the screw out a turn or two and lift the cover plate clear.
- Draw that side of the visor outward and slightly forward. The tang comes off the pivot on an arc, not straight sideways. If it binds, let it return and try the arc a little flatter.
- Repeat on the second side. With one side free the visor will hang at an angle, so keep hold of it. Lifting the second side is usually easier because the visor can now move.
- Put the visor somewhere safe immediately. Face up on the towel, or straight into the bag the new one arrived in. A visor laid face down on a bench picks up scratches in seconds.
- Look at the exposed base plate. With the visor off you can see the detents, the spring and any grit that has worked its way in. A soft brush and a damp cloth are enough.
If any step needs real effort, something is still engaged. Our general guide to removing a motorcycle helmet visor covers the same logic across other mechanisms, and the LS2 Advant 2 visor removal walkthrough shows how the same principles play out on a flip-front shell.
Fitting the new visor so it actually seals
Refitting is the reverse arc, but the part people get wrong is the final check rather than the fitting itself. Offer the visor to one pivot with the release held open, seat the tang, and let the catch return on its own. Then do the other side and work the visor through its full travel two or three times.
Now close it fully and look along the eyeport seal from the front of the helmet. The visor should touch the seal evenly across the whole aperture, with no gap at one corner and no section standing proud. An uneven seal is the usual cause of wind noise and of a draught that feeds fog onto the inside of a cold visor.
If one side sits high, the tang on that side is not fully home. Take it off and refit it rather than forcing the visor closed, which simply loads the pivot. A visor that has to be pressed to latch will work its way loose on the road.
When the visor will not come off
Almost every stuck visor comes down to one of a handful of causes, and only one of them needs a part.
| Symptom | Likely cause | What to do |
|---|---|---|
| Release lever moves but the visor stays put | Visor is not at the top detent | Raise the visor fully until it stops, then operate the lever again |
| Lever feels gritty and travels only part way | Dirt and road salt in the ratchet | Brush dry, wipe with a damp cloth, let it dry fully, then retry |
| Visor frees on one side and jams on the other | Tang loaded sideways by the free side | Support the visor so it hangs level, then release the second side |
| Catch returns instantly and will not hold open | Weak or displaced return spring | Hold the catch with a fingernail while you lift the visor clear |
| Screw turns but the cover plate will not lift | Screw thread stripped or plate hooked under the shell trim | Remove the screw completely and slide the plate forward before lifting |
| Pivot boss moves with the visor | Base plate itself has come loose | Stop. The base plate is a helmet part, not a visor part, and needs refitting before you ride |
The last row is the one that matters for safety. A base plate that rotates with the visor is not holding the visor to the shell any more, and no replacement visor will fix it.
The drop-down sun visor is a separate part
Many riders come looking for a visor and are actually describing the internal sun shade, which is a different component on a different mechanism. It lives inside the shell, drops on a slider or a lever at the side of the helmet, and comes out through its own carrier rather than off the outer pivots. Removing the outer visor does not remove it and does not usually disturb it.
The practical consequence is about tint. The outer visor and the drop-down shade are judged separately, because each is its own piece of eye protection with its own marking. A clear outer visor plus a dark internal shade is a common setup, and it is the shade you are looking through when it is down.
If your internal shade is the part that is jammed rather than the visor, the cure is usually the slider track and not the shade itself. That is a different job from the one above.
Putting an anti-fog insert back in
If your old visor carried a Pinlock-compatible insert, it does not transfer by habit: it transfers by measurement. The insert locates on two pins in the visor and is tensioned by twisting those pins, so it only fits a visor drilled for that pin spacing. Check the new visor has the pin holes before you assume the insert will go in.
Fit the insert with the visor off the helmet, on the towel, with the silicone bead facing the visor. Flex the visor gently to spread the pins, locate one side, then the other, and let the visor relax so the bead pulls down onto the surface. A faint oil mark from your fingers on the inside face is worth cleaning off before the bead seats on it.
Our range of Pinlock-compatible anti-fog inserts lists which visors each insert is cut for, and the LS2 Citation II anti-fog insert is the one that matches this model’s visor aperture.
Tint, and what the law in Great Britain actually tests
A visor change is the moment most riders think about tint, so it is worth being precise about what the rules examine. In Great Britain the test is the marking on the individual visor, not its colour and not the name of the tint.
The Motor Cycles (Eye Protectors) Regulations 1999 set out which types are prescribed. Regulation 4(1) of the 1999 Eye Protectors Regulations prescribes eye protectors of “Grade X in British Standard BS 4110:1979” and of “Grades XA, YA or ZA in British Standard BS 4110:1979 as amended”, among equivalent standards, and it requires that the protector be “marked with an approved certification mark of an approved body”.
BS 4110 is the standard for visors; BS 6658 is a helmet standard and is not the same test. Conflating the two is the most common mistake in forum advice on this subject. Selling an eye protector as authorised for road use when it is not a prescribed type is a seller offence under section 18(4) of the Road Traffic Act 1988, which is why we describe fitment and tint but never certify an individual item.
Iridium, mirrored and dark-smoke visors transmit too little light to be legal for road use in Great Britain, at any hour. There is no daytime carve-out for them. If you want to understand why, our guide to iridium and mirrored visor legality goes through it, and the iridium visor range is listed for track and off-road use.
The Highway Code frames the everyday version of the same point. Rule 83 says to “check that your helmet visor is clean and in good condition” before each journey, and rule 84 adds that “scratched or poorly fitting eye protectors can limit your view when riding, particularly in bright sunshine and the hours of darkness” (see the Highway Code rules for motorcyclists). A hazed visor you have stopped noticing is the quiet version of that problem.
For one visor used all year, a clear replacement visor is the setup that works in every condition. If you would rather the tint changed by itself, photochromic visors that darken in sunlight are the alternative to swapping between two visors.
Making sure the visor you order fits your helmet
Visor fitment is model-specific and we do not treat a shared product listing as proof that two helmets take the same part. Read the model name on your own helmet, and if there is a model code on the shell or on the label inside, match that code to the model page rather than working from the name alone. LS2 writes this helmet’s name as the Citation II, so listings and categories may use either spelling.
From there, two pages do the work. The LS2 Citation II visor category lists the parts recorded against this model, and the wider LS2 helmet visor range covers the rest of the marque. If you are not sure which model you have, the ClearLine visor finder works from the helmet rather than the part, and the overview of visors that fit LS2 helmets is a useful cross-check.
One honest caveat. Where a listing name mentions more than one helmet, that reflects how the part is supplied to us, and we do not publish it as a verified statement that those models interchange. Order against your own model page.
Visors and inserts mentioned in this guide
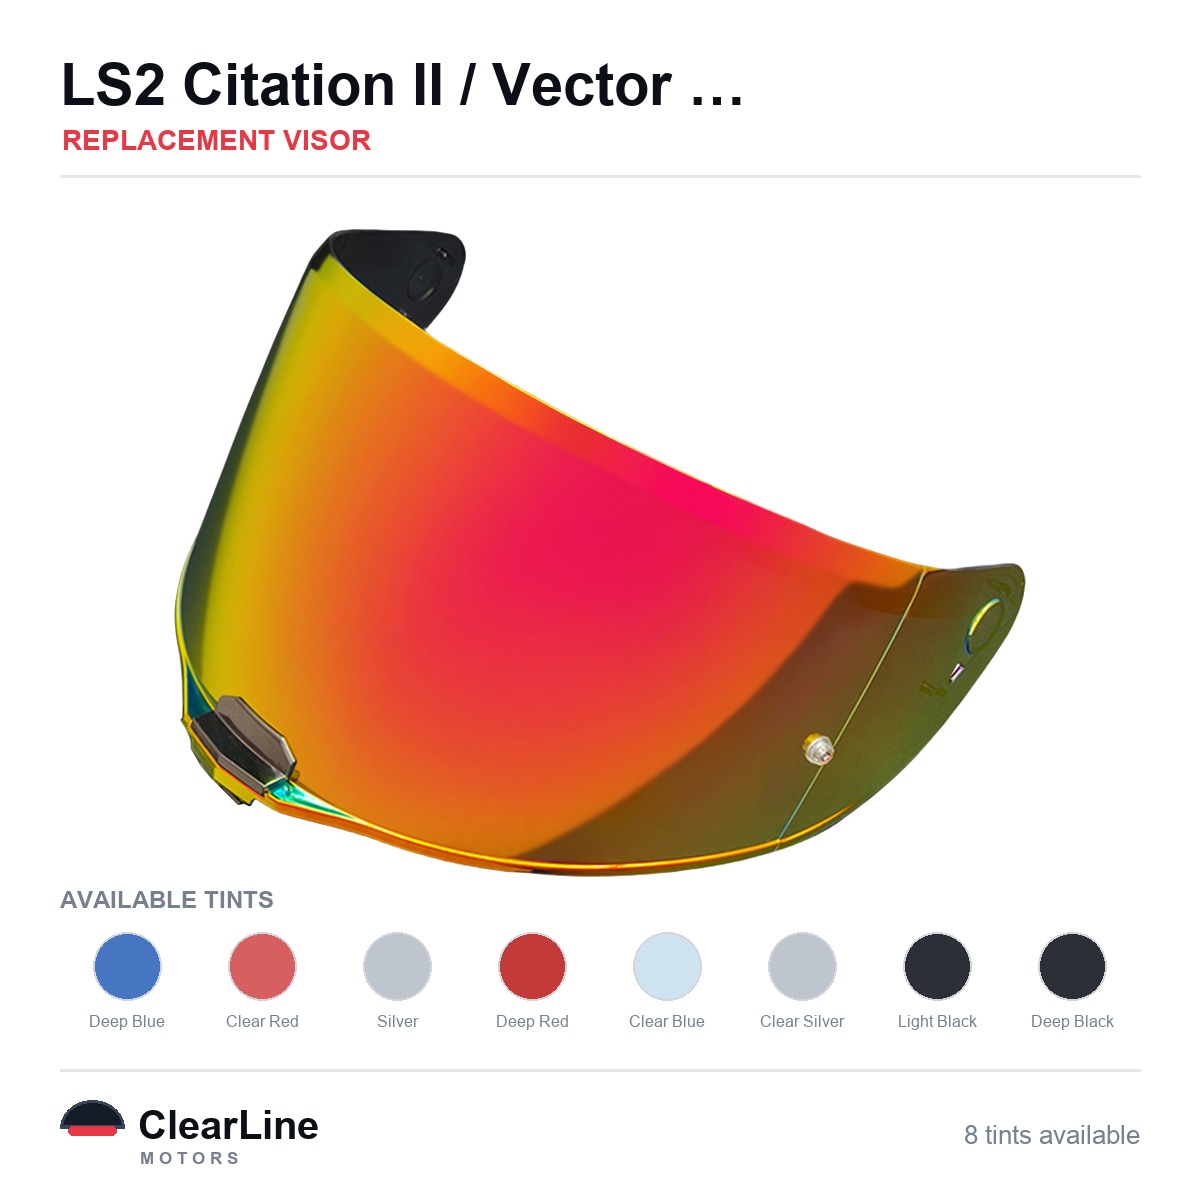
- LS2 Citation II / Vector II Replacement Visor — Smoke, Clear, Silver Tints
- photochromic visor for the LS2 Citation II
- See the LS2 Citation II anti-fog insert
- LS2 Citation II visor category
Written by the ClearLine team, who spend most of their week reading fitment data.
Frequently asked questions
Can I remove an LS2 Citation 2 visor without tools?
On the tool-free side plates, yes. Raise the visor to its top stop, operate the release lever or sliding catch, and draw the visor off the pivot on an arc. Only the screw-fixed cover-plate design needs a screwdriver, and on that one the screw only has to back out a short way.
Why does my new visor sit proud of the eyeport seal?
Almost always because one tang is not fully home on its pivot. Remove the visor and refit that side, rather than pressing the visor closed against the seal. If both sides are seated and the gap persists, check whether the base plate itself has shifted on the shell.
Does taking the visor off disturb the drop-down sun visor?
No. The internal sun shade runs on its own carrier inside the shell and is operated by a separate slider or lever. You can remove and refit the outer visor without touching it, although it is a good moment to check the shade moves freely through its travel.
Can I fit a tinted visor and use it on the road in Great Britain?
What matters is the marking on that individual visor, not the name of the tint. An eye protector has to be of a prescribed type and carry an approved certification mark to be authorised for road use, so a tint is never legal or illegal simply because of its colour. Iridium, mirrored and dark-smoke visors transmit too little light to be legal for road use at any hour.
How often should a visor be replaced?
There is no mileage figure that fits every rider, because wear comes from cleaning habits, storage and insect season more than from distance. The useful test is the one in rule 83 of the Highway Code: look through it before each journey, in the light, and judge whether it is clean and in good condition. A visor that scatters light into halos at night has reached the end of its working life whatever its age.
Is it worth keeping the old visor?
If it is intact and simply tinted differently, yes, since a spare that fits your helmet is more useful than one you have to buy again. Store it flat in a soft bag, away from heat and away from solvent fumes. A visor stored loose in a top box will not survive the summer.