Arai Tour-X4 visor removal looks harder than it is, because the visor and the peak come off as one unit. On most road helmets you flip a lever and the visor pops free. On the Tour-X4 (sold in North America as the XD-4, and in Japan as the Tour Cross 3), the peak sits over the visor pivot, so you take out four screws first.
Aftermarket visors for Arai helmets
The short answer: remove the two screws on each side of the peak with a flat-blade screwdriver or a coin, lift off the left and right pressure plates, and the visor and peak lift away together. To refit, seat the black spring clips, close the visor fully, line the peak’s lower screw hole up over the two pins of the base plate, then refit the plates and screws without over-tightening.
- Tools: a flat-blade screwdriver or a coin. Nothing else.
- Screws: four in total, two on each side of the peak.
- Never remove: the base plates bolted to the shell.
- Watch for: the spring clips, which only go back one way round.
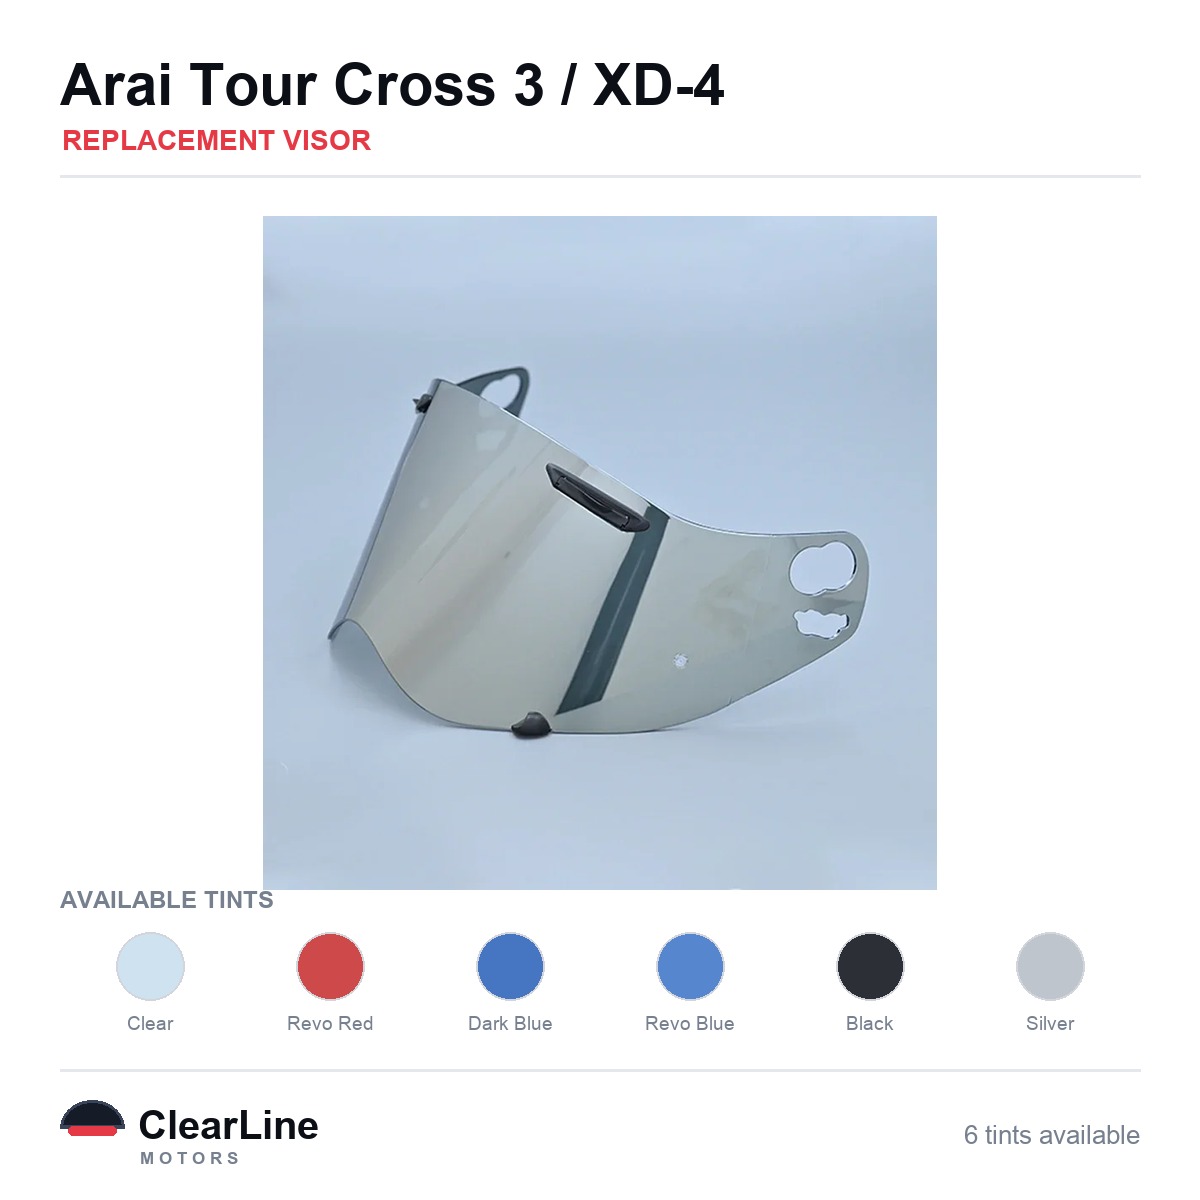
Everything below comes from Arai’s own instruction booklet for this helmet, the TX-4 / XD4 / VX-3 / VX-PRO3 instructions for use, which covers the shield and peak on pages 10 and 11. We have rewritten it in plain steps and added what tends to go wrong in practice.
Which helmet this Arai Tour-X4 visor removal guide covers
Arai sells the same adventure helmet under different names in different markets. In Europe and the UK it is the Tour-X4, often shortened to TX-4. In North America it is the XD-4, and in Japan it is the Tour Cross 3.
Arai’s booklet marks its shield sections “TX-4 / XD4”, so one procedure covers both names. Our own fitment records group the XD-4 and the Tour Cross 3 as one helmet that takes one visor, and the Tour-X4 is that same helmet under its European badge.
Two neighbours are easy to confuse with it. The older Tour-X3 / XD-3 is a previous generation, so do not assume its visor carries over. The later Tour-X5 / XD-5 is a redesign with its own visor system, and this procedure does not apply to it.
If you are not sure which one you own, check the label under the comfort lining at the back of the shell. Our guide on working out which visor fits your helmet walks through where to find the model name and size.
Before you start: what you need and where to work
You need a flat-blade screwdriver or a coin, and a soft towel to rest the helmet on. Arai specifies exactly those two tools, so there is no hex key or special driver involved.
Work at a table rather than on your lap. The screws are small, and a dropped screw on a garage floor can take longer to find than the whole job takes.
- Lay the helmet on its back on the towel, chin bar facing you.
- Put a small dish beside it for the four screws and two pressure plates.
- Close the visor fully before you touch a screw, because that is the position it goes back in.
- Note which plate came off which side, although Arai embosses them L and R for you.
Take a photo of each side on your phone before you start. It costs nothing and it settles any argument with yourself during the refit.
Step by step: removing the visor and peak
The Tour-X4 traps the visor under the peak. That is why the two come off together, and why the job starts with a screwdriver rather than a release lever.
- Close the visor. Push it down until the latch tab on the lower left side clicks home.
- Undo the screws. Remove the two screws on each side of the peak with your flat-blade screwdriver or a coin, four in total.
- Lift the pressure plates. Take off the pressure plate on each side of the peak and set them down by side.
- Lift away the visor and peak. With the plates gone, the visor and peak are free and lift off the shell.
Do not lever anything. If a part resists, a screw is still in or a plate is still seated, so stop and look rather than pulling harder.
Once the visor is off, you will see a black spring clip on each side sitting on the base plate. Arai says these may be removed for cleaning, but warns they “can only be reinstalled properly in one direction.”
The parts you will see, and the one you must not touch
With the visor and peak off, each side of the shell shows three things. Knowing which is which makes the refit straightforward.
| Part | What it does | Remove it? |
|---|---|---|
| Base plate | Fixed to the shell; carries the two pins the peak locates on | No. Arai says do not remove the base plates. |
| Black spring clip | Sits on the base plate and gives the visor its detents | Only for cleaning, and note its direction |
| Pressure plate (L and R) | Clamps peak and visor to the shell with two screws | Yes, every time |
The base plates set the geometry of the whole visor. Taking them off risks a visor that no longer meets the eyeport seal evenly, which shows up as wind noise or a draught at the top edge.
If a spring clip is gritty, lift it, wipe it and the base plate with a damp cloth, and put it straight back the way it came off. Do one side at a time so the other side stays as your reference.
Refitting the visor and peak
The refit is the removal in reverse, with one alignment step that matters. Get the pins in the right hole and everything else falls into place.
- Seat the spring clips. Place the black spring clip on the base plate on each side, paying attention to its direction.
- Offer up the visor closed. Place the visor on the helmet in the fully closed position.
- Locate the peak. Lay the peak over it so the two screw holes line up, with the two pins of the base plate sitting in the lower screw hole of the peak.
- Fit the pressure plates. The L and R embossed on each plate mean left and right as you wear the helmet, not as you look at it.
- Refit the screws. Two screws through each plate into the helmet, snug but not forced.
- Test it. Work the visor up and down through its full travel and check it latches closed.
Arai is explicit that you should not over-tighten. The screws go into the shell, and too much force can strip the thread or crack a plate.
If the visor feels stiff or will not latch, the peak is usually sitting on the pins in the wrong hole. Back the screws out, lift the peak, and re-seat it before you tighten again.
Running the Tour-X4 with just the peak or just the visor
Part of the appeal of this helmet is that you can change its shape for the day. Arai’s booklet covers both stripped-down setups.
Peak only: fit the black spring clips as above, then the peak, the pressure plates and the screws. This is the setup riders use off-road with goggles.
Visor only: fit the spring clips and the visor, then use the separate shield pressure plates that came in the box with the helmet. They are also marked L and R, and the same rule applies: tighten firmly, never hard.
Keep those shield pressure plates somewhere safe. Without them you cannot run the helmet in road mode with the peak removed, and they are easy to lose in a drawer of spares.
Opening, closing and caring for the visor once it is back on
To open the visor, pull the latch tab on the lower left side outward to release it, then raise the visor. To close it, push it down until the tab fully latches.
Arai recommends one or two drops of the supplied silicone lubricant around the edge trim and other moving parts, wiped off with soft tissue. The booklet adds that oils and waxes should not be used on moving parts.
For cleaning, the booklet’s advice is mild soap or detergent in lukewarm water, a good rinse, and a soft cloth. It warns against petrol, thinner, benzene and other solvents, and against aggressive cleaners sold for visors. Our guide on how to clean a motorcycle helmet visor goes into more detail, and the wider motorcycle visor care guide covers storage and scratches.
One more tip from the booklet: do not stick tape or stickers on the visor. Arai says this weakens the hard coating.
Fogging on the Tour-X4 and how the mouth vent helps
The chin vent on this helmet has a second job. When its inner shutter is closed, Arai says the incoming air is “directed up along the interior surface of the face shield to help prevent fogging.”
So on a cold, damp morning, close the shutter and let the vent wash air over the inside of the visor. Open it again once you want fresh air at your mouth.
If that is not enough, an anti-fog insert is the usual next step. A Pinlock-compatible insert only fits a visor that has the two locating pins on its inner face, so check your visor before you order. The guide to Pinlock-compatible anti-fog inserts explains how the pin system works.
When to replace the visor rather than refit it
Taking the visor off is a good moment to inspect it. Hold it up to a light and look through it at the angle you ride.
Arai’s own warning is plain: if the visor becomes too scratched or cannot be cleaned, replace it, because impaired visibility causes accidents. The UK Highway Code, rule 83 asks riders to check before each journey “that your helmet visor is clean and in good condition.”
Replace it if you see any of these:
- Scratches in your line of sight that flare under headlights.
- Cracks around the pivot holes, where the pressure plates clamp.
- A latch tab that no longer holds the visor shut at speed.
- Haze or crazing that does not wash off.
Our clear replacement visors are the usual choice for an everyday spare. For the legal side, the test in Great Britain is the marking on the individual visor, as set out in the Motor Cycles (Eye Protectors) Regulations 1999, not its colour.
That matters if you are looking at tints. In the UK, iridium, mirrored and dark smoke visors transmit too little light to be legal for road use, at any time of day. We do not check the marking on individual items, so check it yourself before riding on the road.
Common mistakes during Tour-X4 visor removal and refit
Each step in Arai’s procedure has a matching way to get it wrong. All of them are easy to avoid once you know them.
- Refitting the visor open. It has to go on fully closed, or the detents end up out of phase.
- Pins in the wrong hole. The base-plate pins belong in the peak’s lower screw hole.
- Swapping the plates. L and R refer to the helmet as worn.
- Spring clip reversed. It only works one way round, so copy the untouched side.
- Over-tightening. Snug is enough, and a stripped thread in the shell is a much bigger repair.
- Forcing a part. If it resists, a screw or plate is still in place.
If you also run other Arai models, our guide to visors that fit Arai helmets shows which families share a visor and which do not. For other brands, the general how to remove a motorcycle helmet visor guide covers the common release systems.
Visors and inserts mentioned in this guide
- Arai Tour Cross 3 / XD-4 Replacement Visor — Iridium, Smoke, Clear Tints
- Replacement visors for the Arai XD-4
- Visors listed for the Arai Tour Cross 3
- Every visor we list for Arai helmets
- Find your visor with the visor finder
ClearLine is not affiliated with Arai. Our visors are aftermarket parts described by the helmets they fit. This guide was written by the ClearLine team.
Frequently asked questions
Do I need special tools for Arai Tour-X4 visor removal?
No. Arai’s instructions call for a flat-blade screwdriver or a coin, which undoes the two screws on each side of the peak. There is no hex key or proprietary tool involved.
Can I take the visor off without removing the peak?
Not on this helmet. The pressure plates clamp the visor and the peak together, so taking out the screws frees both at once. You can then refit either one alone.
Is the Tour-X4 the same helmet as the XD-4?
Yes. The Tour-X4 is the European name and the XD-4 the North American name, and Arai’s booklet covers them in one set of shield instructions. In Japan the same helmet is sold as the Tour Cross 3.
Why will my visor not latch after refitting?
The usual cause is the peak sitting on the wrong hole. Back out the screws, make sure the base-plate pins are in the peak’s lower screw hole and the visor is fully closed, then tighten again.
Should I remove the base plates to clean them?
No. Arai says not to remove the base plates from the helmet. Wipe around them with a damp cloth while the visor is off, and lift only the black spring clips if they need cleaning.