
The Arai Quantum-X is Arai’s intermediate-oval street full-face helmet, sold mainly in the US and still listed in the current Arai Americas range. Its visor (shield) hides its pivot under a removable side pod, so it does not come off the way an older exposed-pivot visor does. This guide covers Arai Quantum-X visor removal and refitting step by step, how to tell a Quantum-X from the older Quantum helmets, and what to check before you ride.
Aftermarket visors for the Arai Quantum-X
 ReplacementArai Corsair-X / Defiant-X / Quantum-X / RX-7V & more Replacement Visor — Iridium, Smoke, Clear Tints
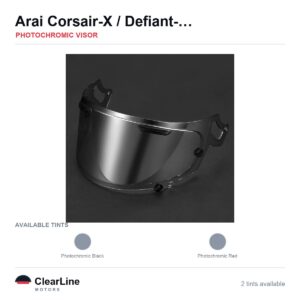 PhotochromicArai Corsair-X / Defiant-X / Quantum-X / Rapide-Neo & more Photochromic Visor
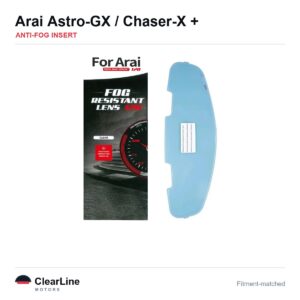 Anti-fogArai Astro-GX / Chaser-X / Concept-X / Contour-X & more Anti-Fog Insert — Stops Visor Fogging
The short answer: raise the visor to its fully open position, push the side pod release lever at the front edge of the side pod backwards, and lift the side pod away. Lower the visor until its brass stud sits over the red hole in the base plate, ease the visor off the spring clips, and repeat on the other side. Refit in reverse, click each side pod home, and work the visor up and down before you ride.
How the Quantum-X visor system works
The Quantum-X uses Arai’s VAS shield system, short for Variable Axis System. Arai Americas explains on its helmet technology page that VAS “lowers the top of the side pods by nearly an inch on the helmet, and moves the shield pivot down.”
That low pivot sits under a removable cover on each side of the shell, called the side pod. Underneath it is a base plate screwed to the shell. The visor carries a brass stud that runs in a sliding slot on the base plate, and a pair of spring clips holds the visor in place.
The important point is that the side pod comes off first. Many helmets with an exposed pivot release the visor with a button or a firm sideways pull. On a Quantum-X, pulling the visor without releasing the side pod only strains the clips and can crack the pod.
Our explainer on VAS-V vs VAS-Z shields covers how the generations of the system differ, and why a visor from one generation is not a safe guess for the other.
Quantum-X or an older Quantum? Check before you start
Arai has used the Quantum name on several helmets over the years. Older forum threads about removing a “Quantum” shield often describe the earlier Quantum/f, which predates the VAS side pods. The steps below apply to the Quantum-X only, so take a minute to confirm the model before you buy a visor or start pulling at the side pods.
- The model label. Lift the comfort liner and read the label on the shell or the EPS liner. It should read Quantum-X.
- A low, smooth side pod on each side of the shell, close to the bottom edge of the visor, with no exposed pivot screw.
- A small release lever at the front edge of each side pod.
The Quantum-J and Quantum-ST are separate helmets, and so is the older Quantum/f, so do not assume any of them takes the same visor as the Quantum-X. Each has its own entry in the visor finder. The owner’s manual that came with your own helmet is always the final word.
What you need before you start
The swap needs no tools. A few minutes of preparation still protects the paint, the side pods and the new visor, which matters on a helmet that is often bought partly for its graphics.
- A soft surface for the helmet, such as a folded towel or the helmet bag
- A clean microfibre cloth for the base plates and the visor
- The replacement visor, with its protective film left on for now
- The owner’s manual for your helmet, if you still have it
- Good light from the side, so you can see the red hole and the clips on each base plate
Sit the helmet on the towel facing away from you, chin bar towards the far edge. That way the visor can rise fully and both side pods are easy to reach.
Arai Quantum-X visor removal, step by step
Arai’s instructions for its VAS-V helmets follow the sequence below. Take it slowly the first time, because the side pod is the part most likely to be damaged by force.
- Open the visor all the way. Raise it to the very top of its travel. The release only works in the fully open position.
- Find the side pod release lever. It sits at the front edge of the side pod, just below the visor.
- Push the lever backwards. Push from the front edge towards the back of the helmet. The side pod releases from the base plate.
- Lift the side pod away. Swing it clear and set it on the towel. Do not pull hard on any part that still feels attached.
- Lower the visor slightly. Bring it down until the brass stud on the visor lines up with the red hole in the base plate.
- Ease the visor off the spring clips. Hold the visor close to the base plate and draw that side outwards. It should come away with little effort.
- Repeat on the other side. Release the second side pod, line up the brass stud with the red hole and ease the visor free.
Lay the old visor on its outer face so the inside stays clean. If a side will not come away, stop and check that the brass stud really is over the red hole. Never lever the visor off with a screwdriver or a coin, because the tip slips and marks the shell or the visor edge.
Our step-by-step guide to removing a motorcycle helmet visor covers the other common mechanisms, which helps if you also own a helmet from another maker.
Fitting the new visor
Wipe each base plate with a dry microfibre cloth first. Grit around the sliding slot and spring clips is the usual reason a new visor feels rough or will not seat.
- Peel back only the edges of the protective film. Leave the centre covered until the visor is on, so fingerprints cannot mark it.
- Position the visor on the first base plate. The lower part of the visor’s sliding slot goes over the spring clip, with the brass stud in the red hole.
- Press the visor onto the spring clip. Push squarely until that side sits flat on the base plate.
- Raise the visor fully. As it rises, the brass stud drops into the sliding slot of the base plate.
- Refit the side pod. Hook the top of the side pod into the top tab of the base plate, line the pod up with its recess in the shell, then push the lower part down firmly until it clicks.
- Repeat on the other side. Keep the first side seated while you fit the second.
- Work the visor up and down. Close it fully into the seal and open it again several times.
A correctly fitted visor moves evenly on both sides. If one side lags, or the visor sits proud at one corner when closed, that side is not fully home. Remove the side pod on that side and seat it again.
Peel off the rest of the film and wipe the outer face with a damp microfibre cloth. The Highway Code is clear on this: “Before each journey check that your helmet visor is clean and in good condition.”
Adding an anti-fog insert to a Quantum-X visor
A new visor fixes scratches and changes the tint, but it does nothing for fogging on a cold morning. An anti-fog insert does. It is a thin inner lens held between two small pins on the inside of the visor, with a sealed layer of air between the two.
That layer of air keeps the inner lens closer to the temperature of your breath, so condensation has far less chance to form. Most insert lenses also carry a hydrophilic surface. Research on anti-fog coatings in Advanced Science describes how, on a hydrophilic coating, condensed water spreads into a thin film rather than the light-scattering droplets you see as fog.
Check your visor before you order an insert. If you can see two small pins on the inside face, near each side, the visor is ready for a pin-style insert. If there are no pins, an insert cannot be fitted to that visor.
Fit the insert with the visor off the helmet, on a soft surface:
- Clean the inside of the visor with a dry microfibre cloth.
- Hold the insert by its edges and seat one end against the first pin.
- Flex the visor gently and slip the other end of the insert under the second pin.
- Check the seal runs evenly all the way round, with no dust trapped behind the lens.
- Refit the visor using the steps above.
Our guide to fitting a pin-style anti-fog insert shows the method in more depth. The anti-fog insert listed for the Quantum-X is a Pinlock-compatible insert, and our range of Pinlock-compatible anti-fog inserts explains how inserts compare with coatings.
Choosing a replacement visor for the Quantum-X
The removal is identical whatever the tint, so the choice comes down to when and where you ride. The table below summarises the main options in our Arai Quantum-X visor range.
| Visor type | Best suited to | Road use in Great Britain |
|---|---|---|
| Clear | All-round riding, dusk, night and rain | Depends on the marking on that individual visor |
| Light or dark tint (smoked) | Bright daylight | Depends on the marking; dark smoke tints are not permitted |
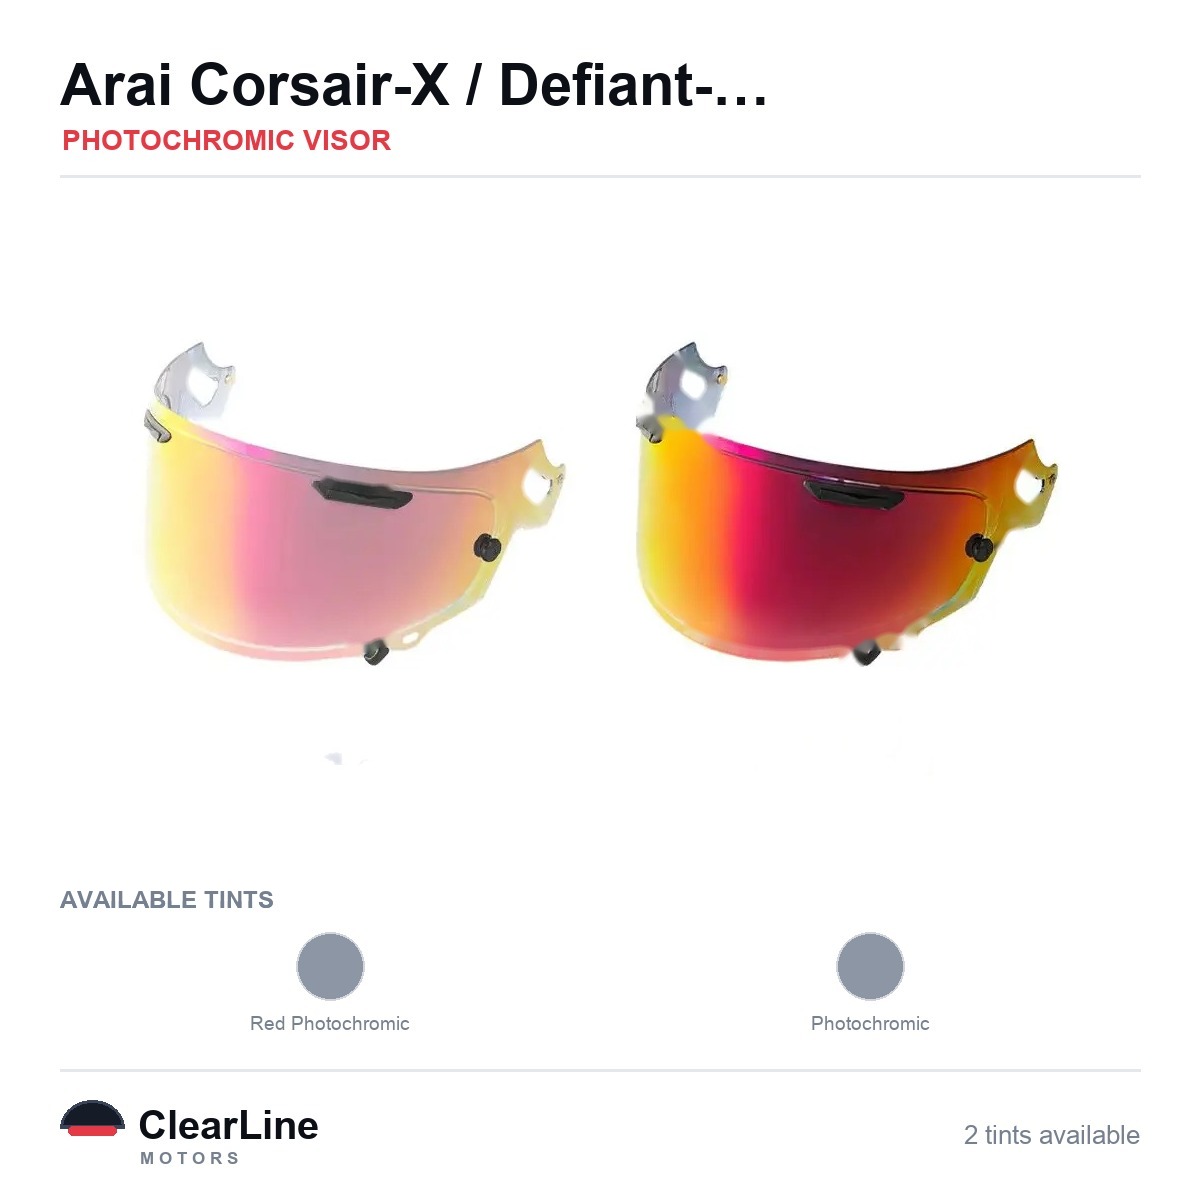
| Photochromic | Riders moving between sun and shade | Depends on the marking on that individual visor |
| Iridium or other mirrored finishes | Track days and off-road use | Not permitted at any time of day |
A clear visor is the safest single choice if you only want one, and our guide to clear replacement visors explains when a scratched visor is worth replacing. The replacement visor listed for the Quantum-X comes in clear and several tints.
If you ride through changing light, a photochromic visor darkens in sunlight and clears again in shade. For circuit riding, iridium visors cut glare on a bright track. Our guide to motorcycle visor types compares every finish side by side.
The law in Great Britain: the marking on the visor is the test
In Great Britain the legal test for a visor is the marking on that individual visor, not its colour or the name of its tint. The Motor Cycles (Eye Protectors) Regulations 1999 prescribe BS 4110 and require that a protector is marked with an approved certification mark of an approved body. A visor is only road legal in GB if it carries that marking.
Iridium, mirrored and dark smoke visors transmit too little light to be legal for road use in Great Britain, day or night. They are sold for track and off-road use.
Selling eye protection for road use when it is not of a prescribed type is itself an offence under section 18 of the Road Traffic Act 1988. That is why ClearLine never describes any visor as approved or certified: we do not check the marking on individual items. Read our guide to tinted visor law in Great Britain for the detail. Most Quantum-X owners ride in the US, where the rules differ by state, so start with our guide to visor tint rules in the US.
Common problems after a visor swap
Most problems after fitting a new visor come from a side pod that is not fully clicked home, or from dirt on a base plate. Work through these before deciding a part is faulty.
The visor whistles or lets air in along the top
Check that both side pods clicked down firmly and that the visor closes evenly into the seal. A visor sitting slightly proud on one side leaks air along the brow. Our guide to a visor on an Arai helmet that will not seal goes through the other usual causes.
The side pod will not click into place
The top hook on the back of the side pod must sit in the top tab of the base plate before you press the bottom down. Lift the pod off, seat the hook first, then line the pod up with its recess and press again.
The visor feels stiff or gritty
Take the visor off and clean both base plates with a dry cloth. Arai supplies a silicone lubricant with its helmets for the sliding slot and brass stud. Do not spray general-purpose oil or grease onto the mechanism, because it holds dust and can harm the plastic parts.
The insert has a hazy patch
A haze usually means dust or a fingerprint was trapped behind the insert. Take the visor off, remove the insert, clean both surfaces and fit it again, holding the insert only by its edges.
Looking after the visor and side pods
A visor that is cleaned properly lasts much longer before scratches start to distract you. These habits help:
- Never wipe a dry, dusty visor. Soak it with lukewarm water first so grit floats off instead of being dragged across the surface.
- Use mild soap and a microfibre cloth only. Paper towels and gloves are abrasive enough to dull the surface.
- Keep solvents away. Petrol, thinners and aggressive cleaners can attack the visor coating and the plastic side pods.
- Clean the base plates every few months. Grit builds up around the clips, especially after wet rides.
- Store the helmet in its bag. That protects the visor, the side pods and the paint from knocks between rides.
Our full guide to cleaning a motorcycle helmet visor covers technique in more depth. For every other Arai model in the range, browse the Arai helmet visors and inserts. This guide was written by the ClearLineMoto team.
Visors and inserts mentioned in this guide
- Arai Corsair-X / Defiant-X / Quantum-X / QV-Pro & more Photochromic Visor
- Replacement visor for the Arai Quantum-X
- See the Quantum-X anti-fog insert
- All Arai Quantum-X visors
Frequently asked questions
Do you need tools to remove the Arai Quantum-X visor?
No. With the visor fully open, you push the side pod release lever backwards, lift the side pod away and ease the visor off the spring clips. A screwdriver is only needed if you remove the base plates themselves, which a normal visor swap does not require.
Why will my Quantum-X visor not come off?
The usual reason is that the side pod is still in place or the visor is in the wrong position. Release the side pod first, then lower the visor until the brass stud sits over the red hole in the base plate. If it still sticks, clean any grit from around the spring clips.
Will a Quantum-X visor fit an older Arai Quantum?
Do not assume it will. The Quantum/f, Quantum-J and Quantum-ST are different helmets from the Quantum-X, so check the model label inside your helmet and order the visor listed for that exact model.
Does an anti-fog insert change whether a visor is road legal?
No. The insert sits on the inside and works the same way whatever the outer tint. In Great Britain the legal status of the visor still depends on the marking it carries.