LS2 Stream 2 visor removal is one of those jobs that takes a minute once you have seen it done and a quarter of an hour of nervous prodding when you have not. The Stream II, which LS2 also sells under the model code FF808, uses a side-mounted visor that comes off by hand. This guide walks through taking it off, putting a new one on, and choosing what to fit in its place.
The short answer: raise the visor to its top stop, steady the helmet by the chin bar, work the release at the side plate on one side, and ease that side of the visor off its pivot on a gentle arc. Repeat on the other side. Refit in reverse, seat both sides fully, then close the visor and check it meets the eyeport seal evenly all the way round. If anything needs real force, a catch is still engaged, so stop and look before you pull.
Stream, Stream II and FF808: which helmet do you have?
Before you touch the visor, be sure of the helmet. LS2 has made more than one helmet called Stream, and they do not share a visor listing in our catalogue. The current model is the Stream II, and its model code is FF808. The earlier Stream carried the code FF320 and is listed separately.
The quickest check is the label. Look inside the helmet under the comfort liner at the back, or on the chin strap, for a sticker carrying the model code and size. If it reads FF808, this guide is for you. If it reads FF320, the removal logic below still applies, but order parts against the FF320 Stream page rather than the Stream II one.
Riders often type the name three ways: Stream 2, Stream II and FF808. Our product listings use all three, so a search on any one of them should find the same parts. What matters is that the code on your helmet matches the code on the listing.
What you need before you start
This is a hands-only job. You do not need a screwdriver, a spray or a pick, and reaching for one usually means something has been missed rather than that the mechanism needs help. Set up properly and the work takes a few minutes.
- A soft surface. A folded towel on a table, so the helmet cannot roll and a dropped visor lands on cloth.
- Good light. Most of the job is reading a small catch, and you want to see it clearly.
- A clean, dry cloth. For wiping grit off the side plates once the visor is off.
- The bag your new visor came in. The old visor goes straight into it, face up, so it does not pick up scratches on the bench.
Before removing anything, close the visor and look at it from the front. Note how evenly it touches the rubber seal around the eyeport. That picture is your reference when you check the new one later.
LS2 Stream 2 visor removal, step by step
Work on one side at a time. The visor is held at two pivots, and trying to free both at once twists it against itself and loads the plastic where it is thinnest.
- Open the visor all the way. Lift it until it reaches its highest position and stops. The release only lines up with the visor at this top stop, which is why a visor one click lower feels completely locked on.
- Hold the shell, not the visor. Put the helmet chin-down on the towel or hold it by the chin bar with your free hand. All your effort should go into the catch, none into the pivot.
- Find the release on the side plate. With the visor raised, look at the plate that the visor hinges on. The release is the one part of that plate designed to move: a lever, tab or sliding catch close to the pivot.
- Operate it and hold it. Press, lift or slide the release as its shape suggests. You should feel a short movement, sometimes with a click, and the visor should feel slightly less held on that side.
- Ease that side of the visor outward on an arc. Draw the edge of the visor away from the shell and slightly forward. The pivot end comes off on a curve, not straight out sideways, so if it binds, let it return and try a flatter angle.
- Repeat on the second side. The visor will now hang at an angle from one pivot, so keep a hand under it. The second side is usually easier because the visor can move.
- Bag the old visor and clean the plates. Wipe away any grit around the pivots with the dry cloth. Grit left in the ratchet is the main reason a visor feels stiff later.
The same logic, with different hardware, runs through our general guide on how to remove a motorcycle helmet visor. If you own another LS2 too, the LS2 Citation 2 visor removal guide shows the same sequence on a different shell.
Fitting the new visor so it seals properly
Fitting is removal in reverse, but the finishing check is where most problems are caught. Peel any protective film from the new visor only after it is on the helmet, so you are not handling the bare surface while you fit it.
- Offer one side to its pivot with the release held open, and seat the pivot end fully.
- Let the release return on its own. If it will not return, the visor is not seated, so lift it off and try again.
- Fit the second side the same way.
- Cycle the visor from closed to fully open two or three times. It should step through every position without a jump or a crunch.
- Close it and look from the front. Compare the contact with the seal against the picture you took before you started.
A visor that touches the seal evenly is a quiet visor. A gap at one corner lets in a draught, adds wind noise and feeds cold air onto the inside face, which is where fog starts. If one side sits proud, that pivot is not fully home: take the visor off and refit that side rather than pressing it closed.
When the visor will not come off
Stuck visors almost always come down to a short list of causes, and only one of them needs a new part.
| What happens | Most likely cause | What to try |
|---|---|---|
| The release moves but the visor stays on | The visor is not at its top stop | Raise it until it stops, then operate the release again |
| The release feels gritty or only moves part way | Road dirt in the ratchet | Brush it out dry, wipe with a damp cloth, let it dry, retry |
| One side comes free and the other jams | The free side is twisting the visor | Support the visor so it hangs level, then work the second side |
| The release snaps back before you can lift the visor | Return spring doing its job a little too well | Hold the release with a fingertip while the other hand lifts the visor |
| The whole side plate turns with the visor | The side plate has worked loose on the shell | Stop and treat it as a helmet repair, not a visor change |
That last row is the safety one. If the plate that holds the visor is moving on the shell, a new visor will not fix it, and the helmet should not be ridden until the plate is secure again.
Cold makes everything stiffer. If the helmet has been sitting in an unheated garage, let it come up to room temperature before you try again, rather than working the plastic hard while it is cold.
The internal sun shade is a different part
If your helmet has a drop-down internal sun shade, remember that it is not the outer visor. A shade like that lives inside the shell on its own carrier and is worked by its own control, so taking the outer visor off leaves it where it is.
This matters most when people search for a “tinted visor” and really mean the shade. A clear outer visor with a darker internal shade is a common way to set a helmet up, and in that case it is the shade you are looking through when it is down. Each piece is judged separately, which the legal section below explains.
Choosing what to fit: clear, photochromic or tinted
A visor change is also a chance to rethink what you ride with. Photochromic and tinted visors are the options riders most often weigh up at this point, so here is how the choices compare in practice.
| Option | What it does | Best suited to |
|---|---|---|
| Clear visor | Full light in all conditions | One visor for every ride, day and night, all year |
| Photochromic visor | Darkens in ultraviolet light and clears again as the light drops | Riders who want less glare in sun without carrying a second visor |
| Darker tints | Cuts light all the time | Track days and off-road use, with the legal points below in mind |
For most riders the clear replacement visor range is the safe default. If you want the tint to look after itself, our photochromic visors that darken in sunlight explain how the chemistry works, and the photochromic visor for the LS2 Stream II is listed on the Stream II page.
Refitting an anti-fog insert
A Pinlock-compatible anti-fog insert locates on two small pins on the inside of the visor and is held in tension between them. It only fits a visor that has those pins at the right spacing, so check the new visor has them before assuming your old insert will transfer.
Fit the insert with the visor off the helmet and flat on the towel, silicone edge facing the visor. Flex the visor gently, slot one end of the insert under its pin, then the other, and let the visor relax so the seal pulls down evenly. A fingerprint left under the seal shows up as a smudge you cannot reach later, so wipe the inside face first.
The LS2 FF808 Stream II anti-fog insert is cut for this helmet’s visor aperture. The wider range of Pinlock-compatible anti-fog inserts lists the visors each insert is made for.
Tint and the law in Great Britain
Because a visor change is when people try a new tint, it helps to be exact about what the rules test. In Great Britain the test is the marking on the individual visor, not its colour and not the tint name on a listing.
Regulation 4(1) of the Motor Cycles (Eye Protectors) Regulations 1999 prescribes eye protectors of “Grade X in British Standard BS 4110:1979” and of “Grades XA, YA or ZA in British Standard BS 4110:1979 as amended”, among equivalent standards, and requires them to be marked with an approved certification mark. BS 4110 is the visor standard. BS 6658 is a helmet standard and tests something else.
Selling an eye protector as authorised for road use when it is not of a prescribed type is an offence for the seller under section 18(4) of the Road Traffic Act 1988. That is why we describe fitment and tint, and never certify an individual item.
Iridium, mirrored and dark-smoke visors transmit too little light to be legal for road use in Great Britain, at any time of day. Our guide to iridium and mirrored visor legality sets out why, and the iridium visor range is sold for track and off-road riding.
The Highway Code puts the everyday version simply. Rule 83 asks you to “check that your helmet visor is clean and in good condition” before each journey, and rule 84 warns that “scratched or poorly fitting eye protectors can limit your view when riding, particularly in bright sunshine and the hours of darkness” (see the Highway Code rules for motorcyclists). A visor fogged with fine scratches is a good reason to do this job at all.
Ordering the right visor for your Stream II
Visor fitment is specific to the helmet model, and we do not treat a listing that names several helmets as proof they share a part. Read the code on your own helmet and match it to the model page, not to a similar-sounding name.
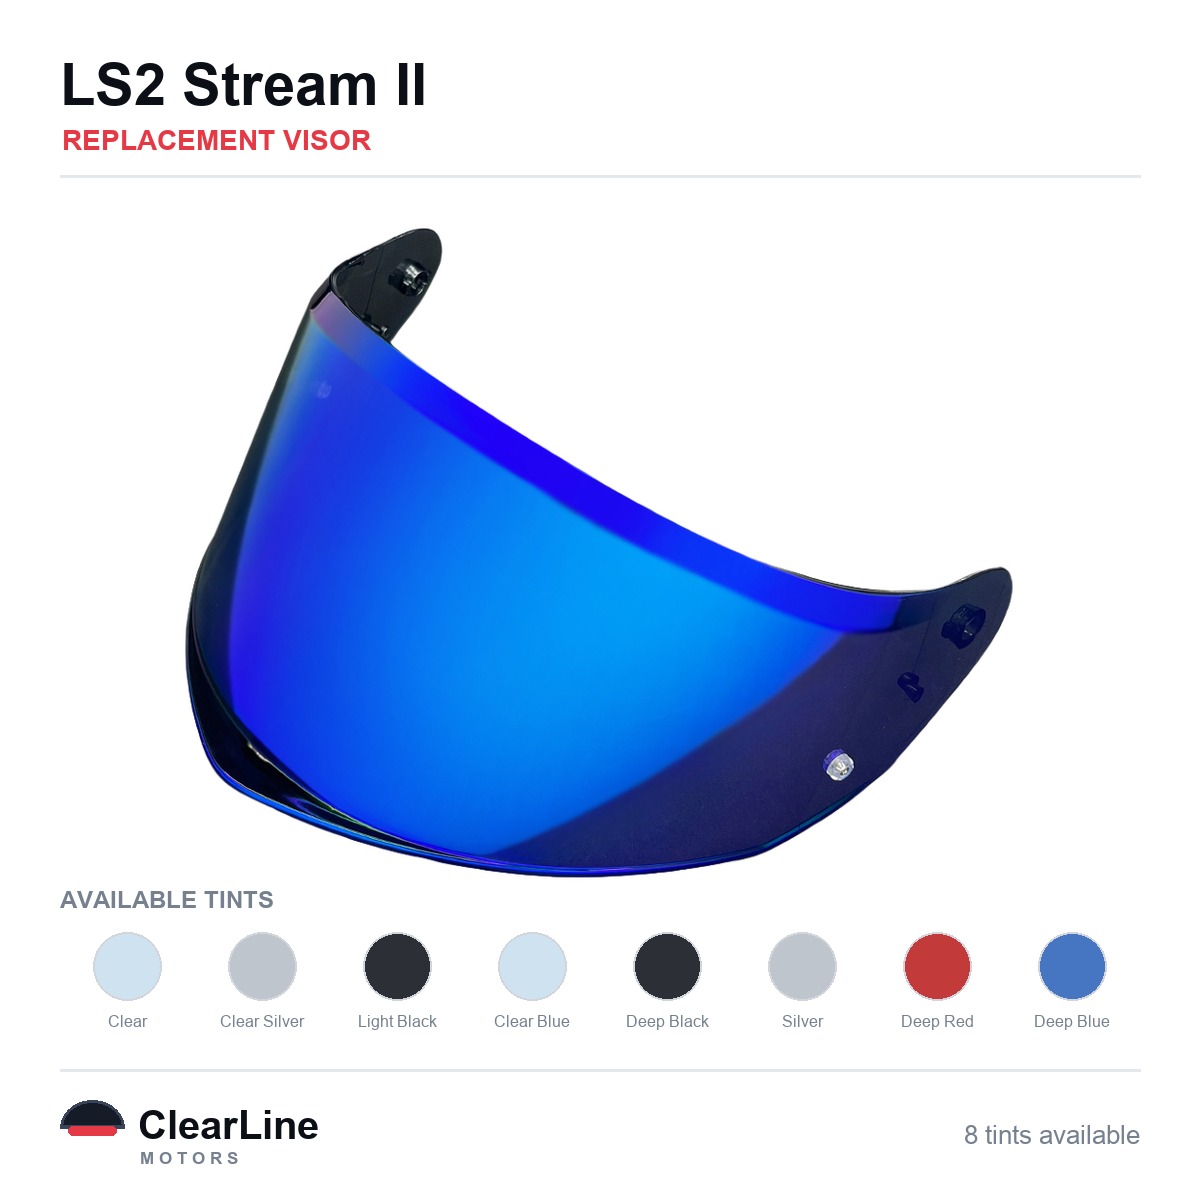
The LS2 Stream II visor category collects the parts recorded against this helmet, and there is a separate FF808 Stream II page because some listings use the model code. The full range for LS2 helmets covers everything else from the marque.
If you are unsure what you own, the ClearLine visor finder starts from the helmet rather than the part. For a broader map of how LS2 shells group, read our overview of visors that fit LS2 helmets. Shipping is free on every visor.
Visors and inserts mentioned in this guide
- LS2 Stream II Replacement Visor — Smoke, Clear, Silver Tints
- LS2 Stream II Photochromic Visor
- anti-fog insert for the LS2 FF808 Stream II
- See every Stream II visor
Written by the ClearLine team, who spend most of their week working through helmet fitment data.
Frequently asked questions
Do I need tools to remove an LS2 Stream 2 visor?
No. The visor comes off by hand: raise it to its top stop, work the release at the side plate, and ease each side off its pivot in turn. If you find yourself wanting a tool, something is still engaged, so go back and check the visor is fully raised.
Is the Stream II the same helmet as the FF808?
Yes, FF808 is the model code for the Stream II, and listings use either name. The earlier Stream carries the code FF320 and is a different helmet, so check the code on your own helmet before ordering.
Why does my new visor whistle at speed?
Usually one pivot is not fully seated, which leaves a gap against the eyeport seal. Take the visor off, refit the side that sits high, and check the seal contact from the front with the visor closed.
Will my old anti-fog insert fit the new visor?
Only if the new visor has the two pins the insert locates on, at the same spacing. Check the inside of the new visor for them before you move the insert across.
Can I ride on the road in Great Britain with a tinted visor?
What counts is the marking on that individual visor, not the tint name. To be authorised for road use an eye protector has to be of a prescribed type and carry an approved certification mark. Iridium, mirrored and dark-smoke visors transmit too little light to be legal for road use at any time of day.
How do I know when the visor needs replacing?
Look through it in daylight and again against headlights at night. Fine scratches that turn oncoming lights into starbursts mean it has reached the end of its useful life, whatever its age.