HJC C10 visor removal is one of those jobs that looks intimidating the first time and takes under a minute once you have done it. The visor is not screwed on. It sits on a plate at each side of the shell, held by a catch that releases when the visor is in one specific position.
Get that position right and the visor lifts away in your hand. Get it wrong and you end up levering at a plastic tab that was never meant to move, which is how most broken visor mechanisms start.
The short answer
- Open the visor fully — all the way to its top stop, past the riding positions. A visor releases at that stop and nowhere else.
- Release the catch on the side plate, one side at a time. It is a small lever or button on the plate the visor pivots around.
- Lift the visor straight out, away from the shell. Do not twist it and do not pull it forward.
- Refit by reversing the sequence, again with the new visor held at the fully open angle, until you hear a click on both sides.
- Check both sides move together before you ride. A visor that clicks on one side only will lift at speed.
That is the whole procedure. The rest of this guide covers the parts riders actually get stuck on: the catch that will not release, the visor that will not seat, and choosing the right replacement once the old one is off.
Before you start HJC C10 visor removal
Work with the helmet on a table rather than on your lap. A helmet that rolls while you are pressing a catch is how a visor gets dropped, and a dropped visor is usually a scratched visor. Put a towel or a cloth down first.
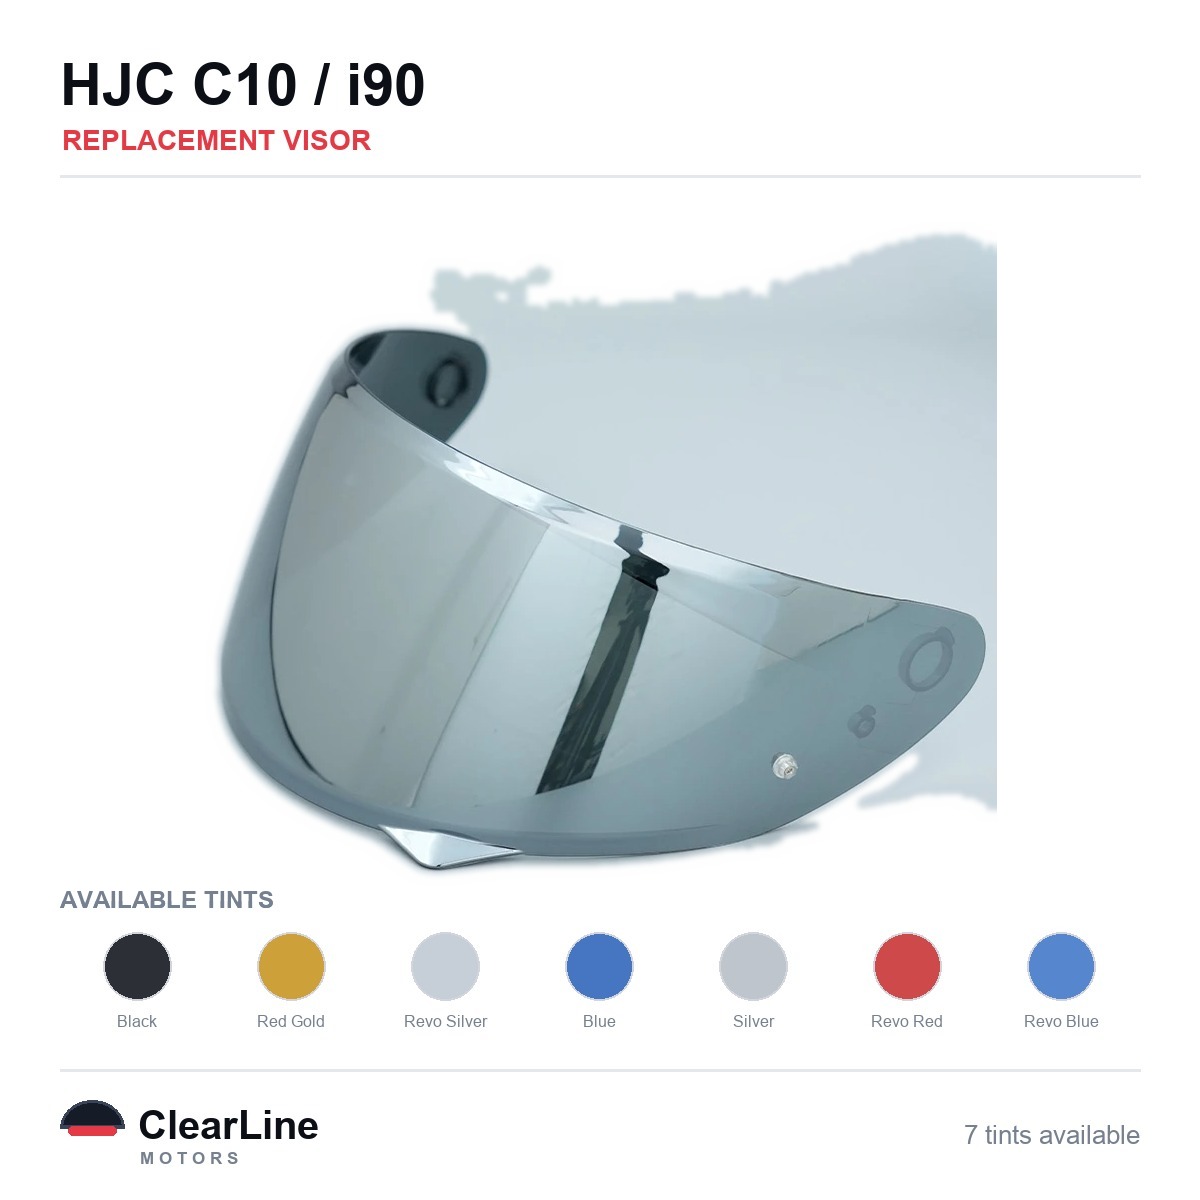
Have the replacement visor out of its packaging and within reach before you take the old one off. The two visors should look identical around the pivot cut-outs; if they do not, stop and re-check the part before you go any further.
Your helmet model name is printed inside the chin bar, under the lining, or on the strap label. That is worth confirming rather than assuming, because visors are model-specific and a part from a neighbouring model usually will not clip in. If you are unsure which part you need, the visor finder narrows it down by model, and our guide to reading a motorcycle visor part number explains what the codes printed on the old visor mean.
One honest caveat. We sell aftermarket visors and inserts rather than helmets, so treat the manual that came with your helmet as the authority on the exact shape of your catch. The sequence below is the base-plate pattern that full-face helmets share, and our explainer on the helmet visor base plate covers how that plate works in more detail.
Step by step: taking the visor off
- Raise the visor to its highest stop. Push it up past the first and second detents until it will go no further. You will feel it hit a hard stop rather than a soft click.
- Find the release on the left-hand plate. Look at the round or teardrop-shaped plate the visor pivots on. The release is the one part of it that is designed to move — a small lever, a sliding tab or a recessed button.
- Operate the release and hold it. Use one finger. It should move with light pressure. If it needs force, the visor is not at its top stop.
- Ease the visor edge out of the plate. With the release held, the visor edge lifts away from the shell. Pull outward, not forward and not down.
- Repeat on the right-hand side. Support the freed left side with your other hand so the visor does not swing against the shell and pick up a scratch.
- Set the old visor aside face up. Never lay a visor face down on a hard surface, even one you are about to throw away, in case you need it for comparison.
If the visor comes off crooked or only part way, put it back to the top stop and start again. There is no step in this procedure that requires strength, and treating a stuck catch as a strength problem is what snaps tabs.
Fitting the replacement visor
Fitting is the same sequence backwards, with one addition: the new visor has to sit square before anything clicks. Hold it at the same fully open angle, line the pivot cut-out up with the plate, and press until you hear a distinct click.
Do the second side the same way. Then close the visor fully and look at the seal all the way round, from the front and from each side. The gap at the top edge should be even; a gap that is wider on one side means one pivot has not seated.
Finally, cycle the visor through its full travel three or four times. It should stop at each detent with the same resistance on both sides, and it should not need a nudge to reach the closed position. A visor that binds at one point is telling you something about how it is seated, not about how it was made.
A new visor also changes how air moves over the helmet, so a small difference in noise for the first few rides is normal. If it turns into a whistle that was not there before, our guide to motorcycle visor wind noise covers what to check.
When the visor will not come off
Almost every stuck visor comes down to one of three things, and none of them are fixed by pulling harder.
The visor is not fully open. This is the common one. A helmet that has lived outdoors can feel like it has reached its stop when there is still a few degrees of travel left, because grit in the mechanism adds drag.
The mechanism is dirty. Road film, dried screenwash and winter salt all collect around the pivot. Warm water on a cloth, worked around the plate and then dried, frees up more stuck visors than any tool does.
The catch is already damaged. If a previous change was forced, the release may no longer travel far enough to let the visor go. A base plate is a replaceable part on most helmets, and a helmet dealer is the right place for that job rather than a visor supplier.
What not to do: no screwdrivers as levers, no heat, no lubricant spray near the seal. Solvents and silicone sprays cause a second problem while you are solving the first, which our guide to chemicals that damage a motorcycle visor goes through in detail.
Choosing the replacement: clear, smoke or iridium
Once the old visor is off, the choice of what goes back on is worth a moment. Our HJC C10 visors are listed by tint, and the wider range of visors that fit HJC models covers the rest of the family.
A clear visor is the one that works in every condition you are likely to ride in, which is why it is the default rather than the boring option. The clear replacement visors hub covers the whole range across brands.
There is also an HJC C10 photochromic visor, which darkens in bright light and clears again as the light drops. Our guide to how photochromic visors work explains the trade-offs before you choose one.
Tinted and mirrored finishes are a different decision, and a legal one rather than a style one. Iridium, mirrored and dark smoke visors are never road legal in Great Britain, day or night, because they transmit too little light to be legal for road use. Our page on iridium visors lists them for track and off-road use, and the guide to whether iridium and mirrored visors are road legal explains the reasoning in full.
The law: the marking is the test, not the colour
This is the part riders most often get wrong, so it is worth stating plainly. In Great Britain the test applied to eye protection is the marking carried on the individual item, not what shade it looks or what the tint is called.
The Motor Cycles (Eye Protectors) Regulations 1999 prescribe “Grade X in British Standard BS 4110:1979” and “Grades XA, YA or ZA in British Standard BS 4110:1979 as amended”, alongside equivalent standards, and require that a protector be “marked with an approved certification mark of an approved body”. BS 4110 is the British Standard that applies to visors.
One practical consequence follows. A visor is only road legal in Great Britain if it carries that marking, so the answer for any individual item is on the item itself and not in a product description.
We do not verify the markings on individual items, so nothing in our catalogue is described as approved or certified. The offence is also a seller offence as well as a rider one — under section 18(4) of the Road Traffic Act 1988, a person who sells an appliance of a description authorised for use on motorcycles that “is not of a type prescribed under this section as authorised for such use” is guilty of an offence. It is a fine, and it is not the kind of offence that puts anything on a licence.
Why a scratched visor is worth changing at all
The Highway Code puts a clean visor in its pre-ride checks. Rule 83 says to “check that your helmet visor is clean and in good condition” before each journey, and rule 84 notes that “scratched or poorly fitting eye protectors can limit your view when riding, particularly in bright sunshine and the hours of darkness”.
That matches what riders describe. A hazed or finely scratched visor behaves acceptably in flat daylight and badly the moment a low sun or a set of headlights hits it, because each scratch scatters light across your whole field of view rather than blocking one small part of it.
A visor is also a simple part of a helmet to renew, and you can change it at the kitchen table. If you are unsure whether yours has reached that stage, our guide on when to replace a motorcycle visor gives the checks we would apply.
Fogging after a visor change
A brand new visor sometimes fogs more readily than the old one for the first ride or two, which surprises people. The usual explanation is simply that it seals better than a worn one did, so less warm air escapes around the edges.
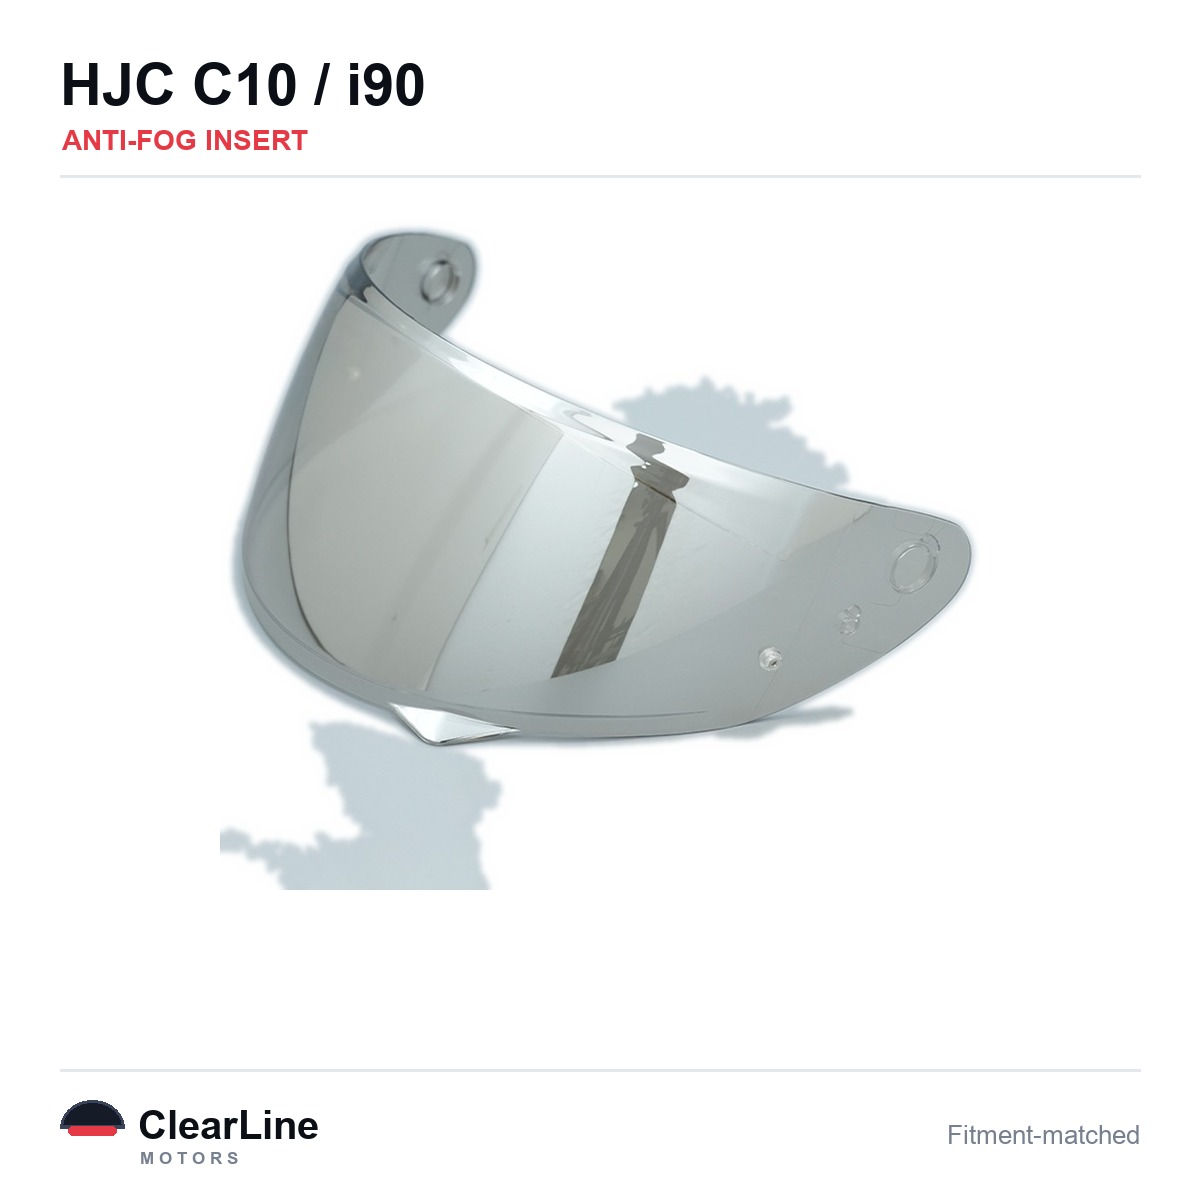
The durable fix is an insert rather than a spray. An anti-fog insert for the HJC C10 clips onto the pins on a prepared visor and traps a layer of still air behind it, which keeps the inner surface above the temperature at which your breath condenses.
The anti-fog visor inserts hub covers fitting, and which visors come ready for a Pinlock-compatible insert. If the insert is already in and fogging continues, new visor fogging works through the other causes.
Visors and inserts mentioned in this guide
- HJC C10 Replacement Visor — Mirrored and Dark Tints
- HJC C10 Photochromic Visor
- See the HJC C10 anti-fog insert
- Every visor listed for the HJC C10
- Visors and inserts across the HJC range
Not sure which part you need? Start at the visor finder and work down from your helmet model — it takes less time than reading the old visor’s part number off the edge.
Frequently asked questions
Do I need any tools for HJC C10 visor removal?
No. The visor releases by hand, and every part of the sequence is designed to be done without tools at the roadside. If you find yourself reaching for a screwdriver, the visor is not at its fully open stop.
Can I fit an HJC C10 visor to a different helmet?
Treat visors as model-specific. A part listed for one model will not reliably clip into another, and a visor that does not seat properly can lift at speed. Check your helmet model against the listing rather than going by how similar two shells look.
Why will my new visor not click into place?
In nearly every case the visor is not being held at the fully open angle while you press it home. The second most common cause is grit sitting in the plate. Clean the plate with warm water on a cloth, dry it, and try again at the top stop.
Is a dark tinted visor legal on the road?
The test is the marking on the individual visor, not its shade or the name of its tint. Iridium, mirrored and dark smoke finishes are never road legal in Great Britain, at any hour, as they transmit too little light to be legal for road use. Only a visor carrying the prescribed marking meets the test.
Where can I find the model name on my helmet?
It is usually printed inside the chin bar, under the lining or on the strap label. Confirming it takes a few seconds and saves ordering a visor cut for a neighbouring model. The what visor fits my helmet guide covers the same check for other brands.
Written by the ClearLine team. We supply aftermarket visors and Pinlock-compatible anti-fog inserts, and we are not affiliated with HJC.