HJC RPHA 12 visor removal is a job you can do on a kitchen table in a few minutes, with no tools and no special skill. The part that actually matters is not getting the visor off — it is getting the replacement back on so that it seals, latches and does not whistle at speed. A visor that sits a millimetre proud of the eyeport will let in wind noise and water, and it will fog faster than a correctly seated one.
Aftermarket visors for the HJC RPHA 12
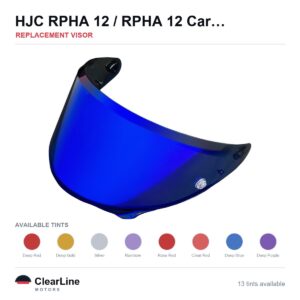
Which visor fits the HJC RPHA 12? The same replacement visor is listed for the RPHA 12, RPHA 12 Carbon and RPHA 12N.
Free 30-day returns for any reason: full refund, and we refund your return postage.
The short answer: open the visor to its highest position, release the catch on the side plate, and lift the visor away from the plate — one side at a time. Refitting is the same movement in reverse, and it is finished only when both sides click home and the visor closes onto the beading all the way round. Confirm the exact position of the release on the manual that came with your helmet, because HJC has used more than one arrangement across the RPHA range.
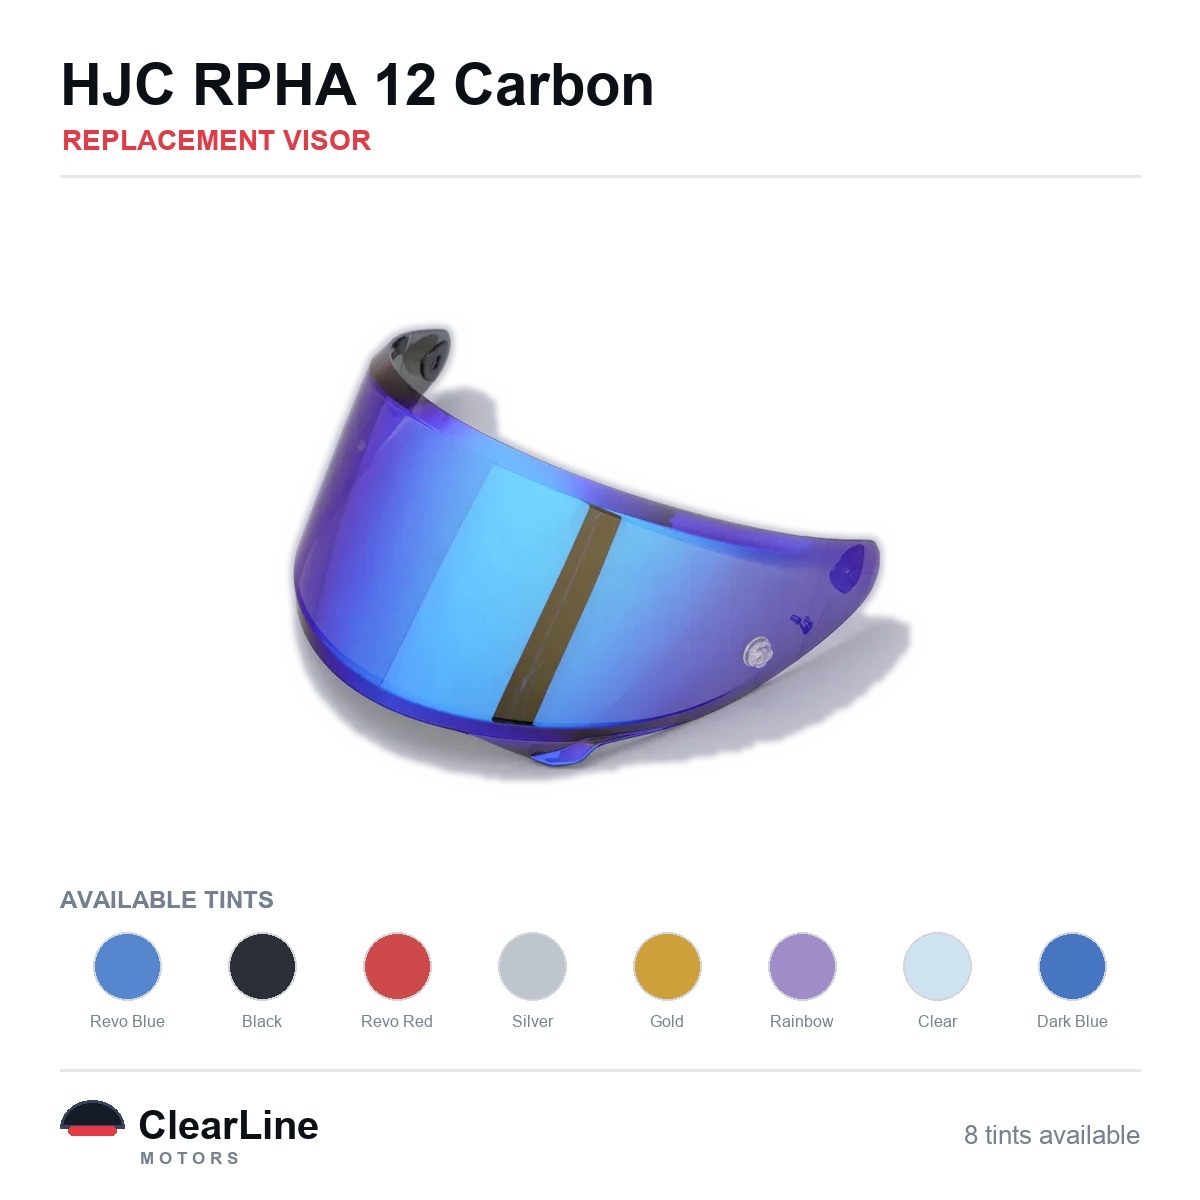
What HJC RPHA 12 visor removal actually involves
An RPHA visor does not unbolt. It locates onto a plate on each side of the shell, and a catch on that plate holds it in place while the visor pivots through its open and closed positions. Removal means releasing that catch and lifting the visor off its locating points.
This matters because the two most common ways people damage a visor are both avoidable. The first is levering at the visor itself instead of releasing the catch, which stresses the mounting tab until it cracks. The second is forcing the visor on at an angle, which is how the beading gets dented and the seal goes.
Work with the helmet on a towel rather than holding it in mid-air. You want both hands free, and you want somewhere soft for the visor to land if it comes off faster than you expected.
Before you start: a clean bench and a clean visor
Take two minutes to wipe the visor and the eyeport beading before anything comes apart. Grit that is sitting in the channel will get dragged across the new visor the first time you close it, and that is how a brand-new shield picks up its first scratch.
The Highway Code rules for motorcyclists are direct about why this is not just cosmetic. Rule 83 tells riders to check “that your helmet visor is clean and in good condition” before each journey, and rule 84 warns that “Scratched or poorly fitting eye protectors can limit your view when riding, particularly in bright sunshine and the hours of darkness”. A poorly fitting visor is a visibility problem, not a tidiness problem.
Use warm water and a soft cloth. Solvents, screen cleaners and anything abrasive will haze the hard coat, and once the coating is damaged there is no repairing it. Our guide to looking after a motorcycle visor goes through what is safe to use and what is not.
Removing the visor, step by step
- Open the visor fully. Lift it to its highest detent, past the normal riding positions, until it stops. The catch on the side plate is only reachable in this position.
- Find the release on the side plate. Look at the plate behind the visor pivot. There is a catch or lever there that holds the visor onto its locating points.
- Release one side. Operate the catch and let the visor come away from that plate. Support the visor with your other hand so it does not swing and scuff.
- Release the other side. Repeat the same movement, and the visor lifts clear of the shell.
- Put it somewhere safe. Face down on a soft cloth, not on a worktop. A visor resting on a hard surface will collect scratches while you are busy with the helmet.
If the visor will not come away once the catch is released, stop pulling and look again. Something is still engaged, and force is what turns a five-minute job into a new visor. The generic version of this procedure, covering other brands and mechanisms, is in our walkthrough on how to remove a motorcycle helmet visor.
Refitting the visor so it actually seals
Refitting is where the job is won or lost. Line the visor’s mounting profile up square with the plate before you push anything home, and keep the visor at its fully open position while you do it.
You are listening for two clicks, one per side. If you only hear one, the second side is not seated and the visor will sit skewed. Close the visor fully and run your eye around the whole eyeport: the beading should be in contact all the way round, with no daylight at the top edge or at the corners.
Then check the movement. The visor should hold each detent without creeping, close onto the latch without being forced, and open without the plate flexing. If any of those feel wrong, take it off and refit it rather than riding and hoping.
Which shield the RPHA 12 uses
HJC publishes its own shield-type chart, and it is the only fitment source worth trusting. That chart lists the RPHA 12, the RPHA 12N and the RPHA 12 Carbon together under shield code HJ-42, which means those three helmets take the same shield according to the manufacturer.
| Shield code | Helmets listed under it by HJC | What that tells you |
|---|---|---|
| HJ-42 | RPHA 12, RPHA 12N, RPHA 12 Carbon | These three share a shield per HJC’s chart |
| A different code | Other RPHA models | Not proof of incompatibility, just not proof of fitment |
That second row is worth reading twice. A different shield code does not prove a visor will not fit — it only means the maker has not said that it does. We will not tell you two helmets share a visor unless the manufacturer’s own documentation says so, which is why you will not find speculative cross-fitment claims here.
If you ride the 12N rather than the 12, the RPHA 12N visor options are listed separately, and the full HJC RPHA 12 visor range covers the clear, smoke and iridium finishes. For other models in the marque, start from the HJC helmet visor and insert category.
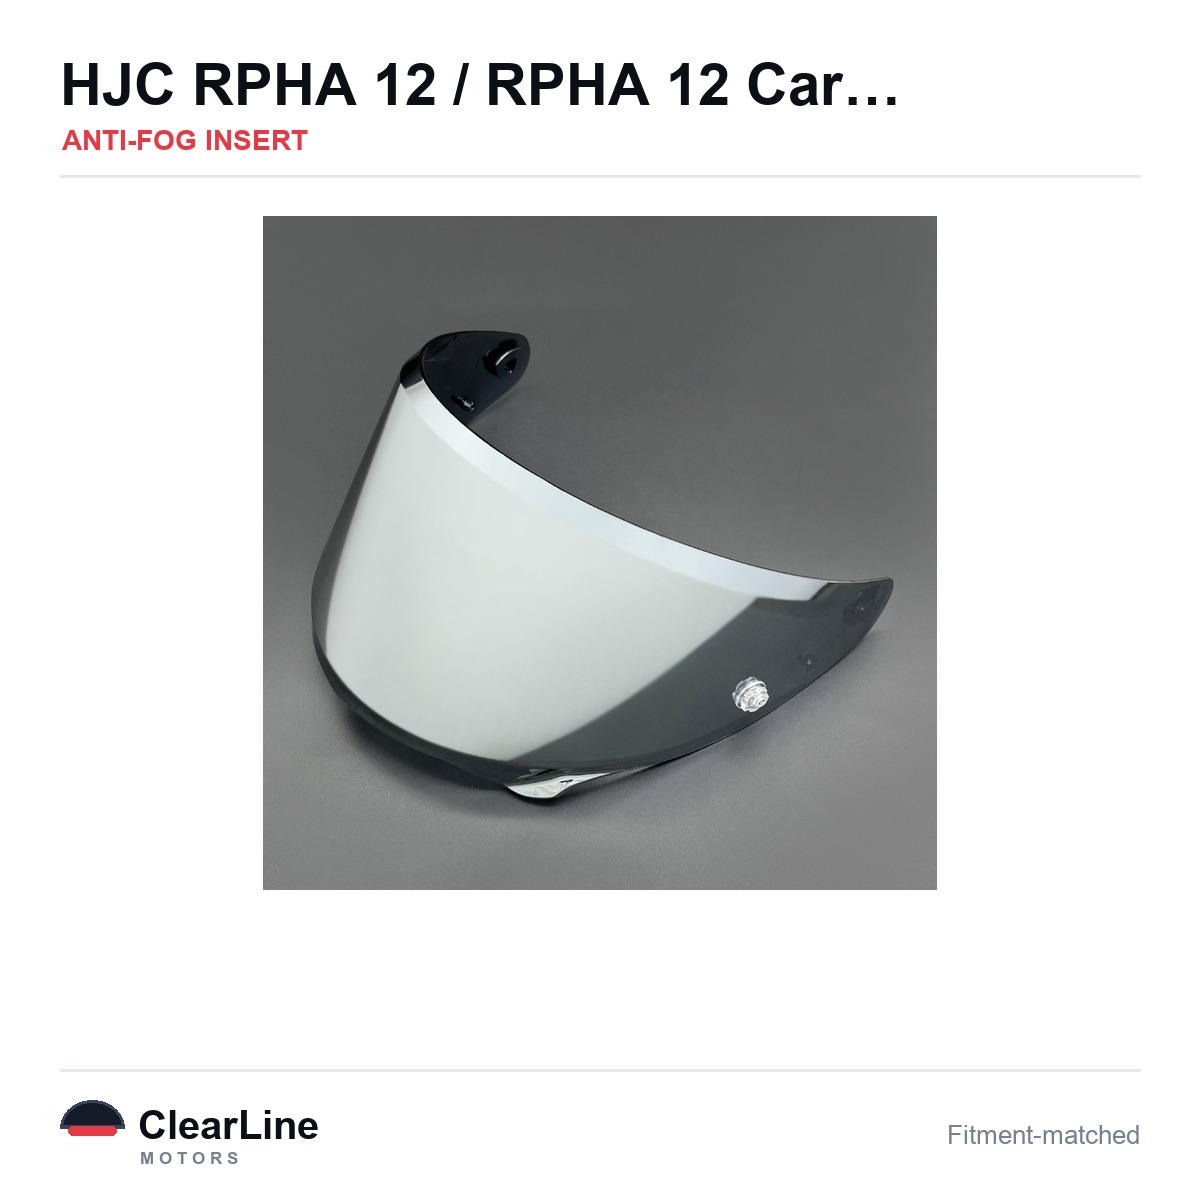
Refitting a Pinlock-compatible anti-fog insert
If you run an anti-fog insert, it comes off with the visor and goes back afterwards. Handle it by the edges — the hydrophilic film is the working surface, and a thumbprint in the middle of your field of view is permanent.
The mechanism is worth understanding, because it explains why the insert has to sit flat. Research on hydrophilic antifogging coatings in Advanced Science describes how, “In the case of hydrophilic antifogging coating, condensed water spreads into a pseudo‐film shape immediately to avoid fogging”. The film works by spreading condensation into an even layer instead of letting it bead into droplets that scatter light.
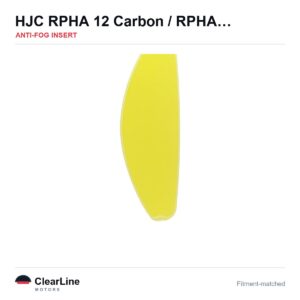
Seat the insert on the pins with the visor flexed gently, then let the visor relax so the silicone bead is under even tension all the way round. A gap at one corner is where fogging starts. Insert options across the catalogue sit under Pinlock-compatible anti-fog inserts.
When removal turns into replacement
Sometimes you take a visor off and it should not go back on. Deep scratches in the sweep of your vision, crazing in the hard coat, a cracked mounting tab or beading that has gone hard and no longer seals are all end-of-life signs.
Scratches are the one riders most often talk themselves out of. They are worst at night and worst in low sun, exactly when rule 84 says a scratched protector limits your view, and no polish puts a hard coat back. Our note on when to replace a motorcycle visor sets out the thresholds in more detail.
If you are replacing rather than refitting, the visor finder will narrow things down by helmet model, and shipping is free.
Tints, markings and the law
Taking a visor off is often the moment riders think about changing tint, so it is worth being precise about the legal position in Great Britain.
The test is the marking on the individual visor, not the colour and not the tint name. The Motor Cycles (Eye Protectors) Regulations 1999 prescribe eye protectors conforming “to the requirements relating to Grade X in British Standard BS 4110:1979 and are marked with that Grade and the number of that standard”, and require that they are “marked with an approved certification mark of an approved body”. BS 4110 is the standard that applies to the visor itself.
So a visor is only road legal in Great Britain if it carries the marking. We do not verify markings on individual items, and nothing in our catalogue should be read as a statement that a particular visor is approved or certified.
Iridium and mirrored finishes are a separate matter. These are never legal for road use in Great Britain, day or night: they transmit too little light to be legal for road use, and no amount of bright weather changes that. They are track and off-road items, and the iridium visor range is listed on that basis. The selling offence under section 18 of the Road Traffic Act 1988 is non-endorsable.
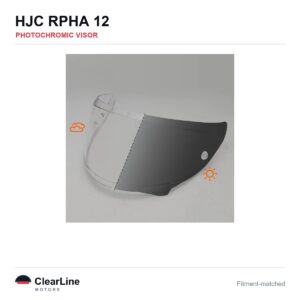
If you want something that adapts instead, a photochromic visor darkens in daylight and clears again, and a plain clear replacement visor has no tint at all.
Troubleshooting common RPHA 12 visor problems
The visor rattles or whistles after refitting
Nearly always a seating problem rather than a worn part. Take it off, refit it squarely, and confirm both sides clicked. If the noise persists with the visor correctly seated, look at the beading for a flat spot or a hardened section.
The catch will not release
Check the visor is at its full open position first — the release is usually out of reach at intermediate positions. Dirt in the plate is the next suspect, and a soft brush is the right tool, not a screwdriver.
Water is getting in at the top edge
That is a seal contact problem. Either the visor is sitting proud on one side, or the beading has compressed. Closing the visor and looking for daylight around the eyeport will usually show you which.
It fogs more than it used to
A visor that does not close fully onto the beading leaks warm, wet air into the gap. Fix the fit before buying anything, then look at the insert. Other HJC fitments are listed in our overview of visors that fit HJC helmets.
Visors and inserts mentioned in this guide
- HJC RPHA 12 Carbon Replacement Visor — Iridium, Smoke, Clear Tints
- Anti-fog insert for the RPHA 12 and RPHA 12 Carbon
- See the RPHA 12 visor range
- RPHA 12N visor options
Frequently asked questions
Can I remove the RPHA 12 visor without tools?
Yes. The visor releases from a catch on the side plate and lifts off by hand. If you find yourself reaching for a screwdriver, something is still engaged and forcing it risks the mounting tab.
Does the RPHA 12 use the same visor as the RPHA 12N?
According to HJC’s own shield-type chart, yes — the RPHA 12, RPHA 12N and RPHA 12 Carbon are all listed under shield code HJ-42. That chart is the manufacturer’s statement, and it is the only basis on which we will say two helmets share a shield.
Why does my visor whistle after refitting?
Because it is not seated evenly. One side has usually not clicked fully home, which leaves the visor sitting a fraction proud and lets air past the beading. Remove it and refit it square.
Can I fit an iridium visor to the RPHA 12 for road use?
No. Iridium and mirrored visors are not legal for road use in Great Britain at any time of day, because they transmit too little light to be legal for road use. They are intended for track and off-road riding only.
How often should I take the visor off to clean it?
Most riders only need to remove it for a deeper clean of the beading and the plate every few weeks, or after a wet, salty ride. Day-to-day cleaning is better done with the visor on the helmet, which gives it fewer chances to get dropped.
Written by the ClearLineMoto team. Fitment statements in this guide come from HJC’s published shield-type chart; legal statements come from the legislation and Highway Code text linked above. Always confirm the detail of your own helmet against the manual supplied with it.