
The Scorpion EXO-R1 Air is a race-focused full-face helmet whose visor (shield) sits on Scorpion’s Ellip-Tec II ratchet system and comes off without tools. This guide covers Scorpion EXO-R1 Air visor removal and refitting, using the sequence in Scorpion’s own feature manual, plus the checks that stop a fresh visor whistling, leaking or popping open at speed.
Aftermarket visors for Scorpion helmets


The short answer: put the helmet down with the eye port facing away from you and ratchet the visor to the fully open position. Push the Y-shaped release latch upward with both hands and hold it there, then press both thumbs squarely on the centre of the Ellip-Tec II plate and gently peel the visor away. To refit, seat the visor’s pivot first, then push the stopper firmly onto its track, and open and close it several times to prove it.

Where these instructions come from
Every step below comes from Scorpion’s EXO-R1 Air feature manual (ECE 22.06 edition), which Scorpion Exo Europe publishes on its own website; search its manuals index for “EXO-R1 Air” and read the PDF for your exact model. That manual covers the EXO-R1 EVO II Air, EXO-R1 EVO Air, EXO-R1 EVO Carbon Air and EXO-R1 EVO II Onyx Air. Its “Faceshield Replacement” page is the source for the removal and refitting sequence. ClearLine is an independent visor retailer with no connection to Scorpion.
We have not added steps of our own to the mechanism. Where we give practical advice, such as protecting the paint or checking the gasket, it is labelled as general good practice rather than something Scorpion states.
If you own an earlier EXO-R1 Air built before the ECE 22.06 range, check the label inside your helmet and the manual that came with it. The mechanism may look the same, but the manual for your exact helmet is the one to follow.
How the Ellip-Tec II ratchet works
Scorpion’s feature summary describes Ellip-Tec II as “easy, secure, tool-less faceshield changes in seconds”. The same entry says it pulls the shield tight against the eye port gasket during closing “to ensure a proper seal”. That second point matters more than it sounds.
The visor does not simply hinge. As it closes, the ratchet plate draws it back and inwards along an elliptical path, so the visor presses onto the rubber gasket around the eye port. If one side of the visor is not properly seated on its track, that path is wrong on that side, and you get a gap.
The visor itself has two features you will meet during the swap. The manual numbers them: the visor’s axis, or pivot (1), and a stopper (2) just behind it. Both have to land in the right place for the visor to work.
There is also a separate faceshield lever at the bottom of the visor. Press your thumb up on it until it snaps open; push the visor down and press the lever until it snaps shut. Scorpion adds a “city mode” in which you leave the visor at its first detent for a little air at low speed.
Check the model before you order a visor
Scorpion has sold several helmets with “R1” in the name: the EXO-R1, the EXO-R1 Air and the newer EXO-R1 EVO family. Their side plates can look alike in photos, so confirm which one you own before you buy a replacement.
- The model label. Lift the comfort liner and read the label on the shell or the EPS liner.
- The manual’s model list. If your helmet is one of the four EVO Air models above, the manual named in this guide is yours.
- The visor’s own markings. The visor you are removing may carry a part code or a marking on its edge. Note it before it comes off.
Do not assume a visor fits because a listing names several helmets. Order the visor listed for your exact model, and use the visor finder if you are unsure. Our guides to what visor fits the Scorpion EXO-R1 and what visor fits the EXO-R1 EVO walk through the options model by model.
What you need before you start
The job needs no tools. A little preparation still protects the paint, the ratchet plates and the new visor.
- A soft surface for the helmet, such as a folded towel or the helmet bag
- A clean microfibre cloth
- The replacement visor, with any protective film left on for now
- Good light from the side, so you can see the Y-shaped latch on each plate
Clear the area around the plates first. Grit trapped between the visor and the ratchet plate is the commonest cause of a scratch during a swap, and it can stop the stopper seating later.
Scorpion EXO-R1 Air visor removal, step by step
Scorpion’s manual opens this section with a capitalised note: the faceshield can only be removed or installed when it is in the fully opened position. Every step below depends on that.
- Position the helmet. Place it in front of you on the soft surface with the eye port facing away from you.
- Open the visor fully. Press up on the faceshield lever to release it, then ratchet the visor all the way up. Halfway open is not enough.
- Lift the release latch. Using both hands, push the Y-shaped release latch on the side plate upward. The manual’s important note is to keep that latch held up while you remove the visor.
- Free the visor. With the latch up, the shield can release out of the locking mechanism.
- Peel it away. With both thumbs pushing squarely on the centre of the Ellip-Tec II plate, gently pull or “peel” the visor away from the helmet.
- Repeat on the other side if that side has not already come free, then lift the visor clear.
If it resists, stop. Check the visor is still fully open and that the latch is still held up; both tend to slip as you shift your grip. Never lever the visor off with a screwdriver or a coin, because the plates are plastic and the paint marks easily.
Fitting the new visor
Refitting is the same sequence in reverse, with one extra check. Hold the new visor in the fully open position and line it up against the plate.
- Line up the axis and stopper. Make sure the visor’s axis (1) and its stopper (2) are positioned as the manual’s diagram shows.
- Seat the axis first. Push the axis home onto the plate.
- Then push the stopper. Push the stopper strongly so that it sits on the right track. A half-seated stopper is what causes most problems after a swap.
- Do the other side the same way.
- Test it. Open and close the visor several times to verify it is properly installed, as Scorpion instructs.
Then close it fully and press the lever until it snaps shut. Try to open the visor without touching the lever: if it stays closed, it has locked.
Adding an anti-fog insert to an EXO-R1 Air visor
Scorpion lists the EXO-R1 Air’s faceshield as Pinlock-ready, which means the shield has two small pins on its inside face for an anti-fog insert. Check your own visor for those pins before you buy an insert, because a visor without them cannot hold one.
An insert works by sealing a pocket of air against the inside of the visor, so the surface you look through stays warmer than the air outside. Its moisture-absorbing inner face then spreads any condensation into a thin film rather than letting it bead into droplets. Fit the insert with the visor off the helmet; it is far easier on the bench.
ClearLine sells Pinlock-compatible inserts, not Pinlock-brand ones. See the anti-fog insert listed for the R1 Air, or browse all Pinlock-compatible anti-fog inserts.
Choosing a replacement visor for the EXO-R1 Air
Once you can swap the visor in a couple of minutes, a second visor becomes practical. Most riders choose between three types.
| Visor type | What it does | Where it suits |
|---|---|---|
| Clear | Maximum light in all conditions | Everyday riding, night, poor weather |
| Photochromic | Darkens in UV light and clears as the light fades | Long days with changing light; check the marking before road use |
| Smoke or iridium | Cuts glare on bright days | Track and off-road use in Great Britain |
Start with the R1 Air visor range, then compare the wider clear replacement visors and photochromic visors. If your helmet turns out to be a different R1, the EXO-R1 visors and EXO-R1 EVO visors have their own pages.
When to replace the visor
The Highway Code (rules 83 to 88) asks riders to check before each journey that the helmet visor is clean and in good condition. It also warns that scratched eye protection can limit your view, particularly in bright sunshine and in the dark.
- Scratches in your line of sight that scatter headlights into streaks at night
- Crazing or cracks, often from cleaning with the wrong products
- A coating that has worn through, leaving patches that fog or smear
- A visor that no longer locks after the plates and stopper have been checked
Our guide to cleaning a motorcycle helmet visor covers the products that cause crazing in the first place.
The law in Great Britain: the marking on the visor is the test
In Great Britain the legal test for a visor is the marking on that individual visor, not its colour or the name of its tint. The Motor Cycles (Eye Protectors) Regulations 1999 prescribe BS 4110 and require that a protector is marked with an approved certification mark of an approved body. A visor is only road legal in GB if it carries that marking.
Iridium, mirrored and dark smoke visors transmit too little light to be legal for road use in Great Britain, day or night. They are sold for track and off-road use.
Selling eye protection for road use when it is not of a prescribed type is itself an offence under section 18 of the Road Traffic Act 1988. That is why ClearLine never describes any visor as approved or certified: we do not check the marking on individual items. Read our guide to tinted visor law in Great Britain, or, for riders in the US, our guide to visor tint rules in the US.
Common problems after a visor swap
Most problems after a swap come back to one side not being fully seated. Work through these before you assume the new visor is faulty.
Why will my EXO-R1 Air visor not come off?
The visor is almost always not fully open, or the Y-shaped latch has dropped back before the visor came free. Ratchet the visor to the very top, push the latch up and keep holding it while you peel that side away.
Why does the visor whistle or let air in after refitting?
Check that the stopper on each side is pushed fully onto its track. Ellip-Tec II pulls the visor onto the eye port gasket as it closes, so a side that is not home leaves a gap along the brow or the edge.
Why will the visor not lock shut?
Open the visor fully and re-seat the stopper on both sides, then close it and press the lever until it snaps. If it still springs open, look for grit on the plate or a damaged lever before you ride.
Looking after the visor and the ratchet plates
As general good practice, wipe the plates with a damp microfibre cloth whenever the visor is off. Dirt in the track is what stops a stopper seating and what scratches the visor edge.
Keep solvents and polish away from the plates and the visor. Store a spare visor in a soft bag, flat, so it cannot warp or pick up scratches. For other helmets in your garage, our guide to removing a motorcycle helmet visor covers the other common mechanisms, and the EXO-T520 visor removal guide covers Scorpion’s sport-touring helmet with a sun visor. Browse every Scorpion helmet visor we list.
Visors and inserts mentioned in this guide
- Scorpion Exo 1400 Carbon / Exo 520 / R1 Air Replacement Visor — Iridium, Smoke, Clear Tints
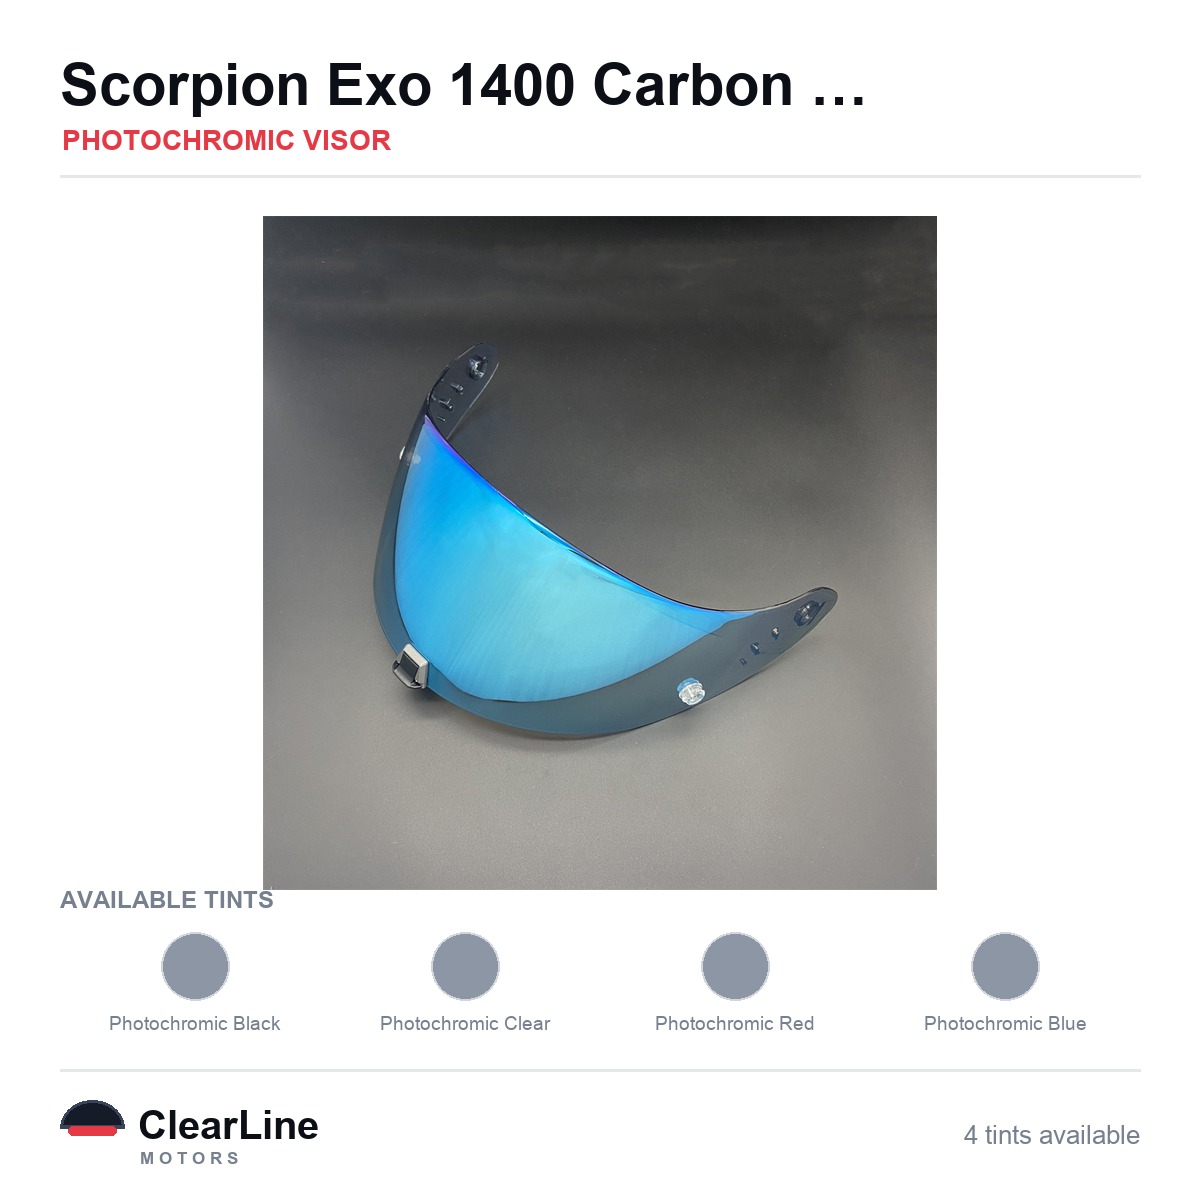
- Photochromic visor for the R1 Air
- See the R1 Air anti-fog insert
- All Scorpion R1 Air visors
Frequently asked questions
Do you need tools to remove the Scorpion EXO-R1 Air visor?
No. Scorpion describes the Ellip-Tec II system as giving tool-less faceshield changes. With the visor fully open and the Y-shaped latch held up, you peel the visor away by hand.
Can the visor be removed when it is only partly open?
No. Scorpion’s manual states that the faceshield can only be removed or installed in the fully opened position. Ratchet it all the way up first.
Can I fit an anti-fog insert to my EXO-R1 Air visor?
Yes, if the visor has the two small pins on its inside face. Scorpion lists the EXO-R1 Air faceshield as Pinlock-ready, and a Pinlock-compatible insert mounts between those pins.