
Swapping the face shield on a flip-up lid looks harder than it is, and the thing that makes most riders hesitate is the drop-down sun visor sitting just behind it. HJC i90 visor removal is a tool-free job that happens entirely on the base plate at each side of the helmet, and the internal sun visor is a separate assembly you never need to disturb to do it. Get the sequence right and the change takes a few minutes at the kitchen table.
The short answer: open the visor to its highest stop, release the catch on the base plate at one side, and swing that side of the visor clear of the shell. Repeat on the other side and the visor lifts away. The sun visor runs on its own slider behind the base plate and stays exactly where it is throughout, and refitting is the same sequence in reverse until both sides click home.
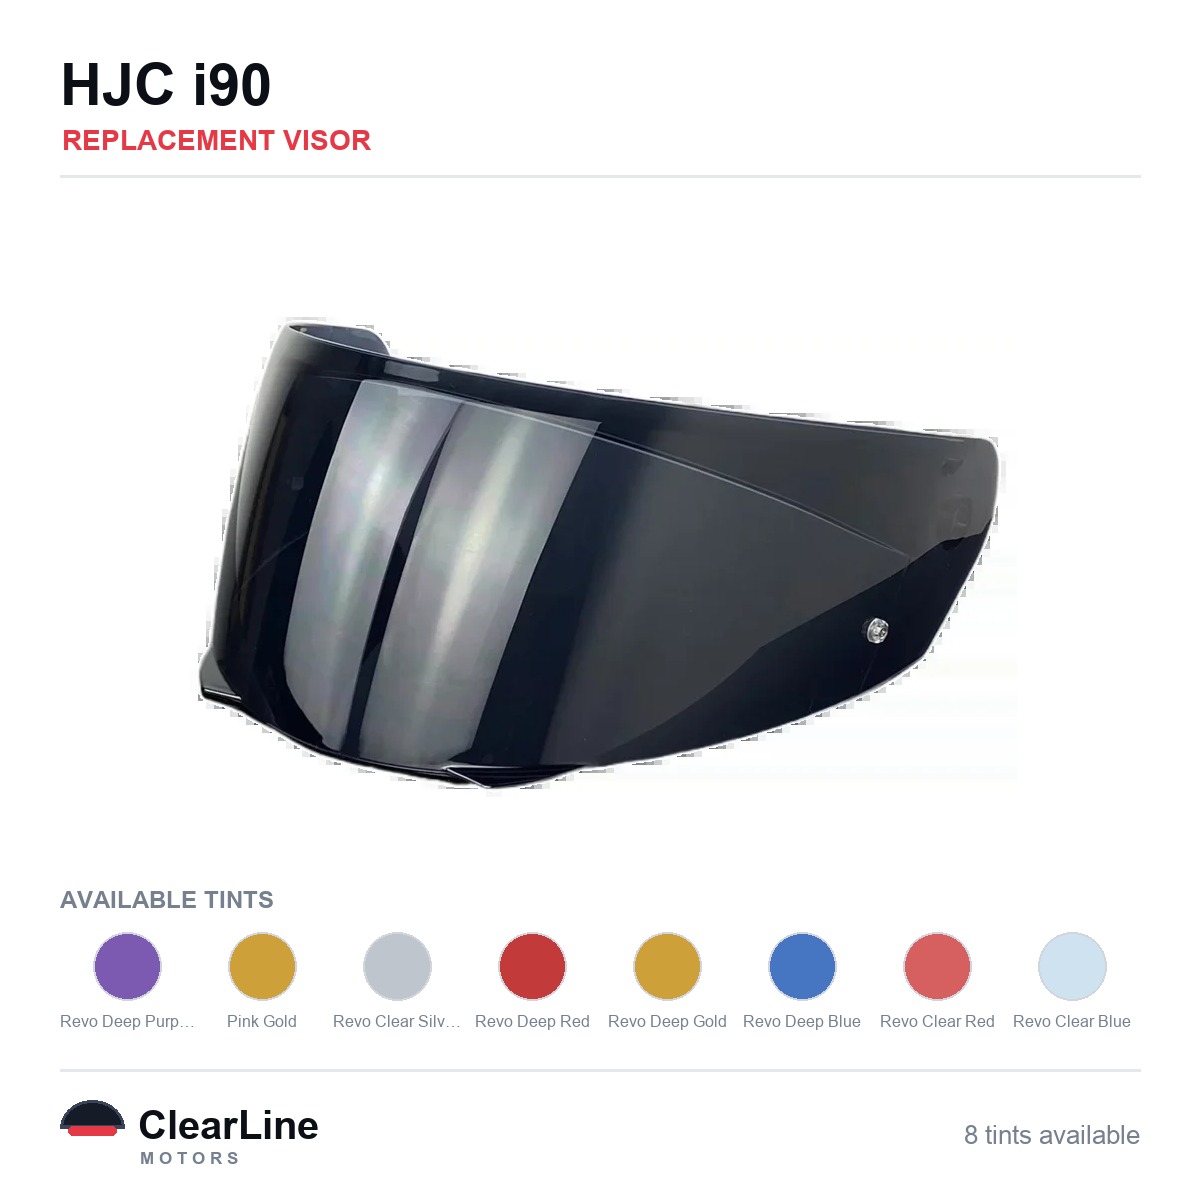
Which shield does the HJC i90 use?
HJC publishes its own shield-type chart, and that chart is the only fitment evidence worth trusting. On it, the i90 sits under shield code HJ-33, alongside the i91. Two helmets listed under one HJC code share that shield according to the maker, so an HJ-33 shield is the part you are looking for.
What the chart does not do is tell you what will not fit. Makers sometimes fit one shield to a helmet they list elsewhere, so a different code is not proof of incompatibility. Treat the code as a positive match and nothing more.
This matters because visor apertures are model-specific. A shield from a neighbouring HJC model usually will not clip into the i90 base plate, and forcing one is how base-plate tabs get broken. If you are unsure which helmet you actually own, the model name is printed inside the chin bar, under the lining, or on the strap label.
For a wider view of how HJC groups its shields across the range, our guide to visors that fit HJC helmets breaks the codes down by fitment group.
Before you start: what not to touch
The single most common way to turn a five-minute job into an afternoon is to start pulling on the wrong part. Three things on an i90 should stay untouched during a visor change.
- The sun visor slider. The drop-down tinted shield is driven by a lever on the left of the shell and rides on its own track behind the base plate. It has nothing to do with the outer visor and does not need to be lowered, raised or removed.
- The base plate screws. The plate itself is fixed to the shell. You are releasing the visor from the plate, not the plate from the helmet, so no screwdriver should come near it.
- The chin-bar release. Flipping the chin bar up gives you nothing here and makes the helmet awkward to hold steady.
Work on a towel on a flat surface rather than on your lap. A visor that springs free unexpectedly will land on something soft instead of the floor, and a dropped shield picks up exactly the kind of fine scratching you are replacing it to get rid of.
HJC i90 visor removal, step by step
The exact shape of the release catch varies between HJC generations, so check the sequence against your own helmet before applying force. Nothing in this job should need more than firm finger pressure.
- Open the visor to its highest stop. The mechanism only presents the release position when the visor is fully raised, which is why a half-open visor feels locked solid.
- Find the catch on the base plate. Working on one side at a time, look for the small release tab or lever sitting at the front edge of the plate, just below the visor pivot.
- Hold the catch and swing the visor outward. Keep the tab held and rotate that side of the visor away from the shell. The visor pivot should come off the plate without you pulling directly outward on it.
- Repeat on the opposite side. With one side free the visor hangs at an angle, so support its weight while you release the second catch.
- Lift the visor clear. Set it aside face-up. If you plan to keep it as a spare, put it in a soft bag rather than face-down on a bench.
If a side refuses to release, stop and re-check that the visor is at its highest stop. Resistance almost always means the mechanism is not at the release position, and levering harder is what snaps the tab.
Refitting so the visor actually seals
Refitting is the same sequence backwards, but the finish is where people get caught out. A visor that is merely attached is not the same as a visor that is seated.
Line the pivot up with the base plate with the visor held at that same fully-open angle, then press it inward until you hear and feel a distinct click. Do the second side the same way. Both clicks should feel identical, and a side that seats with a softer, duller sound is usually not fully home.
Now close the visor slowly and watch the top edge. It should settle onto the rubber beading along the whole length of the aperture with no daylight at the corners. Then open and close it three or four times; the action should be smooth through every stop, with no catching and no creak as it passes the halfway point.
Finally, peel the protective film off both faces before you ride. New visors ship with a thin film that looks like a light haze in daylight and like a smeared mess under headlights, and riding off with it still attached is a genuinely common mistake.
HJC i90 visor replacement: choosing the right one
Once the old shield is off, the choice is about what you actually ride in rather than what looks best on the shelf. A visor that is wrong for your conditions gets swapped again within a month.
Our current replacement visors for this helmet are the HJC i90 Replacement Visor and the HJC i90 / i91 Replacement Visor, and you can see everything presently stocked for this model under visors listed for the HJC i90. Both come in a clear option as well as darker and mirrored finishes, so check which tint you are choosing before you order.
| Finish | What it does | Where it suits |
|---|---|---|
| Clear | No tint, so the most light reaches your eyes | Everyday riding. The approval marking on the individual visor, not the tint name, decides whether it can be used on the road. |
| Solid black | Sunglasses-level darkness, no reflective layer | Track and closed-course only. Dark tints transmit too little light to be legal for road use. |
| Mirrored and iridium | Reflective outer coating that cuts glare hard and hides the eyes | Mirrored and iridium finishes transmit too little light to be legal for road use, day or night. |
The mirrored and iridium options on those listings, such as the Revo and Rainbow finishes, are attractive parts and genuinely useful on a bright circuit, but they are not the shield to leave fitted for a commute.
If what you want is an undistorted everyday view, look at the clear replacement visors hub, and use the visor finder to confirm a part is listed for your exact model before you buy. Browsing every visor listed for HJC helmets is the quickest way to see what is currently available across the marque.
What about an HJC i90 photochromic visor?
Photochromic shields darken in ultraviolet light and fade back when it drops, which sounds like the perfect single-visor answer for British riding. In practice, availability for any given helmet model comes and goes, and it is worth checking what is listed for the i90 rather than assuming.
Two things temper the idea. Photochromic shields react to ultraviolet rather than to brightness, so they stay comparatively pale behind a car windscreen and are slower to clear in cold weather than most riders expect. They also have a working life measured in years rather than decades, since the reactive layer gradually loses its swing.
Whatever the technology, the legal question is decided the same way: by the approval marking on the individual shield, not by what the tint is called. Our photochromic visor range is the place to check what is currently listed.
Tint, marking and the law in Great Britain
The legal test for eye protection in Great Britain is the marking carried by the individual visor. The Motor Cycles (Eye Protectors) Regulations 1999 prescribe grades in BS 4110, the British Standard for visors, and require that a protector be marked with an approved certification mark of an approved body. Colour and tint name decide nothing on their own.
ClearLine sells unbranded aftermarket visors and we do not verify the markings on individual items, so we never offer any of them as approved or authorised for road use. Check the marking on the shield in your hands. The offence here is also a seller offence under the Road Traffic Act 1988, which makes it an offence to sell, or offer for sale, an appliance of a description not prescribed as authorised, and it is non-endorsable.
The Highway Code frames the practical side of the same point. Rule 83 asks you to check that your helmet visor is clean and in good condition before each journey, and rule 84 warns that scratched or poorly fitting eye protectors limit your view, particularly in bright sunshine and in darkness. A fresh shield is a visibility upgrade before it is anything else.
Keeping the new shield clear
A brand-new visor fogs just as readily as an old one, because fogging is condensation on a cold inner surface rather than a fault in the plastic. On a flip-up helmet with a closed chin bar the effect is pronounced in cold, damp weather.
The durable fix is an anti-fog insert: a second lens that sits inside the shield on pins and creates a thin insulating air gap, so the inner surface never reaches the temperature at which your breath condenses on it. Pinlock-compatible anti-fog inserts are made for shields that carry the pin bosses.
Check your new visor for those pins before ordering an insert, since not every aftermarket shield is drilled for one. If yours is not, a hydrophilic anti-fog treatment is the fallback, though it needs reapplying far more often than an insert needs replacing.
Common mistakes worth avoiding
- Working with the visor half open. The release position exists at the top stop only, and every snapped tab we hear about starts here.
- Removing base-plate screws. The plate stays on the shell. If you have a screwdriver out, you have gone one layer too deep.
- Cleaning the new shield dry. Wiping road film off a dry visor drags grit across the surface. Soak the dirt loose with warm water first, then use a soft cloth.
- Judging fitment by appearance. Two shields cut for different HJC models can look nearly identical and still differ at the pivot. Match by the model listing, not by eye.
- Skipping the seal check. A visor that clicks in but sits proud at the top will whistle at speed and let rain track in along the brow.
If you have just come from a different HJC model, the sequence is familiar but not identical; our walkthrough of HJC C10 visor removal covers the sibling procedure.
Visors and inserts mentioned in this guide
- HJC i90 Replacement Visor — Iridium, Smoke, Clear Tints
- HJC i90 / i91 Replacement Visor — Iridium, Smoke, Clear Tints
- Everything listed for the HJC i90
- Pinlock-compatible anti-fog inserts
- See the clear visor range
Frequently asked questions
Do I need tools for HJC i90 visor removal?
No. The i90 visor releases from the base plate by hand, using a catch at each side with the visor raised to its highest stop. If a tool feels necessary, the visor is almost certainly not at the release position.
Does the sun visor have to come out first?
No. The drop-down sun visor is a separate assembly on its own slider behind the base plate, operated by the lever on the left of the shell. It stays in place for the whole job.
Will an HJC i91 visor fit an i90?
HJC lists the i90 and the i91 under the same shield code, HJ-33, so the maker treats them as sharing a shield. Confirm the code on the packaging of any replacement before fitting it.
Why does my new visor whistle at speed?
Almost always because one side has not fully seated, or the top edge is not meeting the beading along its whole length. Re-release both sides, refit with the visor at the top stop, and listen for two identical clicks.
How do I know if a tinted visor is legal on the road?
By reading the approval marking on that individual visor, not by its colour or its tint name. A visor is only road legal in Great Britain if it carries the marking the Eye Protectors Regulations require, and we cannot confirm the marking on any individual aftermarket item.
Written by the ClearLine team.