Open face visor fitment is the part of buying a jet-helmet visor that catches people out, because an open-face shell does not use the single sealed mechanism a full-face helmet does. Three genuinely different mounting systems are in circulation, they are not interchangeable, and two of them look similar enough in a photograph to be ordered by mistake. Working out which one you have takes about a minute once you know what to look at.
The short answer:
- Open-face and jet helmets mount a visor in one of three ways: press-stud (three-stud), pivot-screw side-plate, or a ratchet base plate borrowed from full-face design.
- Identify yours by what is left behind when the visor comes off — bare studs, a screw head through a plastic plate, or a toothed cam housing.
- Stud spacing and the curve of the shell decide whether a visor seats, not the helmet’s model name.
- Eye protection is advisable rather than compulsory on an open-face helmet in Great Britain, but anything you do fit has to comply with the Regulations, and the marking on the individual visor is what settles that.
Why open face visor fitment is its own problem
A full-face helmet gives the designer a rigid aperture to work with. The visor tracks a fixed arc, the base plates are screwed to a reinforced mounting pad, and the whole assembly is designed as one unit with the shell. Fitment for those helmets is close to binary: the visor either belongs to that mechanism family or it does not.
An open-face shell has none of that. The visor has to clear a wide-open face aperture, sweep past the rider’s chin rather than around it, and attach to a shell edge that is doing structural work. Manufacturers solved that problem in several unrelated ways over about four decades, and all of those solutions are still on the road.
The practical result is that two jet helmets from the same brand, a few years apart, can take completely different visors. That is why the model name on its own is unreliable, and why our guide to working out what visor fits your helmet starts from the mechanism rather than the badge.
Open face visor fitment: the three systems you will meet
Almost every open-face helmet in use falls into one of three groups. The distinction is mechanical, so it survives rebadging, model refreshes and the second-hand market.
Press-stud (three-stud) fitment
This is the oldest and simplest arrangement, and it is still current on classic-styled jet and bubble-visor helmets. Three or four metal studs are set into the brow edge of the shell, and the visor carries matching holes or sprung clips that push straight onto them. There is no pivot and no detent — the visor either sits down or stands up, held by friction.
Press-stud visors are the most forgiving to fit and the least forgiving to get wrong. Because the studs are fixed to the shell, the spacing between them is the single dimension that matters, and a visor made for a wider or narrower stud pattern will not reach. Stud count alone is not enough information; a three-stud visor and a four-stud visor are different parts, and so are two three-stud visors with different centre-to-centre spacing.
The trade-off is that a press-stud visor seals against nothing. That is fine on a helmet designed around it, and it is one reason fogging behaves differently on open-face helmets than it does behind a sealed full-face aperture.
Pivot-screw and side-plate fitment
Here the visor is sandwiched between the shell and a plastic side plate, with a screw or a quarter-turn fastener running through the middle. The visor pivots on that screw, and friction from the plate holds it at whatever angle you leave it. Touring and retro jet helmets use this system widely.
Two dimensions govern fitment. The first is the distance between the two pivot points across the helmet, which has to match the visor’s pivot holes. The second is the shape of the pivot hole itself, which is often keyed with a flat, a slot or a D-profile so the visor cannot rotate on the fastener.
A keyed hole is easy to overlook in a listing photograph and it is the usual reason a visor that “measured right” still will not sit. If you are comparing parts, the moulded markings covered in our guide to reading the part number on your old visor are more reliable than measuring by eye.
Ratchet base-plate fitment
Newer jet helmets, particularly those sold alongside a full-face range, often use a scaled-down version of full-face hardware: a toothed base plate on each side, a cam that indexes the visor through several positions, and a release catch for tool-free removal. From the rider’s side this behaves exactly like a full-face mechanism.
These are the most model-specific of the three. The base plate is a designed assembly, so the visor has to match that assembly rather than a measurement, and generations of the same helmet frequently change plates. Our breakdown of base-plate mechanisms covers how to tell one generation from the next.
| System | What holds the visor | What has to match | Tool needed |
|---|---|---|---|
| Press-stud | Sprung clips onto fixed studs | Stud count and spacing | None |
| Pivot-screw | Screw through a side plate | Pivot spacing and hole profile | Screwdriver or coin |
| Ratchet base plate | Toothed cam in a housing | The base-plate assembly itself | Usually none |
How to identify which system your helmet uses
Take the visor off first, or move it to its fully open position. What is exposed at the side of the shell answers the question immediately, and you do not need the helmet’s paperwork.
- Bare metal studs on the brow edge, no side plate. Press-stud fitment. Count the studs and measure centre-to-centre between the outermost pair.
- A screw head or a slotted disc in the middle of a plastic plate. Pivot-screw fitment. Note whether the plate is round or shaped, because shaped plates are usually model-specific.
- A recessed housing with visible teeth or a sprung lever. Ratchet base plate. Photograph it; the tooth pattern is the identifying feature.
If the helmet has never had its visor removed, look for the release sequence before applying force. Most ratchet plates need the visor raised to a specific stop before a catch will let go, and pivot-screw plates usually need the screw slackened rather than removed.
Once you know the system, the ClearLine visor finder narrows the options down to parts that physically fit, which is a shorter route than working through a catalogue by model name.
The measurements that decide whether a visor seats
Three numbers do most of the work, and all three are taken from the helmet rather than the old visor where possible. A warped or shrunken visor gives a misleading reading.
For press-stud helmets, measure the centre-to-centre distance between the outermost studs, then the distance from the stud line down to the lower edge of the aperture. For pivot-screw helmets, measure between the two pivot centres across the front of the helmet, and record the hole profile. For ratchet plates, measurement is largely beside the point, so identify the plate instead.
Curvature matters as much as any of those numbers and is the hardest thing to judge remotely. A visor cut for a shallower shell will touch at the studs and stand proud in the middle, which loads the mounting and distorts the optics. Our walkthrough on measuring an unlabelled helmet for visor fitment covers how to take these readings consistently.
Bubble visors, flip-up visors and peaks
A bubble visor is a press-stud visor with a pronounced outward curve, fitted for style and for weather clearance on classic helmets. It mounts on the same studs as a flat visor of the same pattern, so the fitment question is unchanged, but the extra curve changes airflow and can alter how the visor behaves at speed.
Flip-up front sections on some jet helmets are a different animal again. Where a helmet has both a peak and a visor, the two share mounting hardware, and removing one sometimes leaves the other unsupported. Check whether the studs you are measuring are carrying a peak as well before you order.
Whether an open-face visor can be swapped for a differently shaped one on the same mounting is worth checking case by case, and our guide to how far visors are interchangeable between models sets out where the limits usually fall.
What the law asks of an open-face visor in Great Britain
Open-face riders are in a slightly different position from full-face riders, and it is worth being precise about it. The Highway Code rules for motorcyclists, at Rule 84, say that “it is also advisable to wear eye protectors, which MUST comply with the Regulations”, and warn that “scratched or poorly fitting eye protectors can limit your view when riding, particularly in bright sunshine and the hours of darkness”. Wearing eye protection is advisable; complying with the Regulations if you do wear it is not optional.
Rule 83 of the same section adds a maintenance expectation: “before each journey check that your helmet visor is clean and in good condition”. On an open-face helmet, where the visor takes weather and debris directly, that is a more demanding instruction than it sounds. Poor fitment makes it harder to meet, because a visor that stands proud of the shell collects grit at the edges and scratches faster.
The Regulations Rule 84 points at are the Motor Cycles (Eye Protectors) Regulations 1999, regulation 4. Regulation 4(1) prescribes eye protectors conforming “to the requirements relating to Grade X in British Standard BS 4110:1979 and are marked with that Grade and the number of that standard”, or to Grades XA, YA or ZA of the amended standard, or to an accepted equivalent — and in each case they must be “marked with an approved certification mark of an approved body”.
Two things follow from that wording, and both are commonly got wrong. BS 4110 is the standard for the visor, whereas BS 6658 is a helmet standard and says nothing about eye protection. And a visor is only road legal in Great Britain if it carries the marking the Regulations prescribe, which means the marking on the individual item is the legal test rather than its colour, its tint name or the shop it came from.
That last point cuts both ways. A clear visor is not automatically compliant just because it is clear, and iridium, mirrored and dark-smoke finishes transmit too little light to be legal for road use in Great Britain, whatever the time of day. Everything described in this section is the position in Great Britain.
ClearLine does not inspect markings on individual items, so we make no claim that any part we sell is approved or certified — check the item in your hands. If you want the tint question separately, our clear visor range is the starting point for everyday riding.
Fitting a replacement without cracking the mounting
Polycarbonate is strong in the plane of the sheet and weak at a stressed hole, which is where nearly all fitting damage happens. Work in that order and the risk drops considerably.
- Warm the visor to room temperature before fitting. Cold polycarbonate is noticeably more brittle at the stud holes.
- Locate one stud or pivot fully before starting the second. Bridging both at once bows the visor and puts the load on the holes.
- Press or screw down with the visor already in its natural curve, never flattened against the shell.
- On pivot-screw plates, tighten only until the visor holds position. Over-tightening crushes the plate and the visor then refuses to move at all.
- Cycle the visor fully open and closed several times before riding, and check it clears the peak or the shell edge throughout.
Once the visor is on, resist the urge to clean it with whatever is in the garage. Keeping the surface intact is most of the job, and our visor care guide covers what is safe to use.
Where open-face visor fitment usually goes wrong
Four failure modes account for most returns and most damaged parts, and all four are avoidable at the ordering stage.
The first is buying on stud count alone, without measuring the spacing. The second is ignoring a keyed pivot hole, which produces a part that mounts but rotates freely. The third is assuming a helmet’s current generation shares hardware with the model name it inherited, which is frequently untrue across a facelift.
The fourth is quieter and more expensive: forcing a visor that is nearly right. A mounting that has been stressed into accepting the wrong part will often hold for a while and then let go, and by then the shell mounting may be damaged rather than just the visor. If a visor needs real force, it is the wrong visor.
For helmets whose fitment data has gone out of print, the approach in our guide to finding a visor for a discontinued helmet works for open-face models too.
Finding the right part for your helmet
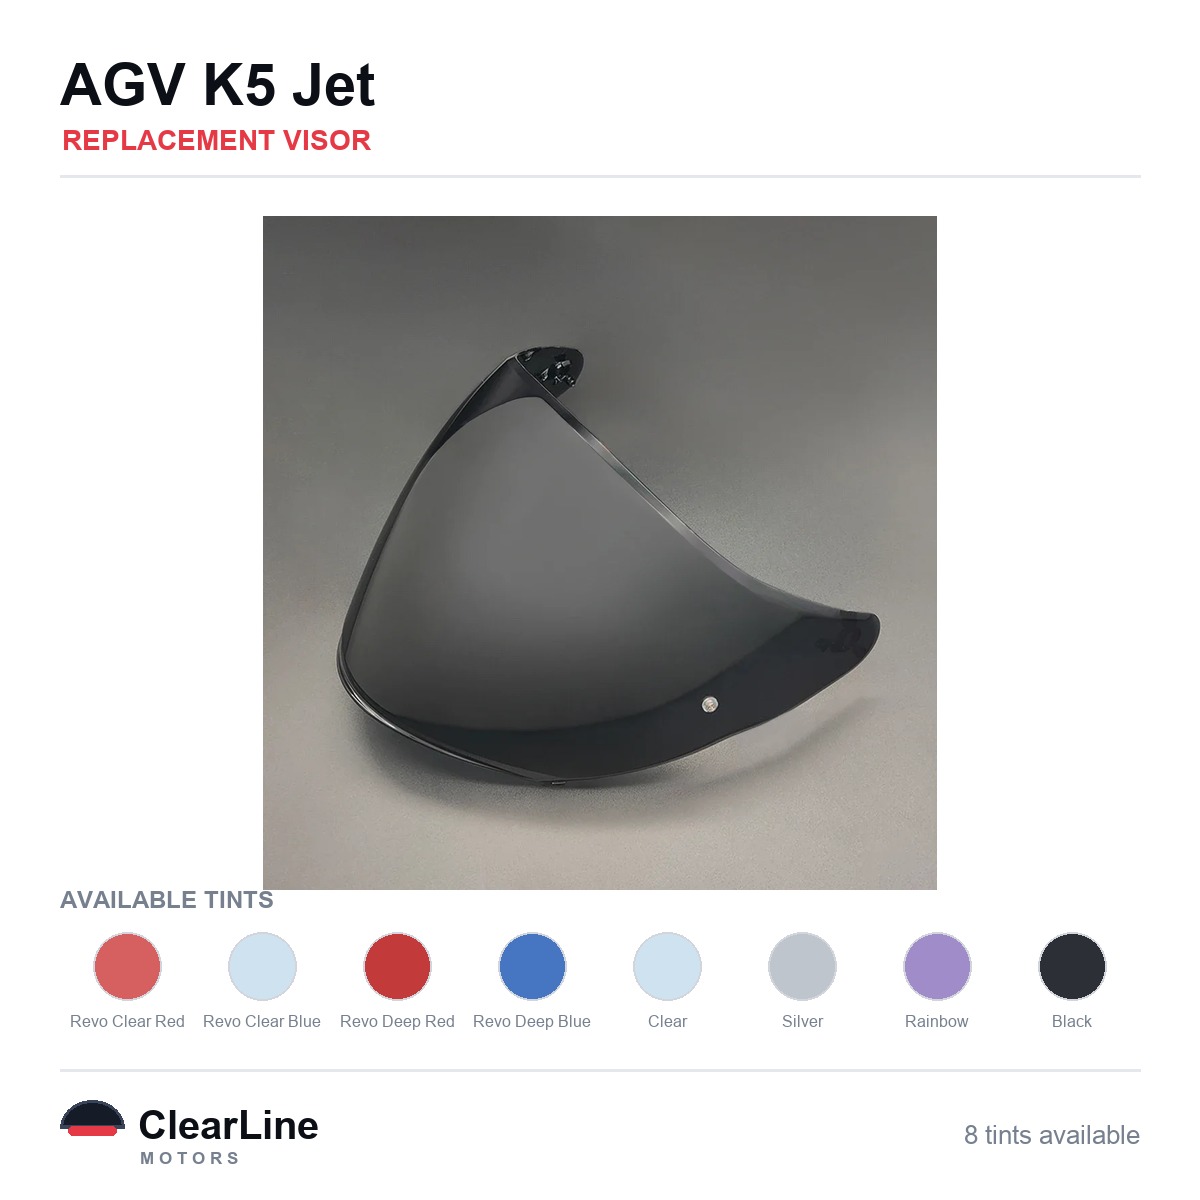
Once the mechanism is identified, matching a part is straightforward. Visors that fit the KYT NFJ and the AGV K5 Jet are listed by fitment rather than by tint, so you can confirm the mechanism first and choose the finish second. The same applies to visors for the GSB G263.
Where a single visor covers several helmets, the product listing names every model it fits — the replacement visor for the KYT NFJ and TTR Jet is one example. Checking that list against your own helmet is quicker than measuring, provided your helmet is named on it.
Open face visor fitment questions
Can I fit a full-face visor to an open-face helmet?
No. A full-face visor is cut to wrap a chin bar and to track a mechanism mounted on a rigid aperture, neither of which exists on an open-face shell. Even where the pivot spacing happens to be close, the visor’s shape will not follow the shell edge.
How do I know if my open-face visor is three-stud or four-stud?
Remove the visor and count the studs left on the shell. Then measure centre-to-centre between the outermost pair, because stud count alone does not identify the part — visors with the same number of studs are made in several different spacings.
Does an open-face helmet legally need a visor in Great Britain?
The Highway Code treats eye protection as advisable rather than compulsory, so an open-face helmet does not have to carry a visor. If you do fit eye protection, it must comply with the Motor Cycles (Eye Protectors) Regulations 1999, and the marking on the item is what demonstrates that.
Why does my new open-face visor stand away from the helmet in the middle?
The visor’s curvature does not match the shell. That usually means it was cut for a different helmet with the same stud spacing, and it should not be forced down, because the load goes straight into the stud holes.
Are bubble visors fitted differently from flat visors?
No, a bubble visor uses the same press-stud mounting as a flat visor of the same pattern. The difference is in the curve of the visor itself, which changes airflow and clearance rather than how it attaches.
Can I reuse the side plates from my old visor?
Often yes, on pivot-screw helmets, provided the plates are not cracked and the screw threads in the shell are sound. Inspect the plate for star-shaped cracks around the screw boss, which is where they fail first.
If you are still unsure which mechanism you are looking at, work through the visor finder with your helmet in front of you, and check the fitment list on the part before ordering.